Why Lantern Placement Matters in a Blackout
Lanterns can make a power outage feel manageable instead of stressful, but where you put them matters as much as how many you have. Thoughtful placement helps you:
- Move around safely without tripping
- Save battery power by lighting only the spaces you are actually using
- Avoid glare and shadows that make tasks harder
- Keep kids, pets, and older adults comfortable and oriented
Instead of thinking in terms of individual lanterns, it helps to think in simple lighting zones. A zone is a small area where the light is focused on what you are doing, like a table, hallway, or bathroom. Organizing your lanterns into a few clear zones makes it easier to react calmly when the power goes out, whether you live in a small apartment or a larger home.
Understanding Simple Home Lighting Zones
You do not need a complex lighting plan. For short-term outages, most homes can rely on just a few practical zones:
- Safety zones – Entryways, stairs, and hallways you must use
- Activity zones – Where you sit, eat, read, or play games
- Task zones – Kitchen counters, bathroom sink, or small work surfaces
- Sleep zones – Bedrooms or sleeping areas with soft, low light
- Utility zones – Where your breaker panel, emergency kit, or supplies are stored
You may not need all of these zones lit at once. In many situations, you can keep one or two zones active and leave the rest dark to preserve batteries or fuel.
For a small apartment, these zones can overlap. For example, one lantern on a kitchen table might double as an activity zone and provide just enough spill light to reach the front door safely.
Example values for illustration.
| Home area | Lighting task | Why it matters |
|---|---|---|
| Front entry / main door | Place a lantern or flashlight within arm's reach of the door | Helps unlock doors, see visitors, and exit safely |
| Main hallway or path | Provide a low-glare lantern at one end | Reduces trip hazards during bathroom or kitchen trips |
| Living room or main sitting area | Center lantern on table at seated eye level | Comfortable space for reading, games, or conversation |
| Kitchen counter | Aim light downward from stable surface | Improves visibility while preparing simple foods |
| Bathroom | Small lantern or night-light style unit | Prevents slips while minimizing glare at night |
| Bedroom | Soft lantern on dresser or nightstand | Provides orientation for kids, pets, and light-sensitive sleepers |
| Utility / breaker box area | Dedicated flashlight or lantern mounted nearby | Makes it easier to check breakers and systems safely |
Zone 1: Safe Path Lighting (Hallways, Stairs, and Doorways)
Safe path lighting is your first priority in a blackout. You want to move from room to room without tripping over clutter, pets, or furniture.
Hallway and stair placement basics
- Place lights low and stable. A lantern on a low shelf, step, or side table can cast gentle light across the floor, highlighting obstacles.
- Aim light along the path, not into eyes. Avoid placing lanterns where you will look directly into the light beam while walking.
- Use indirect bounce lighting. Point headlamps or directional lights toward a light-colored wall or ceiling to soften the glow.
- Mark turns and level changes. If you have a step-down living room, sunken area, or balcony threshold, make sure it is included in your lit path.
Apartment vs. house considerations
- Small apartments: One lantern near the center hallway can often cover the entry, bathroom door, and main living area. Keep a backup flashlight by the bed.
- Multi-level homes: Plan one safe path light per floor. Prioritize stairs and the route to the main exit.
- Shared buildings: In some buildings, hall lights may still work on emergency power. Even so, plan internal lighting to avoid sudden darkness.
Safety tips for kids, pets, and seniors
- Keep lanterns out of direct reach of young children and curious pets but high enough to spread light.
- Avoid placing light where cords or handles dangle into walkways.
- If someone in the home uses a cane, walker, or wheelchair, test your safe path at night with the main lights off to ensure clear passage.
Zone 2: Activity Lighting for Living Rooms and Common Areas
Once the safe path is set, the next priority is a comfortable activity zone where people can sit, talk, read, or play games. This helps keep stress low during outages that last through the evening.
Centering a lantern for shared use
- Use a central surface. A coffee table, kitchen table, or island often works well. Place the lantern slightly off-center to avoid glare in direct line of sight.
- Adjust height. Light placed at or just above seated eye level tends to feel more comfortable than light shining up from the floor.
- Aim for diffuse light. If your lantern is bright or directional, point it at a white wall or ceiling to create softer, room-filling illumination.
Managing brightness to save power
- Use the lowest setting that still lets you read or play cards comfortably.
- Consider short bursts of brighter light for specific tasks, then return to a dimmer level.
- Stick to one main activity zone instead of lighting several rooms at once.
Making space for families and roommates
- Create a quiet side for reading and a more social side for games, both within the same light spill.
- Rotate lap-level lights like small battery lanterns so multiple people can work on different tasks.
- Keep a portable light at the edge of the zone for quick trips to the bathroom or kitchen.
Zone 3: Task Lighting in the Kitchen and Bathroom
Task lighting is focused, brighter light for short periods when you need to see details: preparing simple food, washing up, checking supplies, or handling medications (under normal guidance from your provider).
Kitchen lantern placement
- Prioritize the main work surface. Aim light at the countertop where you will open cans, make sandwiches, or assemble no-cook meals.
- Use stable, non-slip spots. Place lanterns away from appliance edges, sinks, and stovetops.
- Avoid shining straight into your eyes. Slightly behind and above your dominant hand often works well, so you do not cast a shadow over your work.
- Keep heat and flame separate. If you use any fuel-based stove designed for indoor or outdoor use, position lanterns at a safe distance to avoid heat or tip-over risks.
Bathroom lighting
- Place light off to the side. A lantern on the counter, back of the toilet, or a nearby shelf can give enough light without glaring into the mirror.
- Keep water in mind. Avoid putting lanterns where they could fall into sinks, tubs, or toilets.
- Consider night-light levels. Soft, low light at night is usually enough for orientation and can be less disruptive to sleep.
Short bursts of brighter light
For detailed tasks like sorting supplies or reading labels, it can help to use a portable lantern or flashlight at higher brightness for only a few minutes. Then switch back to your normal zone lighting to conserve power.
Zone 4: Calm Light for Bedrooms and Sleep Areas
Bedrooms and sleep areas benefit from gentle, indirect light. This helps everyone move safely while still signaling that it is time to rest.
Where to place lanterns in sleeping spaces
- Use dressers or nightstands. Place lanterns a few feet from the bed, aimed at a wall rather than directly at faces.
- Keep a grab-and-go light nearby. A small flashlight or headlamp on the nightstand or wall hook can help with quick nighttime trips.
- For shared rooms, consider one dim lantern near the door so not everyone is staring into direct light.
Helping kids and sensitive sleepers
- If children are anxious in the dark, use a very low-level lantern or night-light style device pointing at a wall.
- Show kids where the light switch or lantern control is so they feel more in control.
- For light-sensitive sleepers, concentrate light in the hallway and keep bedroom doors slightly open to borrow just enough light.
Roommates, guests, and shared spaces
In shared apartments or homes, agree on a quiet window of low light at night. One hallway lantern on a low setting can often replace separate lights in each room while still keeping paths safe.
Zone 5: Utility and “Control Center” Lighting
A small, well-lit spot for critical information and tools can make any outage easier to manage. This does not need to be elaborate. Think of it as your home control corner.
Choosing a control corner
- Pick a location that is central and easy to reach, such as a kitchen counter, console table, or sideboard.
- Store a lantern and flashlight there along with batteries, a small notepad, and other basic supplies.
- If possible, choose a spot near an outlet or window, where you might recharge devices during the day.
Breaker panels and mechanical rooms
- Mount or hang a dedicated flashlight next to the electrical panel or on the back of a nearby door.
- Keep the area clear of storage so you can reach it even in low light.
- If your utility area is in a basement or garage, treat the path there as a separate safe path lighting zone.
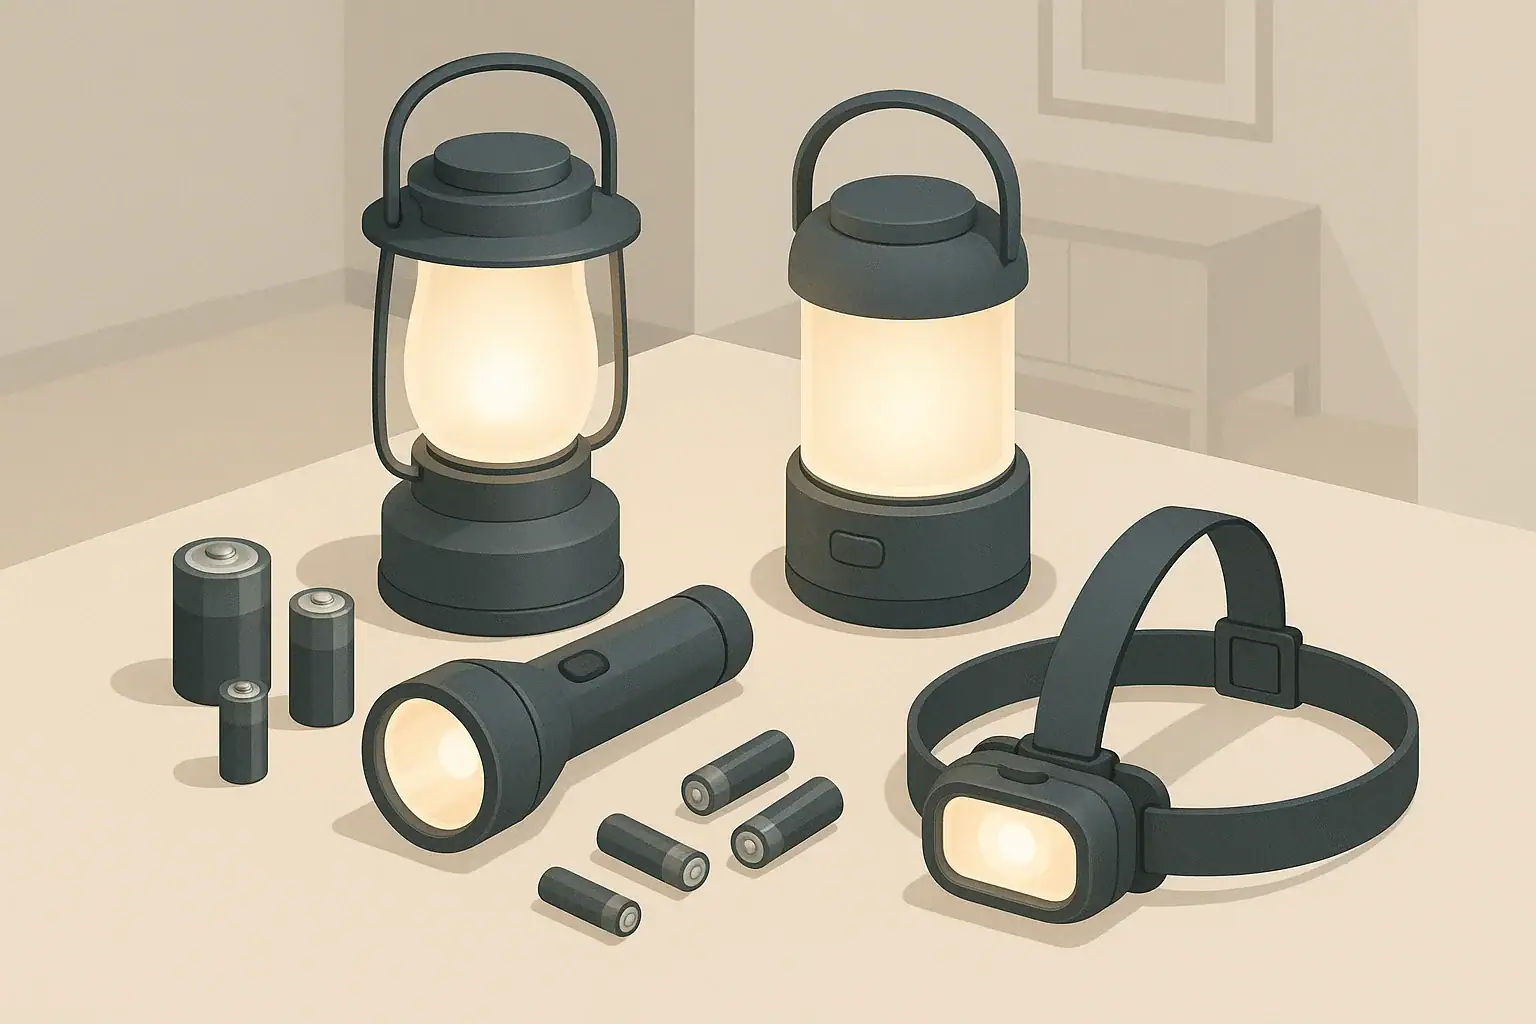
Lantern Strategies for Apartments, Houses, and Shared Homes
Different living situations change how many zones you can support and how you place lanterns.
Small apartments and studios
- Combine zones. One lantern on a kitchen table may cover safe path, activity, and partial task lighting.
- Use portable options. Headlamps and small lanterns work well for flexible task lighting in tight spaces.
- Plan for shared hallways. Keep a flashlight near the door in case common-area lighting fails.
Larger homes
- Prioritize floors. Aim for at least one safe path and one activity zone per lived-in floor.
- Shut doors to unused rooms. This focuses available light and makes it easier to manage movement.
- Rotate lanterns. In longer outages, you can move a brighter lantern between the kitchen and living room as needed.
Shared living and roommates
- Agree on common zones. Decide ahead of time which area will be the main activity space if power goes out.
- Label personal lights. Each person can keep a headlamp or small lantern near their bed.
- Coordinate battery use. Try to standardize on a few battery sizes to simplify storage and sharing.
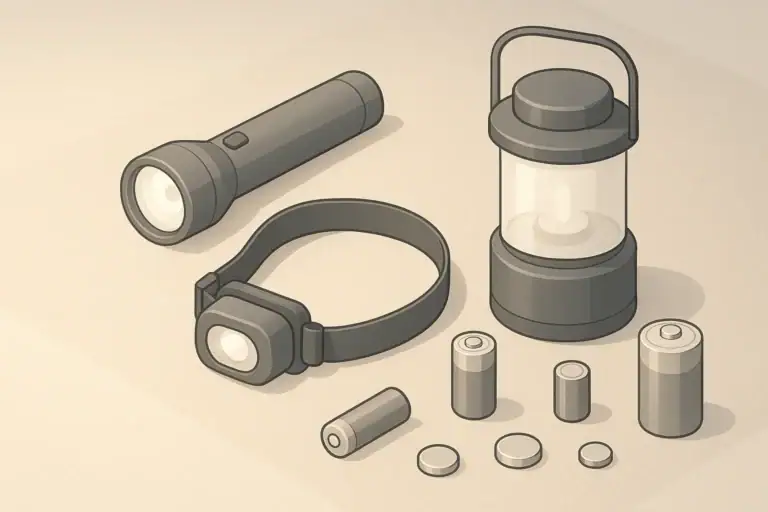
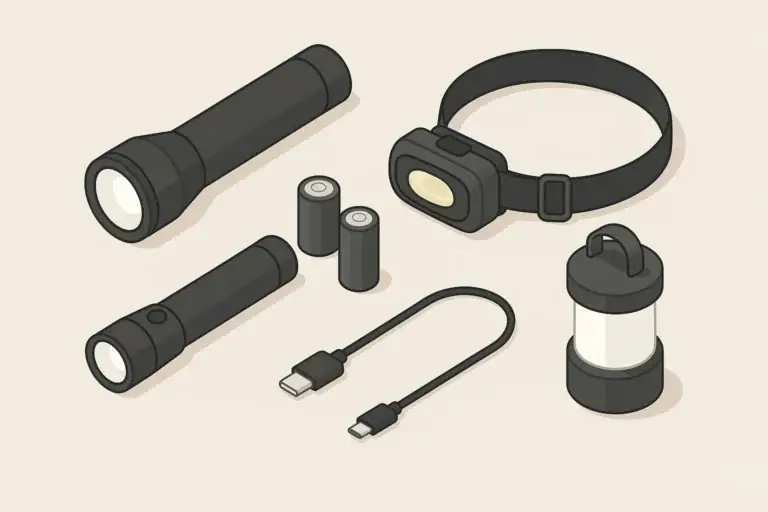
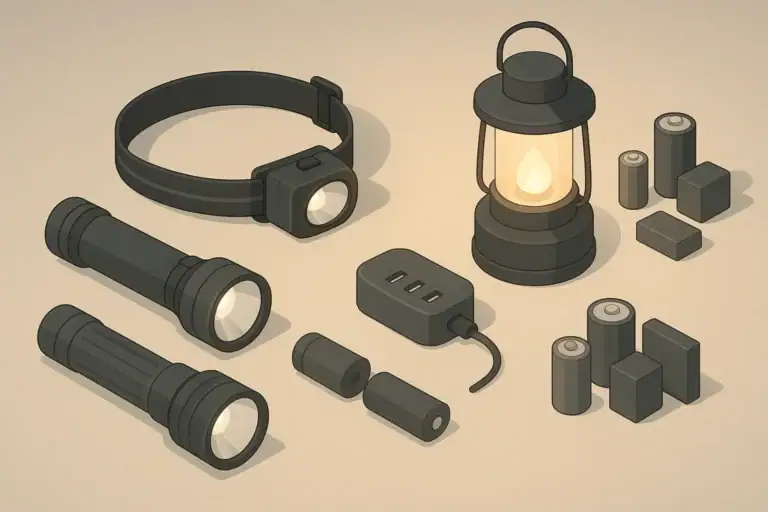
Battery Planning and Lantern Storage Basics
Good placement only works if your lanterns are charged and easy to find. Basic battery and storage planning helps you actually use the zones you design.
Storing lanterns where you will use them
- Keep at least one lantern in or near your main activity area at all times.
- Store backup flashlights in bedrooms, near the entry door, and by the breaker panel.
- Use simple labels or color-coding on bins or shelves so everyone knows where lights belong.
Battery and charging habits
- Set a recurring reminder (for example, twice a year) to check batteries and test each lantern.
- Store spare batteries in a cool, dry place, separate from loose metal objects.
- For rechargeable lanterns, top them up before major weather events like winter storms or hurricanes when possible.
Using daylight to extend lantern runtime
- During the day, open curtains and blinds where it is safe and comfortable to do so.
- Reserve lanterns for windowless rooms like interior bathrooms, closets, or hallways.
- Use bright light in short bursts for tasks, then switch back to low settings or natural light.
Example values for illustration.
| Lighting type | Battery or power source | Pros / cons (general) | Simple storage tip |
|---|---|---|---|
| Small handheld flashlight | Common disposable batteries | Compact and easy to store; runtime varies by size and setting | Keep one in each bedroom drawer with a spare set of batteries |
| Medium room lantern | Rechargeable pack or common batteries | Good for activity zones; may need periodic recharging or battery checks | Store in main living area on a shelf where everyone can reach it |
| Headlamp | Small disposable or rechargeable cells | Hands-free task lighting; light beam can be narrow | Hang on a hook near beds or the main entry door |
| Compact night-light style lantern | Low-power disposable or built-in rechargeable | Gentle light for halls and bathrooms; not ideal for large rooms | Keep in bathroom or hallway outlet area for quick access |
| Lantern with solar charging option | Built-in rechargeable with solar input | Can extend use in longer outages; charging depends on sun and time | Store near a window where it can be placed in sunlight when needed |
| Utility-area flashlight | Common disposable batteries | Dedicated for breaker panel or storage areas; simple and focused | Mount next to breaker panel with batteries stored separately nearby |
Quick Practice: Testing Your Home Lighting Zones
You can test your lantern placement in less than half an hour. This simple run-through helps you fix problems before a real outage:
- Choose an evening and turn off main lights (leave essential powered devices as needed).
- Set up one safe path zone and one activity zone using only lanterns and flashlights.
- Walk from bedroom to bathroom to kitchen using your safe path lighting only.
- Prepare a simple snack with your task lighting and notice any shadowy spots.
- Adjust lantern height, angle, or surface until the space feels safe and comfortable.
Afterward, note which lanterns you used most, where light felt too bright or dim, and where you wished you had a backup. A few small changes now can make your home feel much more ready for the next short-term outage, winter storm evening, or summer grid interruption.
Frequently asked questions
How many lanterns do I need to cover basic lighting zones in a one-bedroom apartment?
For most one-bedroom apartments, 2–3 lanterns are sufficient: one for a central activity area, one positioned to create a safe path to the bathroom and entry, and an optional small task or bedside light. Zones can overlap, so a single centrally placed lantern often serves multiple roles if you use low settings and aim to reduce glare.
What height and angle work best to avoid glare in living and activity areas?
Place lanterns at or slightly above seated eye level for activity zones to reduce direct glare and create comfortable, diffuse illumination. For safe path lighting, keep lights low and aimed along the floor; for very bright directional lanterns, point them at a light-colored wall or ceiling to soften the beam.
How should I position lanterns for safe stair and multi-level navigation?
Plan at least one safe path light per floor and place a lantern near the top and/or bottom of staircases so steps and level changes are clearly visible. Use stable surfaces or wall hooks to prevent tip-over and test the route in the dark to confirm there are no shadowy spots.
Which lantern types and battery practices extend runtime during longer outages?
Headlamps and small flashlights are efficient for hands-free or task work; rechargeable lanterns with a backup supply of common disposable batteries offer flexibility. Store spare batteries in a cool, dry place, set regular reminders to test equipment, and top up rechargeable units before forecasted storms to maximize readiness.
How can I reduce shadows when using a lantern for kitchen task work?
Place the lantern slightly behind and above your dominant hand so your body does not cast a shadow over the work surface, and aim light downward rather than directly into your eyes. If the lantern is very directional, use bounce lighting (point at a wall or ceiling) or bring a second small light for short bright bursts to check details.
Recommended next:
- Lighting During Outages: Flashlights vs Headlamps vs Lanterns (Simple Guide)
- How Many Lumens Do You Really Need for Home Use?
- Battery Types Explained: AA/AAA vs 18650 vs Rechargeables (Basics)
- Alkaline vs Lithium vs NiMH: What Stores Best for Emergencies
- Candles During Outages: Safety Tips and Safer Alternatives
- Headlamp Setup for Hands-Free Tasks: Night Routines That Work
- More in Lighting & Batteries →
- Simple checklists and realistic planning
- Water, power, lighting, and pantry basics
- Family plans (kids, pets, seniors) and seasonal prep
USB Rechargeable Battery Station: Charging Routine Before Storm Season
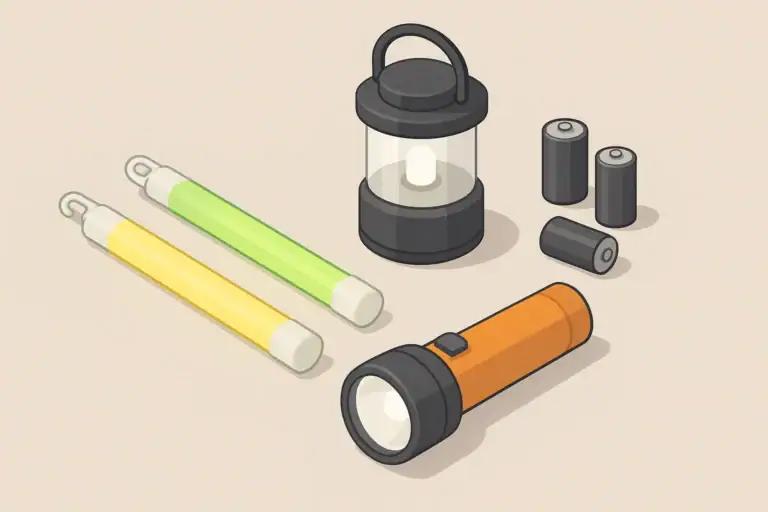
Glow Sticks in Emergency Kits: When They Help and When They Don’t
Battery Organizer for Emergencies: Sizes, Rotation, and Leak Prevention
Stair and Hallway Lighting Plan: Prevent Trips During Outages
Bedside Blackout Kit: What to Keep Within Reach
Flashlight Maintenance: Prevent Corrosion and Dead Batteries