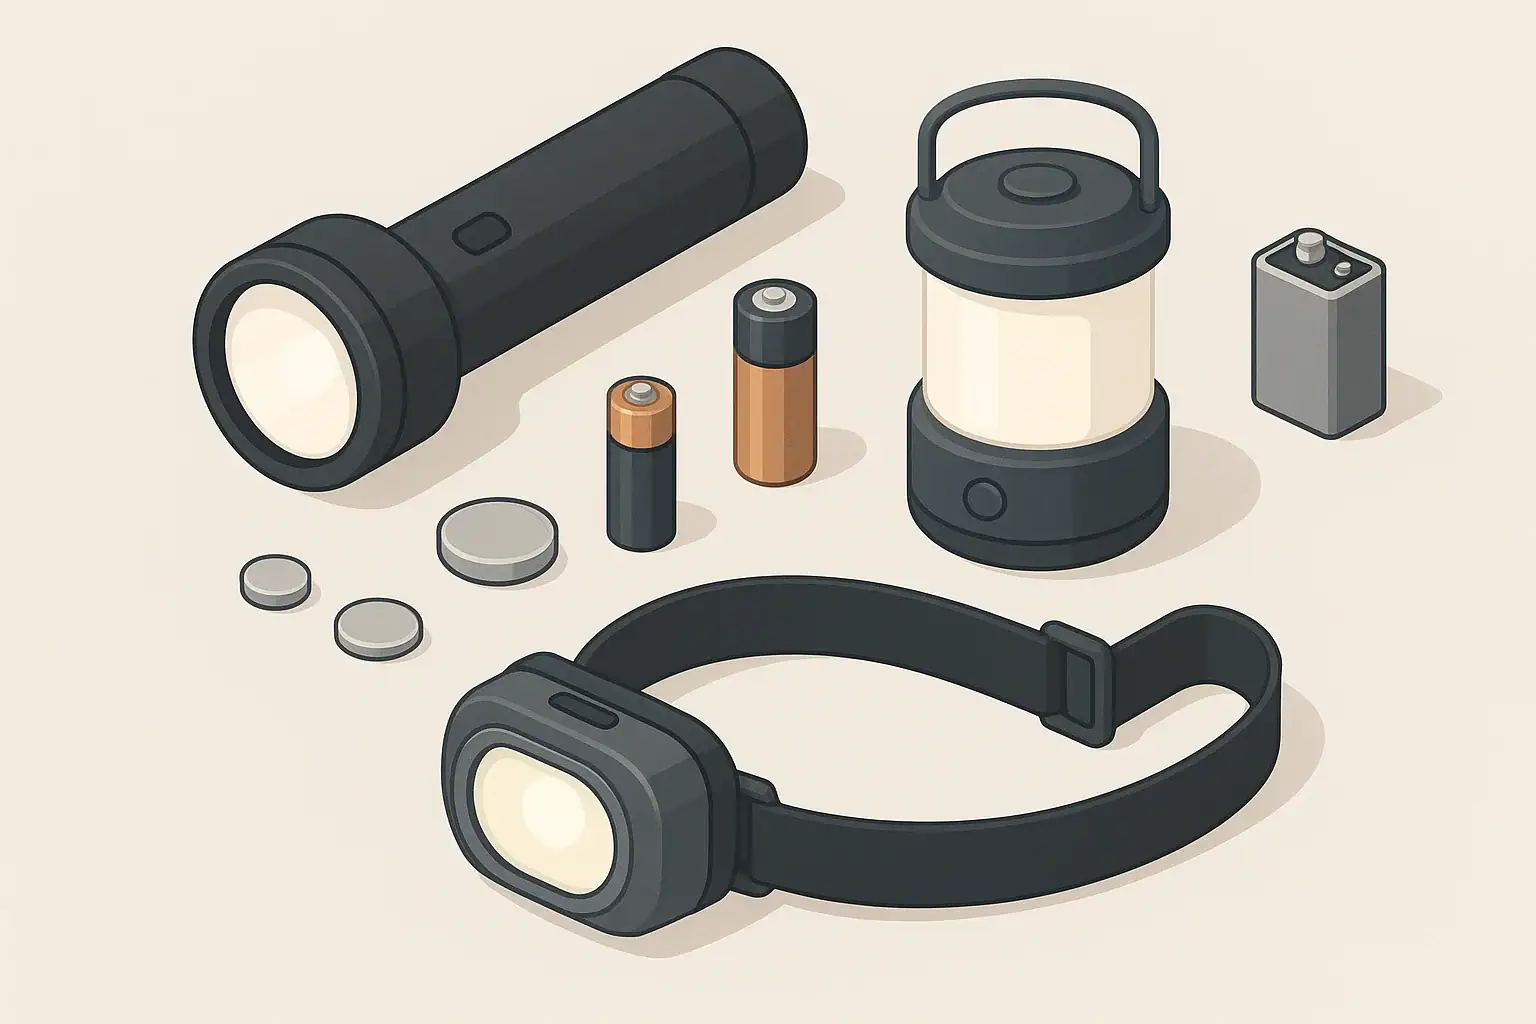
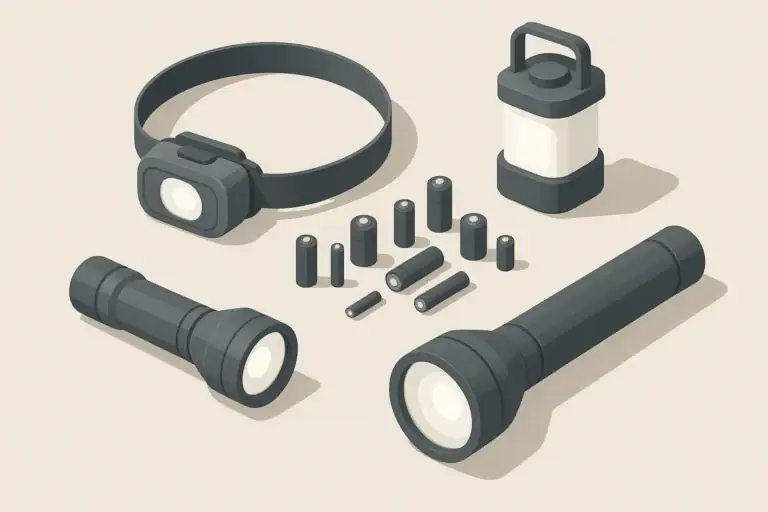
Flashlights are one of the simplest tools for home readiness, but they are also one of the easiest to overlook. Many people only discover problems when the power goes out and the light will not turn on. A few basic maintenance habits can greatly reduce the chances of dead batteries or corrosion when you need light most.
Good flashlight maintenance does not require special tools. It mainly involves storing batteries correctly, checking for leaks, and keeping contacts clean. This is especially important if you live in an apartment or small home where you rely on a few key lights during outages, storms, or late-night checks on kids, pets, or older family members.
Whether you keep a flashlight in a kitchen drawer, nightstand, car, or go-bag, the same principles apply. Regular, simple checks can keep your lights reliable for years and help you avoid messy, damaging battery corrosion.
Why Flashlight Maintenance Matters for Everyday Readiness
Flashlights are one of the simplest tools for home readiness, but they are also one of the easiest to overlook. Many people only discover problems when the power goes out and the light will not turn on. A few basic maintenance habits can greatly reduce the chances of dead batteries or corrosion when you need light most.
Good flashlight maintenance does not require special tools. It mainly involves storing batteries correctly, checking for leaks, and keeping contacts clean. This is especially important if you live in an apartment or small home where you rely on a few key lights during outages, storms, or late-night checks on kids, pets, or older family members.
Whether you keep a flashlight in a kitchen drawer, nightstand, car, or go-bag, the same principles apply. Regular, simple checks can keep your lights reliable for years and help you avoid messy, damaging battery corrosion.
Common Causes of Dead or Corroded Flashlights
Understanding why flashlights fail makes it easier to prevent problems. Most issues fall into a few predictable categories that you can manage with routine care.
1. Battery Self-Discharge Over Time
All batteries slowly lose charge, even when not in use. The rate depends on the battery chemistry, temperature, and age. A flashlight that sits untouched for a year or more may have very weak batteries, especially in a warm hallway closet or car glove box.
Everyday home scenarios where this shows up:
- The kitchen-drawer flashlight that has not been checked since last winter
- Emergency lights stored in a hot garage or attic
- Kids’ flashlights that are rarely used but always loaded with batteries
2. Accidental Switch-On in Storage
Flashlights stored in cluttered drawers, bags, or toolboxes can be bumped on without anyone noticing. A switch that is easy to press can slowly drain batteries completely.
Risk is higher when:
- Flashlights are packed tightly with other items in go-bags or diaper bags
- The switch is on the side and unprotected
- Children play with the light and put it back turned on or half on
3. Battery Leakage and Corrosion
Battery leakage happens when the internal chemicals escape and form a white, crusty, or powdery buildup on the battery and contacts. This is more likely when:
- Batteries are left in the flashlight for years without use
- The light is stored in high heat or high humidity
- Batteries are mixed (old with new, or different types together)
Corrosion can permanently damage the flashlight if not addressed early. It can also spread to other items stored nearby if the flashlight leaks in a drawer or bag.
4. Environmental Factors in the Home
Your home environment affects how well flashlights and batteries age. Consider:
- Heat: Hot closets, garages, or cars speed up battery aging and leakage risk.
- Humidity: Damp basements, bathrooms, or laundry areas raise corrosion risk on metal contacts.
- Dust and grime: Dust, pet hair, and kitchen grease can build up on switches and threads, making poor contact.
Even in small apartments, there are cooler, drier spots (like interior closets or bedrooms) that are better for storing emergency lights and spare batteries.
Example values for illustration.
| Task | Why it matters | Suggested frequency |
|---|---|---|
| Test all household flashlights briefly | Catches weak or dead batteries before an outage | About every 3 months |
| Open battery compartments and visually inspect | Early detection of leaks and corrosion | 1–2 times per year |
| Wipe contacts with a dry cloth | Improves electrical contact and reliability | During inspections |
| Rotate or replace older batteries | Reduces risk of failure during long outages | Every 1–2 years as an example |
| Label flashlights with inspection date | Makes it easier to stay on schedule | Each time you check them |
| Store in cool, dry, easy-to-find locations | Protects batteries and saves time in emergencies | Set once; review when you move or reorganize |
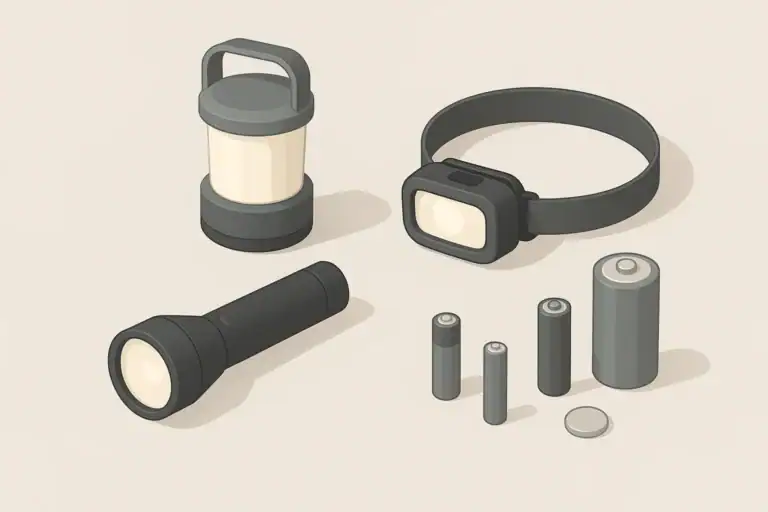
Choosing Batteries with Maintenance in Mind
Battery choice has a major effect on how often you need to maintain your flashlight and what kind of problems you are likely to see. For basic home readiness, the main types are disposable alkaline, disposable lithium, and rechargeable batteries.
Alkaline Batteries
Alkaline batteries are common and widely available. They work well in many household flashlights, but they are more prone to leakage over long storage, especially in heat or when fully drained.
If you use alkaline batteries:
- Avoid mixing old and new cells in the same flashlight.
- Do not leave them in lights you rarely use unless you inspect them regularly.
- Store unopened packs in a cool, dry interior location.
Lithium Primary (Non-Rechargeable) Batteries
Non-rechargeable lithium batteries (for example, commonly used in many high-performance and long-life applications) generally have a longer shelf life and perform better in cold conditions than standard alkalines. They are less likely to leak under normal storage, though no battery is completely risk-free.
These can be useful for:
- Flashlights stored in vehicles or unheated spaces where temperatures vary
- Emergency lights that you check but do not use frequently
- Compact high-output lights for go-bags or key readiness locations
Rechargeable Batteries
Rechargeable batteries, such as common household rechargeable types, can be cost-effective if you use your flashlight often. However, they slowly self-discharge, and some types are less ideal for long-term idle storage in an emergency-only light.
Good uses for rechargeables include:
- Everyday-carry flashlights that you use and charge regularly
- Lanterns used for camping and frequent backyard use
- Lights that can be topped up from a home backup power source
If a flashlight is mainly for rare power outages, a low self-discharge rechargeable type or a high-quality disposable battery may be more reliable for long standby periods, as long as you still check the light a few times a year.
How to Inspect and Clean Your Flashlights
Regular inspection and light cleaning extend both battery and flashlight life. This process is quick and works well as part of a seasonal household routine, like checking smoke detectors or testing backup power options.
Step 1: Safe Disassembly
Before you start, turn the flashlight off and, if possible, remove it from areas where children or pets can disturb your work.
- Unscrew the tail cap or head, depending on the design.
- Gently slide batteries out, noting which way they were inserted.
- Set the batteries aside on a clean, dry surface.
Step 2: Visual Check for Corrosion or Damage
Look closely inside the battery compartment and on both ends of each battery.
- Check for white, crusty, or powdery buildup.
- Look for rust-colored spots or pitting on metal contacts.
- Notice any swelling, leaking, or discoloration on batteries.
If you see extensive leakage or damage, it is usually safer to discard the affected batteries and, if the flashlight housing is badly damaged, to replace the flashlight.
Step 3: Basic Cleaning of Contacts
If there is light residue but no severe damage, you can often improve performance with simple tools:
- Use a dry cloth or cotton swab to gently wipe away loose debris.
- For light surface corrosion, a dry, soft eraser or lightly abrasive pad can sometimes clean contact surfaces. Use gentle pressure.
- Do not use excessive liquid cleaners inside the battery compartment.
After cleaning, ensure everything is fully dry before reassembling.
Step 4: Reassemble and Test
Insert fresh or inspected batteries in the correct orientation. Screw the flashlight back together snugly but without over-tightening.
- Turn the flashlight on in all modes (if available) to confirm proper contact.
- Wiggle the light gently and tap lightly to check for flickering.
- If it flickers, reopen and confirm batteries are seated correctly and contacts are clean.
Step 5: Label and Record
A simple label can make future maintenance easier. Consider:
- Writing the month and year of battery installation on a small piece of tape on the flashlight body.
- Noting in a household checklist which flashlights were checked and when.
This is especially helpful for families, roommates, or caregivers managing readiness in multi-person households.
Preventing Battery Corrosion in Stored Flashlights
Preventing corrosion is easier than cleaning it. With a few habits, you can reduce the chance of leaks and extend the life of both your flashlights and batteries.
Remove Batteries from Rarely Used Lights
For flashlights that are mainly backups and rarely used (for example, a spare in the guest room or basement), consider storing the batteries nearby but outside the flashlight.
- Keep batteries in their original packaging or a small, clearly marked container.
- Place them next to or with the flashlight so they stay together.
- Post a simple instruction note if different household members may need to assemble them in an outage.
Avoid Mixing Battery Types and Ages
Mixing fresh and partly used batteries can cause uneven drain and increase the risk of leaks. To avoid this:
- Use matching batteries with the same type and similar purchase date in each flashlight.
- When you replace one battery in a set, consider replacing the whole set and moving the partly used ones to a lower-demand device you use often.
Store in Cool, Dry, and Accessible Locations
Choose storage spots that balance protection with easy access:
- A bedroom nightstand, hallway cabinet, or interior closet is usually better than a hot garage or damp basement corner.
- For apartments, avoid the top of high closets near the ceiling where heat collects.
- For houses, keep at least one flashlight on each floor in a consistent, easy-to-reach place.
Consider Family Needs and Abilities
Different family members may have different abilities and comfort levels using flashlights and batteries. Plan storage and maintenance with this in mind:
- Place large, simple lights where children and older adults can reach them safely.
- Use lights with switches that are easy to operate for people with limited grip strength.
- Keep instructions simple and visible if assembly is required.
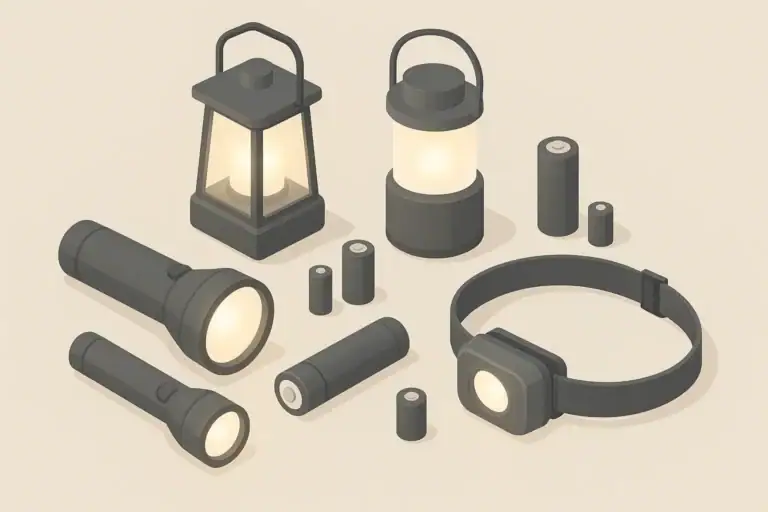
Creating a Simple Flashlight Rotation Plan for Your Home
A basic rotation plan keeps your flashlights and batteries fresh without much effort. This is similar to rotating pantry items or checking smoke alarms and fits well with a calm, practical approach to home readiness.
1. Map Out Where You Need Light
Think about realistic scenarios like short power outages, winter storms, or summer thunderstorms. Common locations include:
- Next to each bed for nighttime outages
- In the main living space where the family gathers
- In the kitchen for meal prep during blackouts
- Near entrance doors for checking outside conditions
- One portable light in a go-bag or near the front door
2. Assign a Primary and Backup Flashlight
For important areas, it can be helpful to have both a primary flashlight and a backup option, which might be a lantern or headlamp. This is useful in households with multiple people so that no one has to share a single light in dark conditions.
3. Align Checks with Seasonal or Calendar Reminders
To keep it simple, tie flashlight checks to events that already occur:
- Changing clocks for daylight saving time
- Beginning of winter storm season in your region
- Start of hurricane season in coastal areas
- Quarterly rent or utility reminder days
Use these moments to test each light, inspect for corrosion, and update any labels or notes.
4. Plan for Different Housing Situations
Your flashlight rotation plan may look different depending on where and how you live:
- Apartment dwellers: Focus on compact, easily stored lights and central storage spots near exits.
- Households with multiple floors: Aim for at least one reliable light per floor and one near stairs.
- Renters: Choose storage spots that do not damage walls or require permanent fixtures.
Example values for illustration.
| Lighting type | Common battery type | Pros and cons | Storage tip |
|---|---|---|---|
| Small handheld flashlight | Everyday disposable cells | Easy to find batteries; may leak if forgotten for years | Store in cool drawer; inspect a few times per year |
| Larger home flashlight | Larger disposable or rechargeable cells | Brighter and longer runtime; heavier to carry | Keep near main living area for quick access |
| Headlamp | Small disposable or rechargeable cells | Hands-free use; smaller batteries may drain faster | Store with go-bag or in bedroom for night use |
| Battery-powered lantern | Mixed-size disposable or rechargeable cells | Area lighting for rooms; uses multiple batteries at once | Label battery install date; keep on shelf or table |
| Rechargeable LED work light | Built-in rechargeable pack | No loose cells; must remember to charge periodically | Plug in to top up charge before heavy weather |
| Compact keychain light | Small button or built-in cell | Very portable; limited brightness and runtime | Test monthly; treat as backup to larger light |
Keeping Flashlights Reliable Without Extra Stress
Flashlight maintenance fits naturally into a calm, everyday approach to home readiness. By keeping batteries stored properly, inspecting lights a few times a year, and planning where each flashlight belongs, you can greatly reduce the chance of unpleasant surprises during power outages or nighttime interruptions.
For most households, a handful of well-maintained flashlights, a modest supply of fresh batteries, and a simple rotation habit are enough to stay prepared for short-term emergencies, seasonal storms, and everyday power glitches without adding clutter or complexity.
Frequently asked questions
How often should I check and replace batteries in stored flashlights?
Check and briefly test household flashlights about every 3 months and do a visual inspection of battery compartments 1–2 times per year. Replace batteries every 1–2 years for long-term standby or sooner if they show signs of self-discharge, swelling, or leakage.
Can I leave alkaline batteries in flashlights long-term?
Alkaline batteries can be left in frequently used flashlights but are more prone to leakage if stored for years, especially in heat. For emergency-only lights, it’s safer to store fresh batteries separately or inspect and rotate alkalines regularly.
What is the safest way to clean battery corrosion from a flashlight?
First remove batteries and dispose of any that are leaking. Use a dry cloth or cotton swab to remove loose residue; for light corrosion, gently rub contacts with a soft eraser or lightly abrasive pad, and ensure the compartment is completely dry before reinserting batteries. If corrosion is severe or contact metal is pitted, replace the flashlight or seek professional repair.
Are rechargeable batteries suitable for emergency flashlights?
Rechargeables work well for everyday-carry lights that you use and charge often, but some types self-discharge faster during long storage. For rarely used emergency lights, choose low self-discharge rechargeable types or high-quality disposables and include checks in your rotation plan.
Where should I store flashlights to minimize corrosion and battery failure?
Store flashlights in cool, dry, and accessible interior locations like nightstands or hallway cabinets rather than hot garages or damp basements. Label them and keep spare batteries nearby in their original packaging to simplify maintenance and reduce the risk of mixing types or ages.
Recommended next:
- Lighting During Outages: Flashlights vs Headlamps vs Lanterns (Simple Guide)
- How Many Lumens Do You Really Need for Home Use?
- Battery Types Explained: AA/AAA vs 18650 vs Rechargeables (Basics)
- Alkaline vs Lithium vs NiMH: What Stores Best for Emergencies
- Candles During Outages: Safety Tips and Safer Alternatives
- Headlamp Setup for Hands-Free Tasks: Night Routines That Work
- More in Lighting & Batteries →
- Simple checklists and realistic planning
- Water, power, lighting, and pantry basics
- Family plans (kids, pets, seniors) and seasonal prep
USB Rechargeable Battery Station: Charging Routine Before Storm Season
Glow Sticks in Emergency Kits: When They Help and When They Don’t
Battery Organizer for Emergencies: Sizes, Rotation, and Leak Prevention
Stair and Hallway Lighting Plan: Prevent Trips During Outages
Bedside Blackout Kit: What to Keep Within Reach
Solar Lanterns: What They Can and Can’t Do During Emergencies