Fire alarms, gas leaks, nearby chemical spills, or fast-moving neighborhood incidents can all lead to a quick request to leave your home. In these moments, people do not rise to the occasion; they fall back on whatever they have practiced. A short, repeatable drill makes that practice realistic without feeling overwhelming.
A 15-minute family evacuation drill is not about fear. It is about turning confusion into routine so everyone knows what to do and where to go. Short, regular practice helps you:
- Move more efficiently in a real emergency
- Keep kids, pets, and seniors calm because the steps feel familiar
- Notice obstacles in hallways or stairwells before they matter
- Test your go-bags or stay-at-home kits in a low-stress way
This type of drill works whether you live in an apartment or a house, whether you rent or own, and whether you have a large family or live with one roommate.
Why a 15-Minute Family Evacuation Drill Matters
Before You Start: Simple Planning for Your Drill
Spending a few minutes on basic planning makes your 15-minute drill smoother and more useful. You do not need to build a full emergency plan first; you can let the drill itself reveal what you still need.
Define realistic reasons you might evacuate
Focus on situations that actually happen in your area or building type. Common examples include:
- Kitchen or electrical fire in your home or neighboring unit
- Gas smell or suspected leak
- Small neighborhood chemical incident with a request to leave
- Localized flooding affecting your block or building
Choose one scenario to imagine for each drill. You do not need to change the scenario every month, but rotating between one or two helps your family see different details.
Choose primary and backup exit routes
Different homes call for different exits:
- Apartments: Know the nearest stairwell and an alternate stairwell if one is blocked. Avoid elevators in fire scenarios unless authorities provide different instructions.
- Single-story homes: Front and back doors are usually primary. Identify at least one window that could be used if a main exit is blocked.
- Multi-story homes: Plan how family members upstairs would reach the ground level quickly and safely, focusing on stairs and clear hallways.
Walk each route and clear obvious hazards like shoes in hallways or furniture that narrows a path.
Pick a primary and backup meeting spot
Your meeting spot should be easy to reach, outside danger zones, and safe from traffic. Common choices:
- A neighbor’s front sidewalk or driveway
- A specific tree or lamp post on your block
- For apartments, a spot across the street away from the building
Choose a secondary spot a bit farther away in case the immediate area is blocked. For example, if your primary spot is a tree near your home, your backup could be a corner two blocks away.
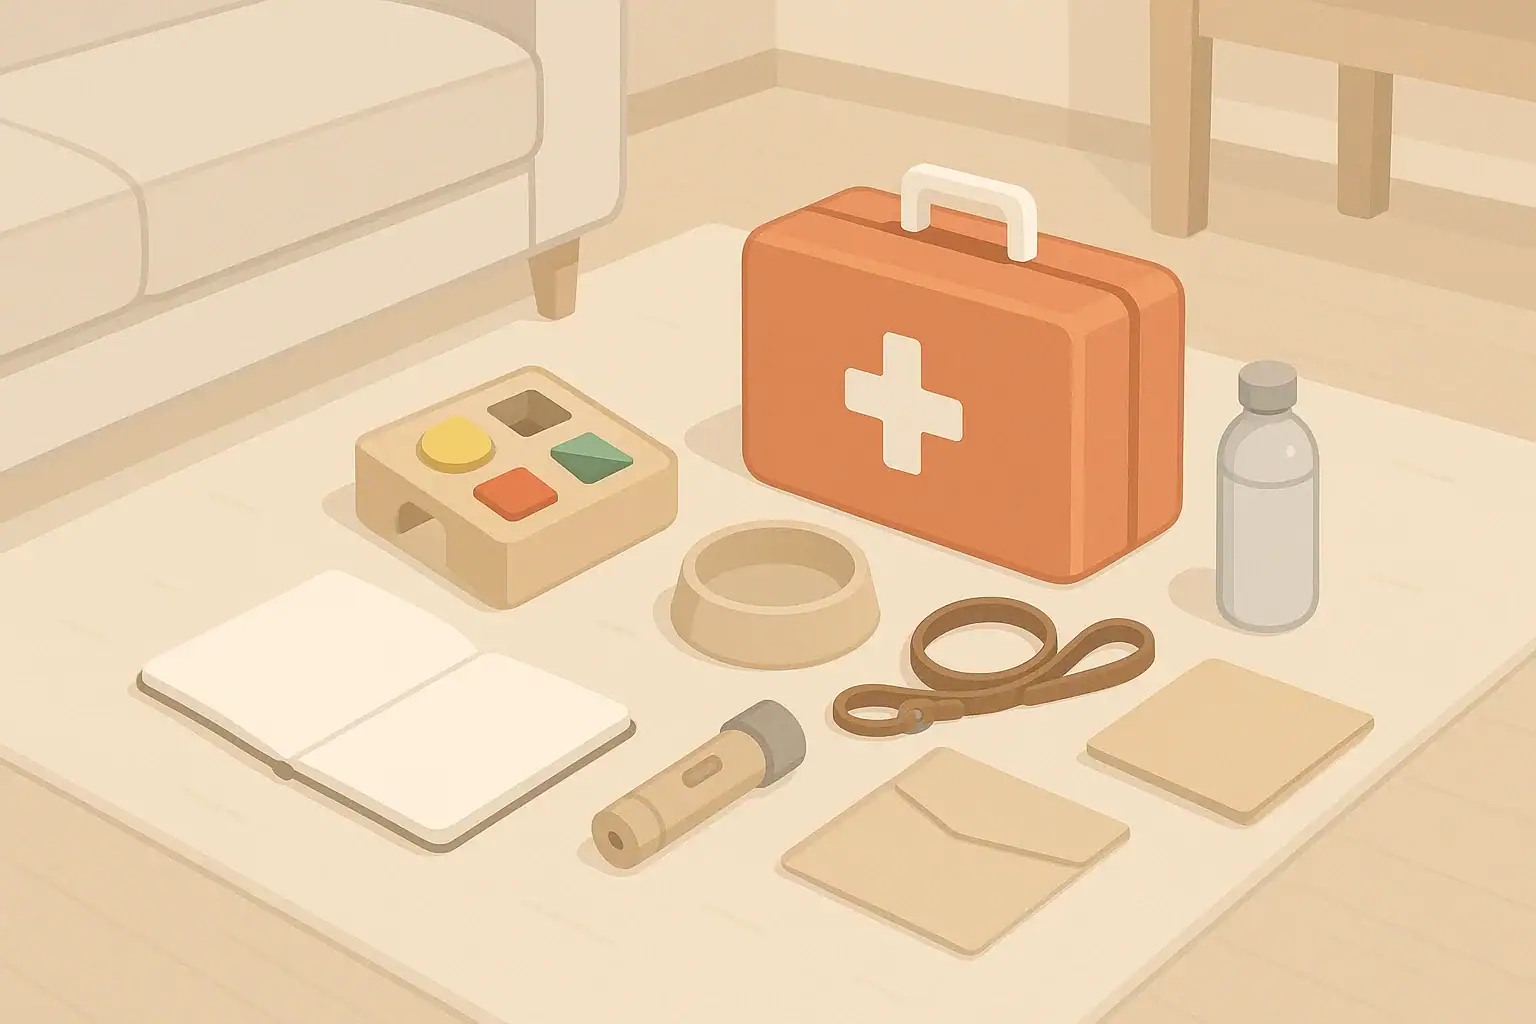
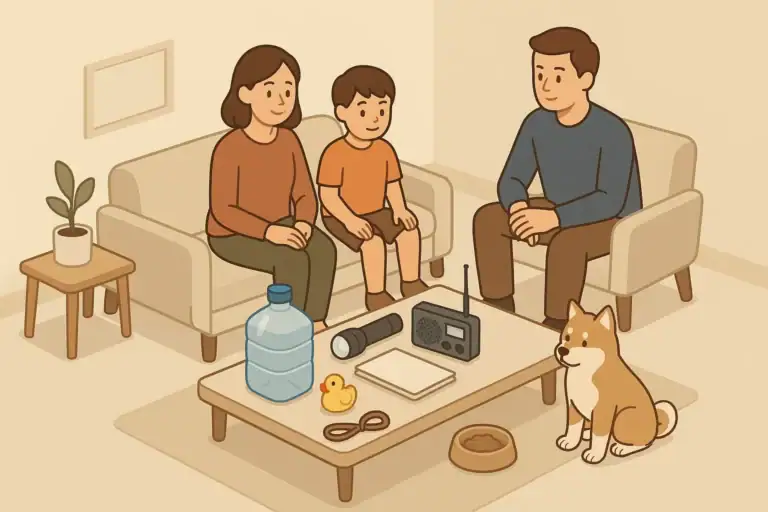
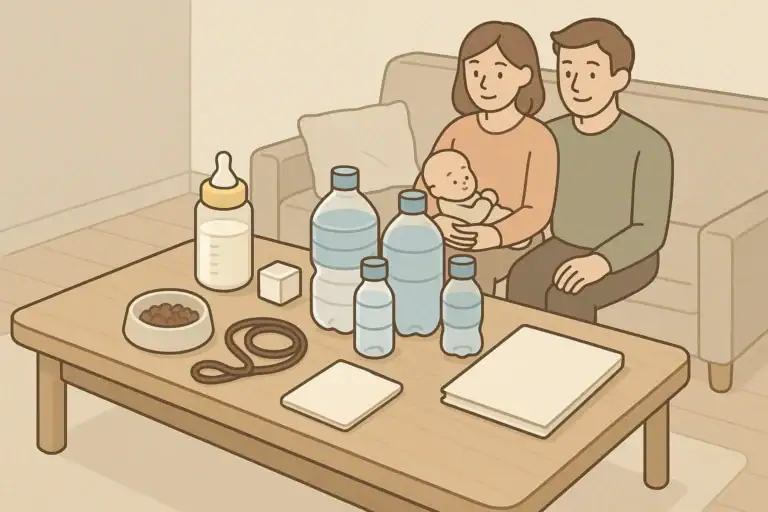
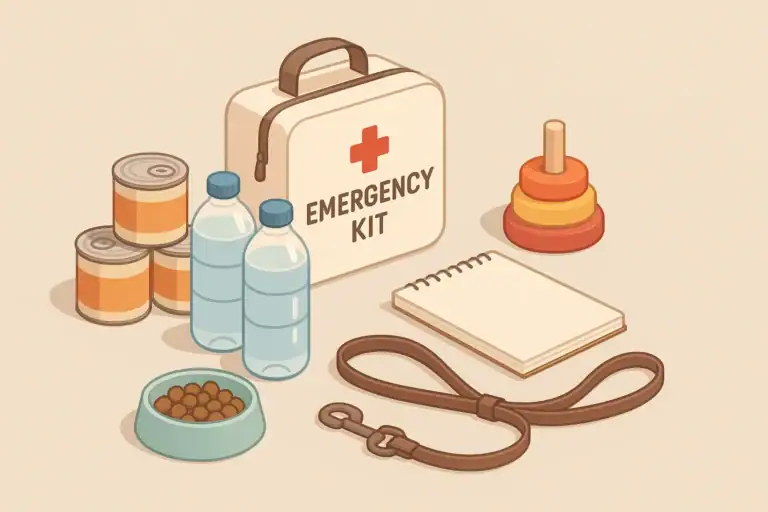
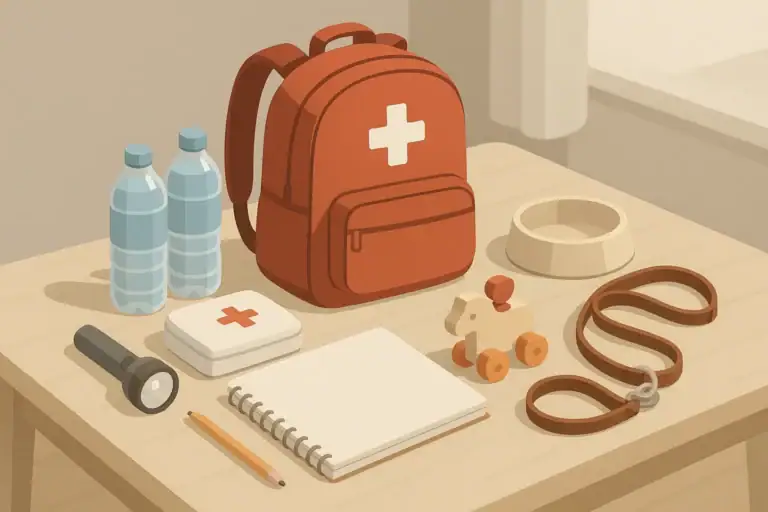
Gather a minimal go-kit for drills
You do not need a fully built go-bag before starting drills. For practice, aim for a simple set of items stored near your exit:
- Small bag or backpack for each adult or teen
- Basic supplies: water bottle, light source, simple snacks
- Copies of important contact information on paper
- Simple comfort item for kids, like a small toy or blanket
- Leash and portable pet bowl for animals
During drills, time how long it takes to grab these items. Over several months, you can gradually improve what you keep in them.
Example values for illustration.
| Drill task | Why it matters | Notes for your home |
|---|---|---|
| Test alarms before the drill | Confirms devices work and alerts are familiar | Decide which alarm sound starts your drill |
| Practice primary exit route | Builds muscle memory for the fastest path out | Check for clutter, tight corners, loose rugs |
| Practice backup exit route | Prepares you if a hallway or stair is blocked | Note any dark areas where lighting would help |
| Grab minimal go-kits | Shows how long it really takes to leave ready | Keep bags within a few steps of your exit |
| Account for kids and seniors | Makes sure no one is relying on memory alone | Assign a helper for anyone who needs support |
| Meet at outdoor spot and count heads | Reduces confusion during an actual event | Practice a quick roll call by name |
| Two-minute debrief | Captures what went well and what to adjust | Write down one small improvement per month |
The 15-Minute Monthly Evacuation Drill: Step by Step
This drill fits into a short window. Aim to run it when everyone is home and not rushed, such as a weekend afternoon or early evening.
Step 1: Announce and explain (2 minutes)
Tell everyone you are running a practice drill, not a real emergency. With kids, keep the tone calm and matter-of-fact:
- Explain which sound or phrase will start the drill (for example, “Evacuation practice, time to go.”)
- Remind everyone of the primary exit and meeting spot.
- Assign basic roles, such as who helps younger kids or pets.
Step 2: Start the timer and simulate the alert (1 minute)
Choose a simple signal to begin. Possible options:
- Pressing the test button on a smoke alarm so everyone recognizes the sound
- Using a set phrase that you agree means “leave the home now”
Once the signal starts, begin timing. The goal is not to rush dangerously, but to move with purpose.
Step 3: Everyone grabs their basics (3–4 minutes)
Each person should move toward their planned exit route while doing only a few specific tasks:
- Slip on shoes that are already near the exit
- Grab their small bag or go-kit from its designated spot
- Take outerwear if your region’s weather makes it necessary
Try to avoid extra steps such as gathering many personal items or changing clothes. The drill is about fast, safe exit, not full packing.
Step 4: Practice exits and safe habits (3–4 minutes)
As you move along your primary route, incorporate simple safety habits that translate to real events:
- Feel doors with the back of your hand before opening in a fire scenario
- Stay low if you are practicing for a smoke-filled hallway
- Keep one hand on children’s shoulders or hold hands on stairs
- Use railings and avoid running, especially in dim light
If your home has multiple levels or exits, alternate which family members use which path each month so everyone gets experience with both primary and backup routes.
Step 5: Meet outside and account for everyone (2–3 minutes)
Once outside, move to your meeting spot and quickly check that everyone arrived:
- Call each person’s name and wait for a “here” response
- Confirm pets are secured on leashes or in carriers
- Check that everyone has basic footwear and outerwear suited to the current season
Note how long it took from the signal to having everyone at the meeting spot. Over time, the drill will likely become smoother, but the priority remains safety and calm, not speed alone.
Step 6: Short, focused debrief (3 minutes)
While the experience is fresh, ask a few quick questions:
- Did any exit feel blocked or awkward to use?
- Did anyone forget their bag, shoes, glasses, or mobility aids?
- Were pets easy or difficult to manage?
Write down one or two changes for next time, such as moving shoes closer to the door or hanging leashes on a hook by the exit.
Adapting the Drill for Apartments, Houses, and Different Family Members
Every home layout and family situation is different. Small adjustments can make your 15-minute drill more realistic and inclusive.
Apartment living and shared buildings
In apartments and condos, stairwells, hallways, and neighbors influence your plan:
- Practice opening and closing your unit door quickly and safely without blocking the hallway.
- Walk to at least two different stairwells so they become familiar landmarks.
- Observe if emergency lighting exists in hallways and stairs, and plan to bring a small light source anyway.
- Pick an outdoor meeting spot that is not directly under balconies or close to building exits, to stay out of the way of others.
For renters, note any building-specific rules shared by management about evacuations and incorporate them into your drill.
Single-family homes and multi-story layouts
Houses allow more flexibility but can hide obstacles:
- Practice both front and back door exits so neither path feels unfamiliar.
- Check for furniture that partially blocks hallways and rearrange if needed.
- Identify at least one safe, reachable window exit on each level, even if you do not physically climb out during drills.
- For basements, practice getting to ground level quickly using stairs that are kept clear.
Note any areas that are consistently dark or cluttered and treat those as monthly improvement spots.
Including kids without causing anxiety
Kids tend to mirror adult reactions. Keeping the tone calm helps them see drills as routine:
- Describe drills as “practice games” that help everyone move together.
- Let older kids lead the way on some drills so they learn routes.
- Give younger children a simple job, like holding a flashlight or carrying a small toy in their bag.
Avoid scary explanations. You can emphasize that emergencies are rare but practicing helps everyone be ready just in case.
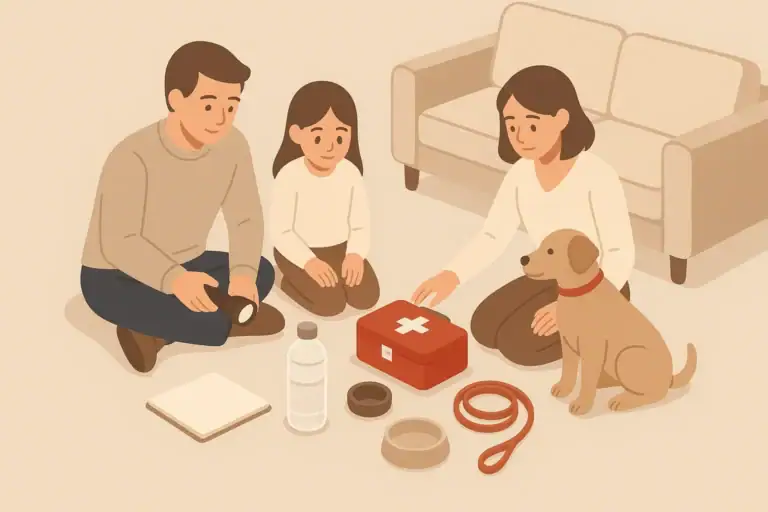
Planning for seniors and people with mobility or sensory needs
If anyone in your household has mobility, vision, hearing, or cognitive challenges, plan clear support roles:
- Assign at least one person to assist them during every drill.
- Store mobility aids, canes, or walkers where they can be reached quickly.
- Consider how to signal the start of the drill in ways that work for everyone, such as both sound and touch.
Practice realistic pacing. The goal is to learn how much time is truly needed and which exits work best, rather than trying to match the speed of more mobile family members.
Evacuating with pets
Pets can run or hide when stressed. Repeating the same steps every month helps them associate leashes and carriers with going outside calmly:
- Keep leashes, harnesses, and carriers in one consistent location near your exit.
- During drills, actually secure pets and bring them to the meeting spot when practical.
- Note how long it takes to find and secure each pet; adjust where they sleep or where gear is stored if needed.
Over time, many pets learn that these steps are routine and less threatening.
Connecting Evacuation Practice to Everyday Home Readiness
Your monthly drill is a natural moment to check a few other basic readiness items without turning it into an all-day project. Think of it as a quick maintenance window for your home’s safety habits.
Check alarms and simple safety equipment
Once you are already thinking about evacuation, take a minute to:
- Test smoke and carbon monoxide alarms using their built-in test buttons.
- Confirm flashlights work and are easy to find in the dark.
- Scan for tripping hazards in the pathways you use during the drill.
For many households, tying these small checks to the drill makes it easier to remember them regularly.
Link drills with blackout and power outage planning
Power outages are common and can happen during storms, heatwaves, or grid issues. You may not always evacuate in these cases, but your evacuation routes and habits still matter if you need to leave at night or in low light.
Consider adding one small power-related check to each monthly drill, such as:
- Verifying that battery-powered lights near exits are charged or have fresh batteries.
- Reviewing where you store a small backup power source, if you use one, so it is not blocking an exit.
- Practicing walking your exit route with only your emergency lighting on, to see if it is sufficient.
Integrate water, pantry, and hygiene basics over time
You do not need to prepare everything at once. Use different months to briefly check another area as you already gather for the drill:
- Water: Glance at stored water containers to confirm they are sealed and dated for future rotation.
- Pantry: Look at a shelf of shelf-stable foods and rotate items nearing their date into your regular meal plans.
- Hygiene: Verify that simple sanitation items, such as soap and trash bags, are part of your go-kit or easy to grab.
By spreading these checks across months, you steadily improve readiness without large time investments.
Example values for illustration.
| Who to contact | Primary method | Fallback | Meeting point note |
|---|---|---|---|
| Household members | Group text message | Voice call | Meet at home’s outdoor spot if phones fail |
| Local relative | Phone call | Text message | Can provide temporary nearby place to stay |
| Out-of-area contact | Text message with status | Brief call when network is stable | Acts as central update point for others |
| Child’s school or caregiver | Official phone line | Voicemail plus follow-up text | Clarify pickup location if plans change |
| Roommates or nearby friends | Group chat | Written note left at agreed place | Agree on a shared neighborhood landmark |
| Pet boarding or sitter | Phone or text | Alternate contact listed on file | Confirm where pets will be taken if moved |
Making the Drill a Calm Monthly Habit
The value of a 15-minute family evacuation drill comes from repetition more than intensity. A few ideas help keep it sustainable:
- Pick a recurring date, such as the first Saturday of each month.
- Keep drills short so they feel manageable and do not disrupt routines.
- Focus each month on one small improvement instead of trying to fix everything at once.
- Involve everyone in noticing what worked well, not only what went wrong.
Over time, these brief, calm practices turn your exits, meeting spots, and communication steps into familiar habits that are easier to follow under stress. The goal is a household that can move together confidently, even when the unexpected happens.
Frequently asked questions
How long should each family member take to grab their go-kit during a 15-minute family evacuation drill?
For a 15-minute family evacuation drill, aim for the entire household to complete the “grab basics” step within the 3–4 minute window suggested in the guide. Individual adults should generally be able to reach and collect a minimal go-kit in under a minute; families can time runs to identify specific items that slow them down and move those closer to exits.
How can I include pets in monthly evacuation drills without causing them stress?
Include pets by keeping leashes, carriers, and treats in a consistent location near exits and practicing securing them calmly each month. Use positive reinforcement, keep sessions short, and simulate the full step of bringing the pet to the meeting spot so they learn the routine without being overwhelmed.
What is the best way to adapt a drill for someone with mobility or sensory needs?
Assign a specific helper for anyone who needs assistance, store mobility aids where they can be reached quickly, and use multiple signals (sound and touch or visual cues) to start the drill. Practice at the realistic pace required by the person with needs so you learn accurate timing and the most accessible exit routes.
How often should we rotate scenarios or change exit routes during monthly drills?
Rotate between one or two realistic scenarios over several months and alternate which exit routes family members use so everyone gets experience with both primary and backup paths. Monthly rotation is sufficient to build familiarity while keeping drills simple and repeatable.
What minimal items should be be in a go-kit for a short family evacuation drill?
A minimal drill go-kit should include a water bottle, a small light source, written contact information, any essential medications or mobility aids, and a simple comfort item for children or pets. Keep these compact items near your exit so timing the drill shows whether anything needs to be moved for faster access.
Recommended next:
- Family Emergency Plan: Roles, Routines, and Practice Drills
- Emergency Plan for Kids: Simple Steps and Comfort Items
- Emergency Plan for Babies: Formula, Diapers, and Safe Water Basics
- Emergency Plan for Seniors: Mobility, Power, and Communication Basics
- Emergency Plan for Pets: Food, Water, Carriers, and a 7-Day Buffer
- Multi-Pet Households: Simplified Storage and Rotation System
- More in Family, Kids & Pets →
- Simple checklists and realistic planning
- Water, power, lighting, and pantry basics
- Family plans (kids, pets, seniors) and seasonal prep
Emergency Plan for Roommates: Shared Supplies and Clear Roles

School and Work Communication Plan: What Happens If Phones Fail
Baby Formula Water During Emergencies: Storage and Boil Notice Basics
How to Talk to Kids About Emergencies Without Fear (Practical Tips)
Dietary Needs in Emergency Planning: A Safe Checklist for Families
School and Daycare Pick-Up Plan: What to Decide in Advance