Why Evacuation Routes and Rally Points Matter
Emergencies that require leaving your home quickly are more common than many people realize. House fires, gas leaks, neighborhood chemical spills, fast-moving storms, and even building maintenance issues can all lead to short-notice evacuations.
Having clear evacuation routes and rally points does not mean you expect disaster. It simply gives your household a calm, practiced plan so you can move faster and think more clearly if you ever need to get out.
This guide focuses on realistic, short-term situations for everyday families, renters, and people in small spaces. The goal is to create simple, written, and practiced plans that work for your home, with your kids, pets, and any older adults or people with mobility challenges in mind.
Step 1: Map How You Will Get Out
An evacuation route is the path you take to leave a room, floor, building, or neighborhood safely. You do not need a complicated map, but you do need options.
Plan routes inside your home
Start with how each person will exit their usual sleeping area, because many urgent evacuations (especially fires) start at night.
- Identify two exits from every sleeping area if possible: typically a door and a window.
- Check that doors and windows open easily and are not blocked by furniture or storage.
- Keep pathways clear of clutter, especially in hallways and around stairs.
- Confirm locks and security bars can be opened from the inside without special tools.
If you live in a multi-story home, think about how people upstairs could get down if the main staircase is not usable. This might include using a different staircase, exiting through a different level, or having a safe plan to wait at a window for help if escape is not possible.
Plan routes in apartments and multi-unit buildings
Apartment and condo residents need to think beyond their front door.
- Locate all building exits: main entrance, rear exits, and any side doors.
- Know stairs and elevator rules: in many emergencies, using stairs is safer than elevators.
- Walk at least two routes from your door to the outside, using different stairwells if available.
- Note obstacles like security gates, heavy doors, or automatic locks.
Hallways and stairwells can feel confusing in low light or under stress. Physically walking your routes a few times makes them easier to remember later.
Think about the area just outside your home
Leaving your front door is only part of the picture. You also need to know where you will go immediately outside.
- Look for clear, open spaces away from the building and parked cars.
- Notice hazards such as busy roads, nearby power lines, or drainage ditches.
- Consider lighting: how dark is the area at night or during a power outage?
- Identify at least one step-free path if you have strollers, wheelchairs, or mobility aids.
The goal is to guide your family from “out of the building” to “in a safe spot” in as few steps as possible.
Example values for illustration.
| Task | Why it matters | Notes |
|---|---|---|
| Identify two exits from each bedroom | Gives options if one exit is blocked | Commonly a door plus a window |
| Walk two routes to the outside | Builds muscle memory under stress | Try once in daytime and once at night |
| Clear hallways and stair landings | Reduces tripping and delays | Remove extra shoes, boxes, or furniture |
| Check doors and windows for easy opening | Prevents getting stuck during exit | Test locks, latches, and security bars |
| Note step-free exit options | Supports strollers and mobility devices | Ramp or ground-level exit if possible |
| Mark gas shutoff location (if relevant) | May be needed after certain hazards | Only operate if you know how and it is advised |
| Store small flashlight near each exit | Helps with power-out evacuations at night | Choose simple, easy on/off controls |
Step 2: Choose Family Rally Points
Rally points are pre-agreed places where your household will meet if you are forced to leave quickly or get separated. Rally points help you avoid guessing or waiting by phones that may not work.
Types of rally points to plan
Most families benefit from having several layers of rally points:
- Immediate rally point: a spot just outside your home for quick incidents like a fire alarm.
- Neighborhood rally point: a slightly farther location if your building or block is unsafe.
- Out-of-area rally concept: a general idea of where you might stay with friends, family, or lodging if you cannot return home for at least one night.
Choosing an immediate rally point
This is the simplest but most important rally point. It should be:
- Visible from your home, such as a specific tree, mailbox area, or corner of a parking lot.
- Far enough away from the building to be safe from falling debris and emergency vehicle activity.
- Accessible for everyone, including small children and people who move slowly.
Explain to kids that their only job in some emergencies is to get outside and go straight to that spot. Emphasize that they should not go back inside for any reason once they are out.
Choosing a neighborhood rally point
This rally point is useful for events that affect your immediate area, such as a gas leak on your street or a local hazardous material spill.
Look for places that are:
- Outside the likely hazard area, such as several blocks away or on higher ground in flood-prone communities.
- Easy to recognize, like a specific playground, community building, or landmark.
- Reached by more than one route, in case some roads are closed.
For renters and apartment dwellers, check any building rules or posted evacuation locations. You can still choose an additional rally point nearby that works best for your specific family.
Planning for overnight stays away from home
You do not need a detailed travel itinerary, but it helps to think about where you would likely go if you could not sleep at home for a night or two.
- Identify friends or relatives who are likely to be able to host you temporarily.
- Note general directions (for example, a town or area rather than a specific address).
- Consider pet policies if you have animals; not all locations allow them.
- Keep basic overnight items in a simple go-bag so you can leave quickly.
These ideas become especially helpful during larger regional events like hurricanes, wildfires in nearby areas, or extended power outages.
Step 3: Include Everyone in the Plan
A family evacuation plan only works if every person understands their role. This is especially important for children, older adults, and anyone with mobility or communication needs.
Planning with children
Children often look to adults for cues. Practicing calmly reduces fear and helps them act quickly if needed.
- Use simple language: “When we hear the alarm, we go outside and meet at our tree.”
- Assign simple tasks, like an older child helping a younger sibling put on shoes if time allows.
- Practice staying together: hold hands or walk in a line during drills.
- Teach when to leave immediately: for example, in a fire situation, leaving right away is more important than grabbing items.
Planning for older adults and mobility needs
Be honest about physical limitations and how much assistance is needed.
- Note who needs help on stairs, with doors, or with mobility devices.
- Assign a helper for each person who needs assistance, with a backup helper if possible.
- Keep mobility aids nearby, such as canes or walkers, and avoid storing them where they block exits.
- Plan extra time: routes for those who move slowly may need to be simpler and shorter.
If someone in your home uses powered medical devices, consider how you would safely move or temporarily do without them during a short evacuation. Talk with their healthcare providers in advance about backup options where appropriate.
Including pets in your evacuation plan
Pets are part of many households and should be part of the plan from the start.
- Decide who is responsible for each pet during a quick exit.
- Keep leashes, harnesses, or carriers in a consistent, easy-to-grab spot near an exit.
- Practice calmly loading pets into carriers or onto leashes.
- Have a small pet kit with waste bags and a basic food portion near your go-bag.
There may be times when you cannot safely return inside for a pet. Planning ahead improves your chances of getting them out quickly when it is safe to do so.
Step 4: Write It Down and Keep It Simple
A written plan is easier to remember under pressure and easier to share. It does not need to be formal or complicated.
What to include in your written plan
A single page can cover the basics:
- Simple floor sketch with arrows for primary and backup exits.
- Immediate rally point description (for example, “big tree at corner of parking lot”).
- Neighborhood rally point (for example, “north playground at the park”).
- Who helps whom (for children, older adults, or people with mobility needs).
- Basic contact list for close relatives and one out-of-area contact.
Keep copies where people can actually see and use them, such as on the fridge and inside your go-bag. Consider a photo of the plan saved to phones as well, in case you cannot get back inside your home right away.
Aligning your plan with local guidance
Local authorities may recommend specific evacuation routes or shelters during storms, wildfires, or other community-wide events. Your home plan should be flexible enough to incorporate their directions.
- Know general directions to major roads or safe areas commonly used in your region.
- Listen for alerts and updates during weather events or local incidents.
- Be ready to adjust if a usual route is blocked by flooding, downed trees, or emergency vehicles.
Your home evacuation routes get you safely out and to your rally point. From there, you can follow official instructions about where to go next.
Step 5: Practice with Calm, Short Drills
Practice is what turns a plan into a habit. The goal is not to scare anyone but to make the steps feel normal and manageable.
How often to practice
For most households, occasional, short drills are enough.
- Once or twice a year for a full household evacuation from bedrooms to the outside rally point.
- Additional quick walk-throughs after major home changes, like moving furniture or adding locks.
- Seasonal checks if you live in areas with specific risks, like wildfire season or hurricane season.
Making drills realistic but not stressful
Keep drills short and focused:
- Pick a calm time, not right before bed or during busy moments.
- Announce the drill so no one is frightened by surprise alarms.
- Start from typical locations like bedrooms or living rooms.
- Time it briefly if you wish, but focus more on clear steps than on speed.
After each practice, ask what felt confusing or slow, and adjust your plan accordingly.
Adapting drills for different scenarios
You can practice variations without making things complicated.
- Nighttime scenario: dim the lights or turn them off and use flashlights.
- Blocked exit scenario: pretend one door cannot be used and practice the backup route.
- Weather scenario: discuss what would be different if it were raining, snowing, or very hot.
The goal is for everyone to feel they can still follow the plan even if conditions are not perfect.
Example values for illustration.
| Who to contact | Method | Fallback | Meeting point note |
|---|---|---|---|
| Parent/guardian A | Call or text first | Leave voicemail if possible | Go to immediate rally point and wait |
| Parent/guardian B | Text if network is busy | Short voice call if text fails | Head toward neighborhood rally point |
| Out-of-area relative | Phone call when safe | Text brief status update | Serves as check-in contact |
| Trusted neighbor | In-person knock if nearby | Simple note left in agreed spot | Can relay basic information |
| Teenaged child | Text primary adult | Call out-of-area contact | Meet at neighborhood rally point |
| School-aged child | Follow school or caregiver directions | Memorized adult phone number | Go with trusted adult to agreed place |
Keeping Your Plan Current Over Time
Life changes, and so should your evacuation routes and rally points. Treat your plan as a living document rather than something you complete once and forget.
When to review and update
Look over your plan when any of the following happen:
- You move to a new home or to a different floor in the same building.
- You remodel or change the layout in ways that affect exits or pathways.
- Family members join or leave the household, including roommates or long-term guests.
- Someone’s mobility or health needs change, affecting how they would evacuate.
- Local guidance updates around regional hazards such as wildfire evacuation zones or flood maps.
Use these moments as a reminder to walk the routes again, confirm rally points still make sense, and refresh contact information.
Connecting your plan with other home readiness steps
Evacuation planning works best when it is connected to other simple readiness habits you may already be building:
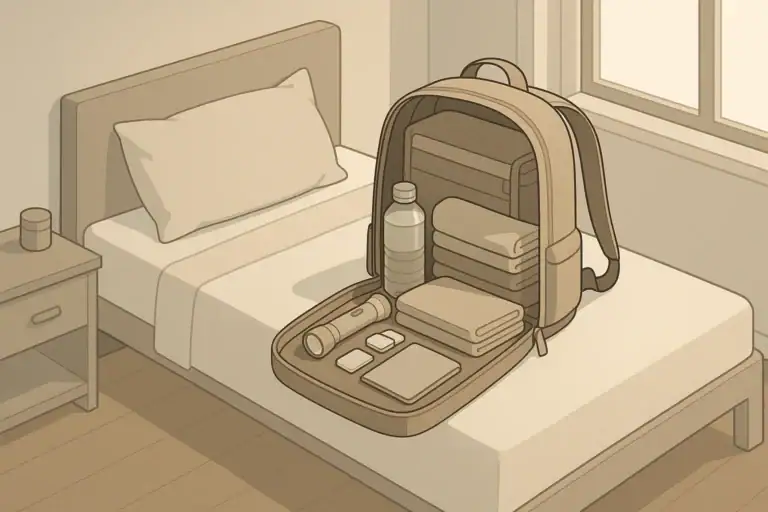
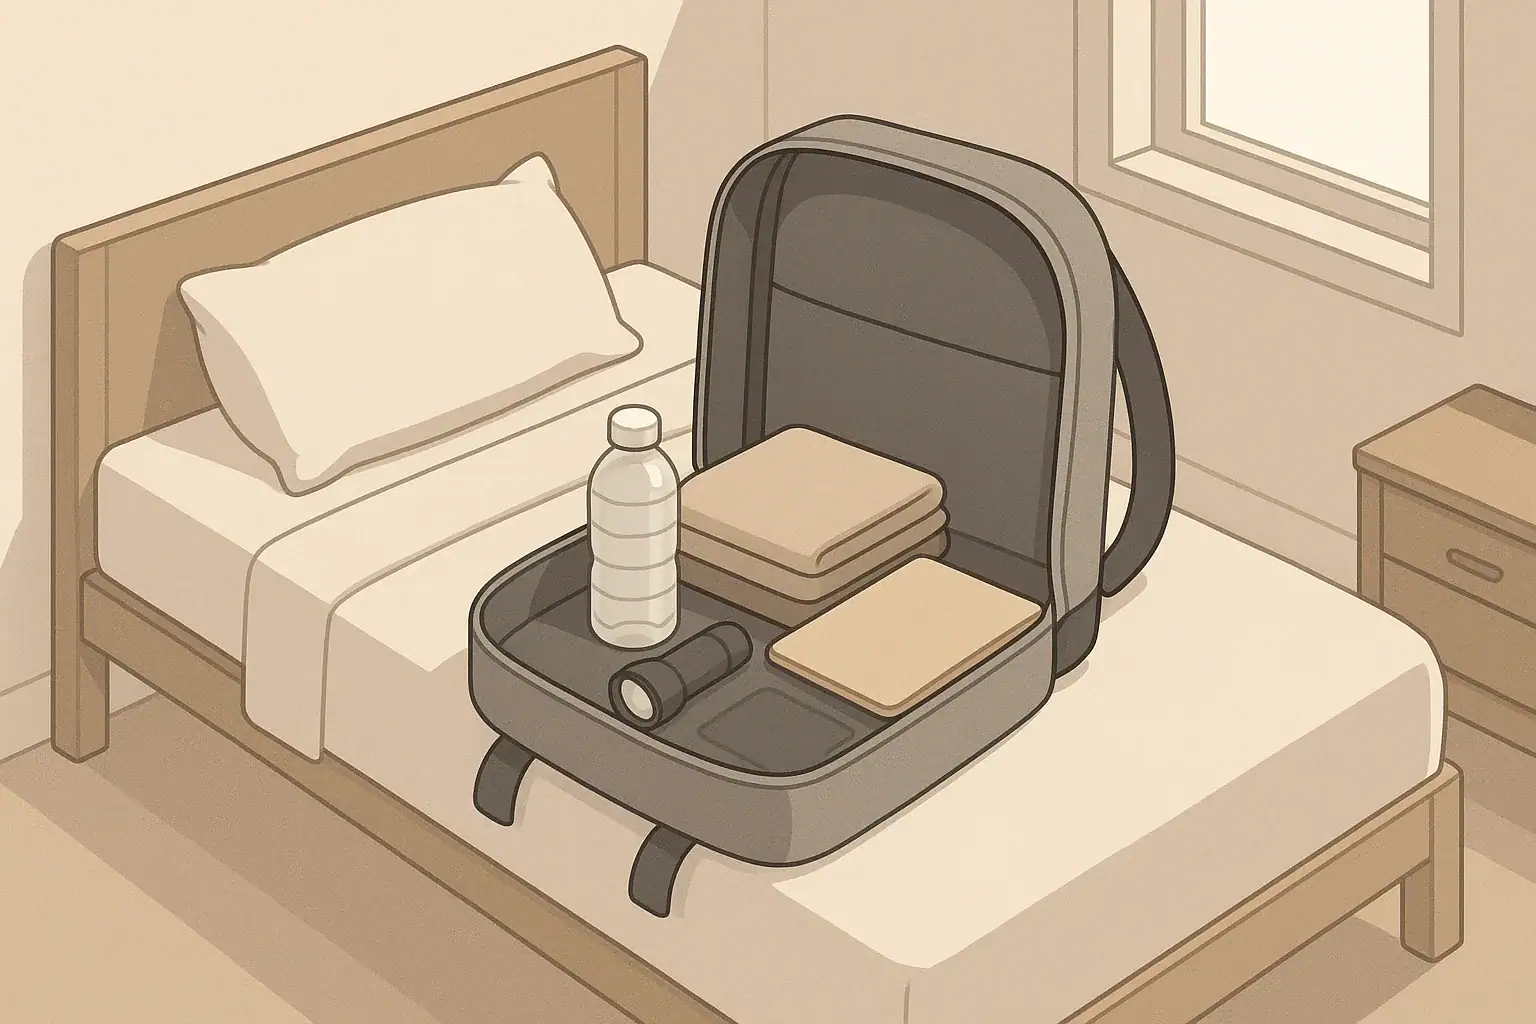
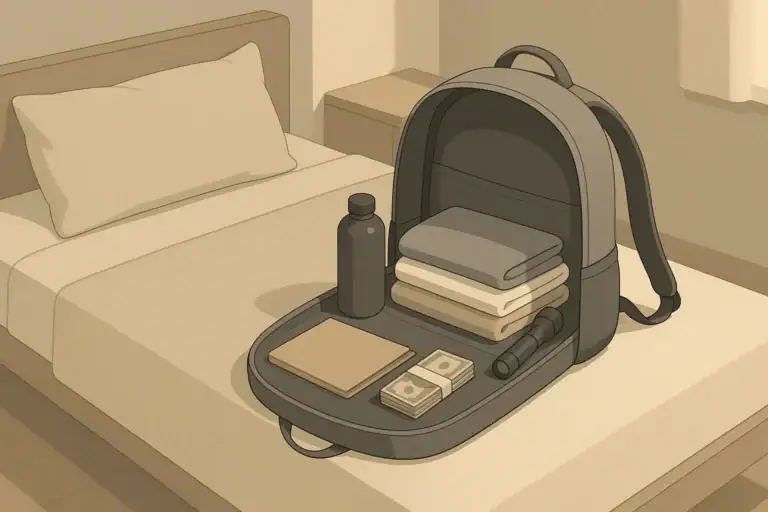
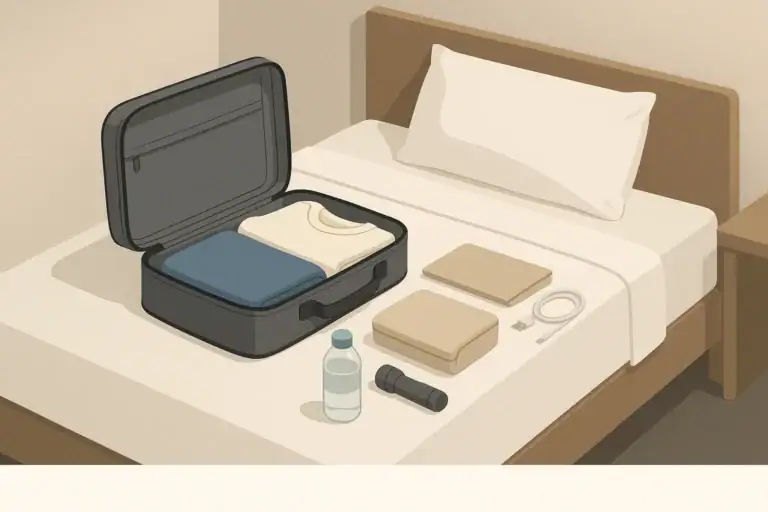
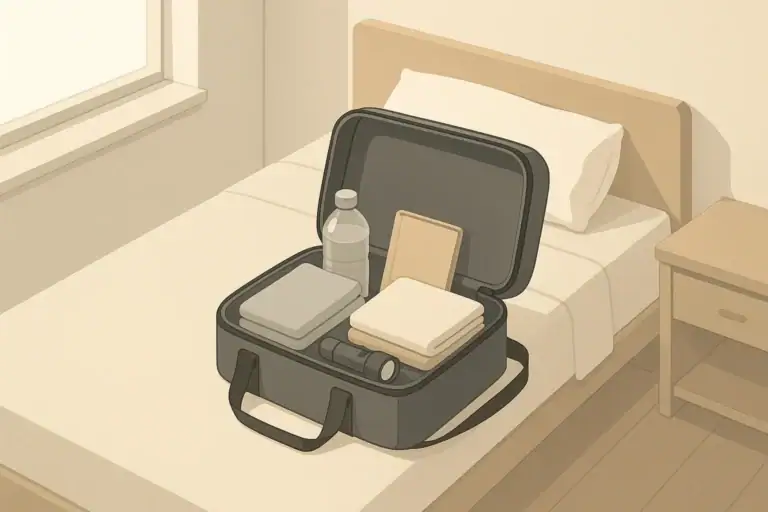
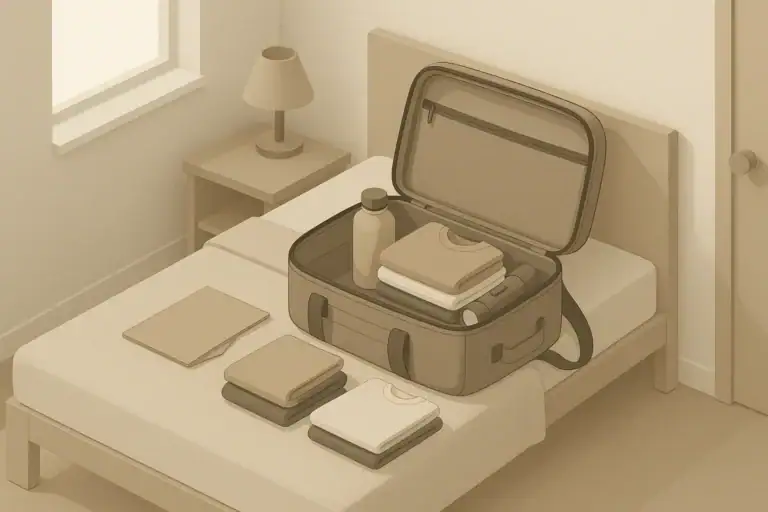
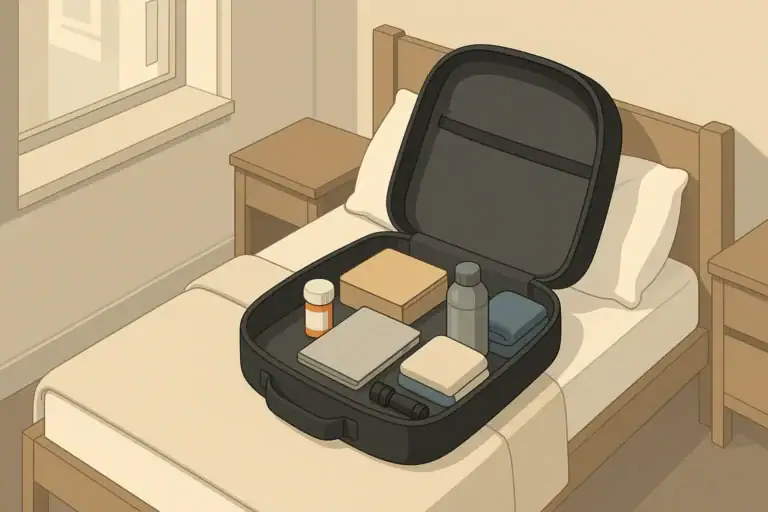
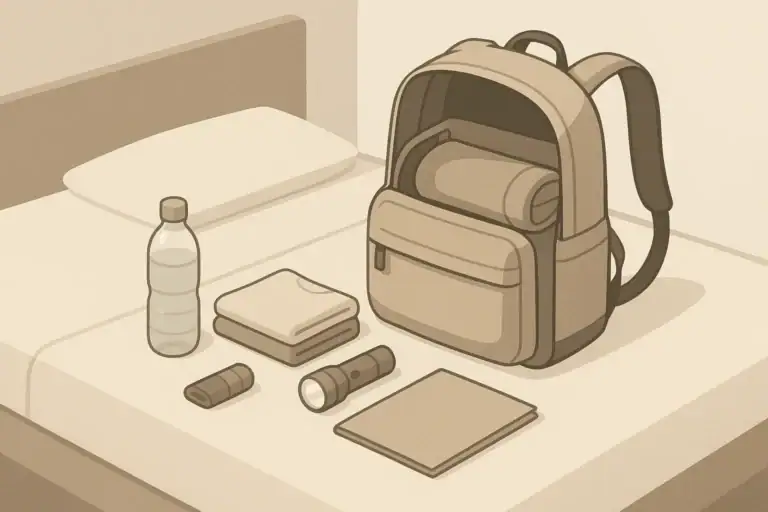
- Go-bags: Keep a small bag or backpack with basics like water, snacks, copies of important documents, and a flashlight in an easy-to-reach spot near an exit.
- Lighting: Store simple battery-powered lights where you can find them quickly during a power outage before or during an evacuation.
- Water and food: Maintain a small buffer of shelf-stable food and drinking water so you do not have to make rushed trips during neighborhood disruptions.
- Communication: Keep a paper list of phone numbers in your go-bag or wallet in case phones lose power or contacts are not accessible.
These steps do not require large budgets or extreme preparation. They are small, steady improvements that give your household more options during everyday disruptions and short-term emergencies.
Keeping the tone calm and routine
Talking about evacuation and emergencies can feel heavy, especially with kids. Framing these plans as normal household routines—like seat belts in cars or smoke alarms on ceilings—helps everyone stay calm.
- Use everyday comparisons, such as “This is like a fire drill at school.”
- Focus on what you can control, not on worst-case stories.
- Celebrate small steps, like clearing a hallway or agreeing on a rally point.
Over time, evacuation routes and rally points become just another quiet safety habit in your home—there when you need them, but not something that has to dominate daily life.
Frequently asked questions
How far from my home should the immediate rally point be?
Choose a spot that is visible from your home and far enough to be clear of falling debris and emergency vehicle activity, such as across the front yard, a corner of the parking lot, or the sidewalk. It should also be easily accessible for children and people who move slowly so everyone can reach it quickly.
What should I include on a one-page family evacuation plan?
A simple plan should have a basic floor sketch with primary and backup exits, the immediate and neighborhood rally points, who helps whom, and a short contact list including an out-of-area person. Keep a copy on the fridge and a photo in phones, and a physical copy in your go-bag.
How do I include pets and people with mobility needs in drills?
Assign responsibility for each pet, keep leashes, carriers, and mobility aids near exits, and practice loading or attaching devices calmly during drills. For people with mobility needs, assign a helper and a backup, plan extra time, and rehearse the simplest routes to the outside.
How often should we review and practice our family evacuation routes?
Do a full household drill once or twice a year and run brief walk-throughs after major changes like moving furniture, new locks, or household members joining or leaving. Also review the plan seasonally if your area faces specific risks such as wildfire or hurricane seasons.
What should we do if someone is missing when we reach the rally point?
First check the immediate rally point and nearby visible areas, then attempt to contact the person by phone or an agreed method. If you cannot locate them, notify incident responders or building authorities and do not re-enter the building yourself; use your out-of-area contact to relay messages if necessary.
Recommended next:
- Go-Bag Basics: What to Pack for 72 Hours (Simple Checklist)
- Stay-at-Home Kit vs Go-Bag: The Two-Kit System Explained
- Evacuation Checklist for Apartments: What to Pack and What to Secure
- Evacuation Checklist for Houses: What to Shut Off, Secure, and Pack
- Car Emergency Kit Checklist: Essentials for Breakdowns and Evacuations
- Documents to Pack: IDs, Insurance, and Digital Copies
- More in Go-Bags & Evacuation →
- Simple checklists and realistic planning
- Water, power, lighting, and pantry basics
- Family plans (kids, pets, seniors) and seasonal prep
Cash in an Emergency Kit: Small Bills, Storage, and Safety
Hotel Evacuation Bag: Essentials for Short Notice Stays
Public Transit Evacuation Plan: Packing Light When You Do Not Have a Car
Seasonal Go-Bag Swap: What to Change for Summer vs Winter
Go-Bag Medication List: Refills, Copies, and Rotation
Packing Fast: A 10-Minute System for Getting Out the Door