An emergency handwashing station is a simple, low-cost way to maintain hygiene during short-term disruptions to water service. This article explains why a dedicated station can be helpful, what items you’ll need, how to set one up in a small space, and how to manage water and waste safely. It covers practical options you can assemble from common household items, variations for different living situations, and tips to keep the station clean and easy to use for children, older adults, and people with mobility needs. Read through the steps and planning guidance so you can assemble a ready kit and practice the setup before an emergency occurs. The guidance here is intended for temporary, short-term events like boil-water notices, outages, or storm-related interruptions, and focuses on simple, safe hygiene practices anyone can implement indoors.
Why an Emergency Handwashing Station Matters
Handwashing is one of the simplest ways to keep everyday germs from spreading, especially when normal routines are disrupted. During short-term emergencies like water main breaks, boil-water advisories, winter storms, or hurricanes, your regular sink may not work or may need to be used differently.
Having a basic emergency handwashing station ready at home helps you:
- Wash hands before eating or preparing food
- Clean up after using the bathroom
- Rinse off after handling trash, pets, or shared surfaces
- Support children, older adults, and guests in keeping clean
This does not require specialized gear. With a container, clean water, soap, and a catch basin, you can create a practical setup in a small space, whether you live in an apartment or a house.
Basic Components of a Home Handwashing Station
An emergency handwashing station is simply a way to control the flow of clean water over your hands, capture the used water, and keep supplies organized and clean. Most households can assemble one using items already on hand.
Core items you need
- Water container that can sit above hand height and pour or dispense in a controlled way
- Soap (bar, liquid, or foaming) in a form that is easy to handle
- Clean water that has been stored safely or treated as needed
- Catch basin such as a bucket, tub, or large bowl
- Hand-drying option such as paper towels, a designated cloth towel, or clean reusable cloths
- Waste container for used towels or wipes
Types of emergency handwashing setups
You can choose a setup style based on what you already own and the space you have available.
- Container with spigot: A water container with a built-in spout or valve placed on a counter or shelf so water flows with a small turn. This is one of the easiest options.
- Jug or pitcher pour-over: A simple pitcher or jug you tilt to pour water over hands, used with a basin. This works when you have someone to help pour or when you can manage carefully one-handed.
- Repurposed beverage cooler: A drink cooler with a push-button spout can become a handwashing station when filled with clean water.
- Portable camping-style dispenser: If you already own an outdoor water container with a valve, you can use it indoors on a table or counter.
Where to set up the station
Location should be practical and easy to reach:
- Near the kitchen or eating area
- Within a few steps of the bathroom
- In an entryway or mudroom where people first come inside
Protect floors with a tray, plastic bin lid, or towel under the basin if you are worried about spills, especially in apartments with sensitive flooring.
Example values for illustration.
| Home situation | Recommended station type | Why it may work well |
|---|---|---|
| Small apartment, limited counter space | Pitcher or jug over a basin on a tray | Compact, easy to store in a cabinet when not needed |
| Family with young children | Container with spigot on a low table | Hands-free flow control and kid-height access |
| Household with an older adult | Spigot container near a chair | Allows seated handwashing with minimal lifting |
| Shared housing or roommates | Larger dispenser in common area | Central location encourages everyone to use it |
| Frequent power or water outages | Dedicated water container and basin kept ready | Fast to deploy and familiar to the household |
| Pets that may bump into things | Stable, wide-based container on sturdy surface | Less likely to tip or spill if nudged |
Step-by-Step: Setting Up a Simple Handwashing Station
You can adjust this process based on the supplies you have. The main goals are steady water flow, clean soap access, a place to catch used water, and a clean way to dry hands.
1. Assemble and position your container
- Choose a clean container that has only been used for food or drinking water, not for chemicals or cleaning products.
- Set the container on a sturdy raised surface such as a counter, table, or shelf so the spout or pouring edge is at about chest level.
- Ensure there is enough space below for hands and a catch basin.
If your container has a spigot or valve, test that it opens and closes easily and does not leak when closed.
2. Place a catch basin under the water flow
- Use a bucket, plastic tub, or wide bowl to collect the used water.
- Align it so running water falls squarely inside, even if someone moves slightly.
- For high-traffic use, consider a basin that can hold several handwashes before needing to be emptied.
In apartments or carpeted spaces, set the basin inside a shallow tray or on a towel to catch splashes.
3. Set up soap and drying supplies
- Place soap in a small dish or holder, or use a pump bottle to keep it from sliding around.
- Put paper towels or a designated clean cloth within easy reach but away from splashing water.
- Place a trash bag or bin nearby for used paper towels.
- If using cloth towels, plan where they will hang to dry and where used towels will go for washing.
4. Label the station for handwashing only (optional)
If multiple people live in your home, a simple verbal reminder or a piece of tape with a symbol can help signal that this water is for handwashing only, not for drinking or washing dishes. This keeps water use predictable and helps you plan refills.
5. Make it easy to use for everyone
Consider the needs of everyone in your home:
- Use a step stool or lower table for young children.
- Allow for seated access if someone uses a wheelchair or has limited balance.
- Keep the path to the station clear of clutter, especially during power outages when lighting may be lower.
How to Wash Hands Effectively at a Station
Even with limited water, you can still wash hands thoroughly. The basic idea is to wet, lather, scrub, rinse, and dry.
Handwashing sequence
- Wet hands with running water from the container, then turn off the flow to save water.
- Apply soap and work up a lather, covering fronts and backs of hands, between fingers, and around thumbs.
- Scrub for about 20 seconds (you can roughly time it by humming a short song in your head).
- Turn water back on and rinse hands thoroughly over the basin, letting soap and suds run off.
- Dry with a clean towel or paper towels.
When to prioritize handwashing
During emergencies, your water supply may be limited. Focus on washing hands:
- Before preparing or handling food
- Before eating or feeding others
- After using the toilet or changing diapers
- After handling trash, cleaning surfaces, or doing bathroom cleaning
- After handling pet waste or cleaning litter boxes
- After coming in from shared or public spaces
Using hand sanitizer as a backup
If your water is very limited, alcohol-based hand sanitizer can be a helpful supplement, especially when hands are not visibly dirty or greasy. Store sanitizer near the station as a backup, not a full replacement for handwashing when water is available.
Water Planning for Short-Term Handwashing
In many short-term emergencies, your main question will be how much water to dedicate to handwashing and where it will come from. Planning even roughly can reduce stress when the water goes out or needs to be boiled.
Estimating water use
Actual water use varies by container and habits, but many people can wash hands with roughly one to two cups of water per wash when turning the flow off while soaping. For planning, you might simply assume:
- 1–2 cups per handwash as an example
- 4–8 handwashes per person per day depending on activities
These example numbers can help you estimate how often to refill your container and how much total water to set aside strictly for hygiene during a short disruption.
Water sources during disruptions
Your emergency handwashing station can draw from:
- Stored tap water set aside in advance in clean containers
- Bottled water if that is what you have available
- Water that has been boiled and cooled if your area is under a boil advisory
- Treated water that has been filtered or disinfected as recommended for general household use
If you are using treated or boiled water for drinking, you can also allocate a portion to handwashing, balancing comfort, cleanliness, and supply.
Managing used water
Water collected in your basin is no longer clean for handwashing. You can generally reuse it for tasks where high water quality is less important, such as:
- Flushing a toilet (by pouring into the bowl)
- Pre-soaking dirty rags or heavily soiled items before washing
- Initial rinsing of muddy shoes outdoors
Avoid using this water for cooking, drinking, or washing dishes. Empty the basin carefully to avoid spills, especially on stairs or near electrical cords during outages.
Keeping the Station Clean and Safe
An effective handwashing station should stay as clean and organized as possible, even with frequent use.
Daily checks during use
When your station is in active use, build a quick check into your routine:
- Refill the container before it runs completely dry.
- Check for leaks or drips around the spigot or lid.
- Empty the basin before it is close to full.
- Replace or wash towels once they appear damp or dirty.
- Wipe down surfaces around the station with general household cleaners.
Safe towel practices
Decide in advance whether you will use paper or cloth towels:
- Paper towels are easy to discard; an extra bag or bin liner nearby helps.
- Cloth towels should be rotated regularly; assign a small basket or bag for used ones.
- Remind household members not to use kitchen dish towels for hand drying if they are also used on dishes or counters.
Cleaning and storing the station between emergencies
Once the disruption is over:
- Empty the container and basin completely.
- Wash the container, basin, and soap dish with regular dish soap and water.
- Let all parts air dry completely before storing to reduce moisture buildup.
- Store the container with the lid off or loosely fitted so air can circulate.
- Keep soap, towels, and a small trash bag stored together as a ready kit.
Adapting for Different Homes and Situations
Every home has different constraints. The same basic idea can work in a studio apartment, a multistory house, or a shared living situation.
Small apartments and renters
When space is limited or you cannot modify walls or plumbing, focus on portable and non-marking solutions:
- Use a folding table or a sturdy storage bin with a board on top as a stand.
- Place the entire setup on a tray or baking sheet so you can move it if needed.
- Store the disassembled station in a closet or under-bed bin when not in use.
Families with kids
Young children may enjoy helping when the station feels like a special setup:
- Let kids help fill the container using small pitchers.
- Use a step stool and show them how to turn the spigot on and off.
- Keep gentle reminders that the water is for handwashing only.
You might also keep a simple sign or picture above the station to remind kids of the steps in a non-technical way if that suits your household.
Older adults and people with limited mobility
Comfort and stability are especially important:
- Position the station near a stable chair so it can be used while seated.
- Choose a container with a simple, easy-to-turn spigot instead of a heavy pitcher.
- Ensure the floor is dry and non-slippery, using non-skid mats under any towels if needed.
Pets in the home
Pets may be curious about open basins and dripping spigots. To keep the station functioning as intended:
- Discourage pets from drinking from the basin by emptying it regularly.
- Place the station where it will not block pet food or litter areas.
- Use a heavier basin that is less likely to tip if nudged.
Integrating Handwashing into Your Home Readiness Plan
An emergency handwashing station fits naturally into broader home readiness efforts for short-term events like storms, power outages, or local water issues.
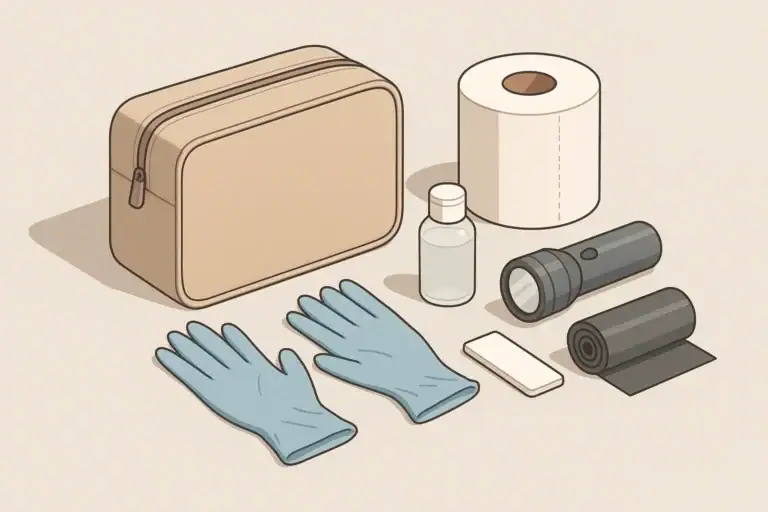
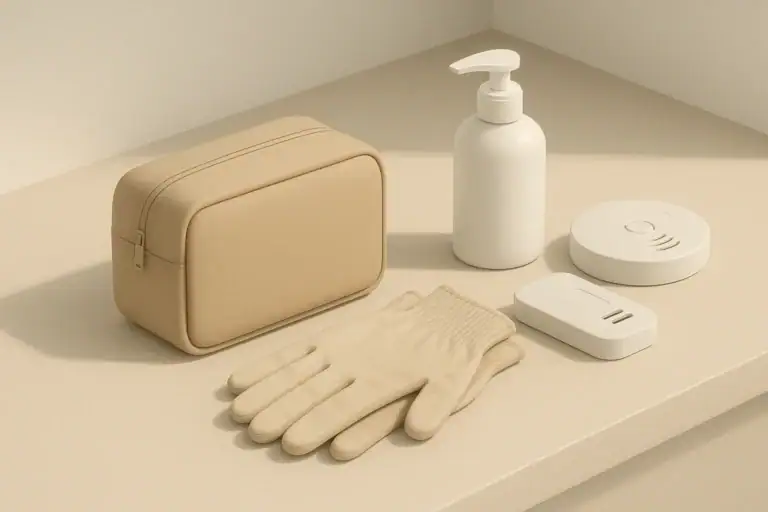
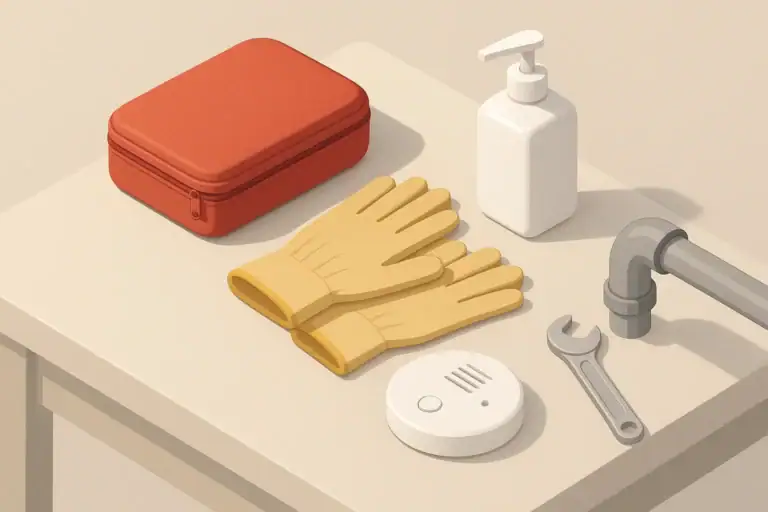
Include supplies in your basic kit
Alongside flashlights, simple foods, and communication tools, add a small hygiene bundle:
- A clean, empty water container reserved for handwashing or drinking
- Extra soap bars or refillable liquid soap
- Paper towels or a stack of dedicated cloths
- A foldable basin or lightweight bucket if you do not want to use regular bowls
- Travel-sized hand sanitizer bottles
Practice using the station before an emergency
Try setting up your station on a weekend or during a planned plumbing repair. This gives you a chance to:
- Confirm the container does not leak
- See how quickly the basin fills
- Adjust the height for comfort
- Show all household members how to use it
Connect it with other simple emergency routines
In a short disruption, your handwashing station will be part of a small set of routines that help the home run smoothly:
- Lighting: Keep a flashlight or lantern nearby so the station is easy to find in the dark.
- Water storage: Note which containers are for drinking and which can supply the handwashing station.
- Sanitation: Link emptying the basin with toilet flushing or trash runs to avoid spills.
Example values for illustration.
| Need | Simple supplies | Safe use note | Disposal idea |
|---|---|---|---|
| Basic handwashing | Water container, soap, basin, towels | Use running water over basin; avoid reusing soapy water | Pour used water into toilet bowl or outdoor drain |
| Quick cleanup after bathroom use | Toilet paper, wipes suitable for skin, trash bags | Do not flush products not meant for toilets | Seal in trash bag; store away from food |
| Kitchen surface wiping | Dish soap, clean cloths or paper towels | Use separate cloths for dishes and counters | Launder cloths; bag and discard used paper |
| Pet-related cleanup | Gloves, small bags, paper towels | Wash hands at station after handling waste | Tie bags securely; place in covered trash |
| Laundry when water is limited | Small basin, mild detergent | Spot wash essential items first | Pour greywater where household typically discards it |
| Shared bathroom hygiene | Extra soap, disposable towels | Encourage each person to dry with a fresh towel | Use lined bin for all used disposable items |
Simple Checkup: Is Your Home Ready for a Handwashing Station?
You can quickly assess your readiness with a short checklist:
- Identify at least one clean container that can hold water for handwashing.
- Confirm you have extra soap set aside in your household supplies.
- Choose a spot in your home where a station could go without blocking doors or walkways.
- Note a basin or bucket you would use to catch water.
- Decide how you would dry hands and where used towels would go.
- Include “set up handwashing station” on your personal list for water or power outage steps.
With a few simple items and a bit of planning, you can turn an ordinary corner of your home into a dependable emergency handwashing station whenever you need it.
Frequently asked questions
How much water should I set aside specifically for an emergency handwashing station?
Plan on roughly 1–2 cups of water per handwash and estimate 4–8 handwashes per person per day, which is about 1–4 liters per person per day for handwashing only. Adjust upward if you expect higher use, such as caring for children or cleaning tasks. Keep extra on hand for refills and unexpected visitors.
Can the used water from the basin be reused safely, and for what purposes?
Used basin water should not be reused for handwashing, drinking, or cooking. It can be repurposed for non-potable tasks like flushing a toilet or rinsing muddy shoes outdoors, but avoid using it where food will be prepared. Empty and dispose of it carefully to prevent spills or contamination.
Is hand sanitizer an acceptable replacement for soap and water at the station?
Alcohol-based hand sanitizer is a useful backup when soap and water are unavailable and hands are not visibly soiled, but it is not a complete replacement for handwashing. When water and soap are available, washing removes dirt and many types of germs more effectively. Store sanitizer near the station for times when water is very limited.
What are the best ways to make a station accessible for children and older adults?
Place the container on a lower surface or use a stable step stool for children and provide a sturdy chair for seated access for older adults. Choose a container with an easy-to-operate spigot to reduce lifting, and use non-slip mats or towels to keep the area dry and safe. Clear the path to the station and ensure lighting or a nearby flashlight is available during outages.
How should I clean and disinfect the water container and spigot between uses?
Wash containers and spigots with regular dish soap and water, rinse thoroughly, and let all parts air dry before storing. If deeper disinfection is needed, follow public health guidance for an appropriate mild disinfectant solution and rinse well afterward to remove any residue. Store the container with the lid off or loosely fitted to allow airflow.
- Simple checklists and realistic planning
- Water, power, lighting, and pantry basics
- Family plans (kids, pets, seniors) and seasonal prep
Mold Prevention After Water Damage: First 24–48 Hours Checklist
Broken Glass Cleanup Kit: Gloves, Shoes, Bags, and First Steps
Temporary Window Covering After Storm Damage: Safe Short-Term Options
Emergency Toilet Setup: Bags, Buckets, Absorbents, and Hygiene
Utility Shutoff Labels: Gas, Water, and Electric Basics for Homeowners
Water Shutoff Valve Checklist: Find, Label, and Test It Before a Leak