Why the First 24–48 Hours Matter for Mold Prevention
After any water leak, spill, or flooding, the first two days are critical for keeping mold growth in check. Mold spores are already present in most homes. They can begin to grow on damp materials in as little as a day or two if conditions are right: moisture, moderate temperatures, and limited air movement.
Quick, calm action helps you:
- Reduce the chance of mold taking hold on walls, floors, and furniture
- Limit damage to belongings and building materials
- Make cleanup easier and less disruptive later
- Support a safer home environment for people and pets
This checklist focuses on realistic steps for renters and homeowners, including apartments and small spaces, when professional help may not arrive right away.
Step 1: Stay Safe and Stop the Source of Water
Before thinking about mold, make sure the water has stopped and the space is safe enough to enter. The type of water (clean tap water, rainwater, or dirty floodwater) also affects how you clean.
Check for immediate hazards
- Electricity: If water is near outlets, cords, or appliances, avoid stepping in and, if safe to do so, turn off power to the affected area at the breaker.
- Structural issues: Look for sagging ceilings, buckled floors, or bulging walls. Avoid any area that looks unstable and contact building management or a professional.
- Slip risks: Wet flooring can be very slippery. Wear shoes with good traction if you must walk through.
Stop or reduce the water source
- Plumbing leaks: Shut off the closest water valve or the main water supply if needed.
- Appliance leaks: Unplug the appliance if it is safe and dry to reach the plug. Shut off water lines to dishwashers, washing machines, or refrigerators if they are leaking.
- Rain intrusion: Place containers under drips, cover broken windows with plastic sheeting or heavy trash bags, and notify your landlord or building maintenance.
- Street or sewer flooding: Avoid contact with this water when possible. This type of water is often heavily contaminated and usually requires more cautious cleanup.
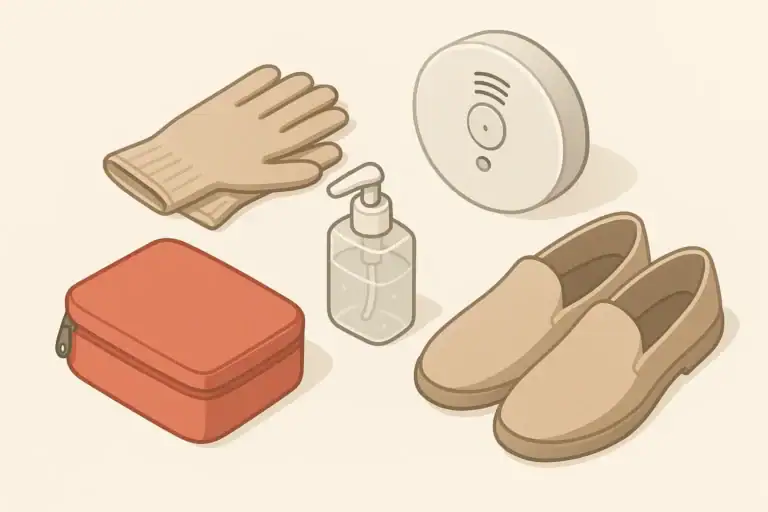
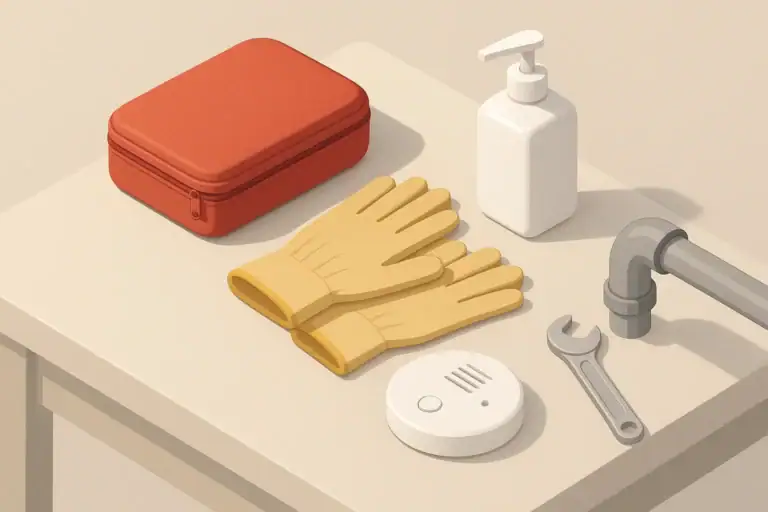
Personal protection basics
Even in everyday home situations, it helps to protect yourself while cleaning:
- Water-resistant gloves for handling wet items and cleaning solutions
- Closed-toe shoes or boots you do not mind getting wet
- Eye protection if there is risk of splashing during cleanup
Example values for illustration.
| Task | Why it matters | Notes |
|---|---|---|
| Identify water source | Prevents ongoing soaking and hidden moisture | Check ceilings, walls, pipes, and appliances |
| Turn off local utilities if needed | Reduces risk from electricity and gas near water | Use breaker panel; get help if unsure |
| Block or contain incoming water | Limits spread to dry rooms and belongings | Use towels, containers, or plastic sheeting |
| Document damage with photos | Helps with landlord or insurance discussions | Capture wide shots and close-ups |
| Clear a safe walking path | Reduces slips and trip hazards during cleanup | Remove small items from floors |
| Ventilate if outdoor air is suitable | Supports drying and reduces musty odors | Open windows if humidity outside is reasonable |
| Notify landlord or building management | Starts building-level response in shared housing | Share time of incident and visible damage |
Step 2: Remove Standing Water and Protect Belongings (Hour 0–6)
Once the situation is stable, work on getting water off the floor and away from absorbent materials. This stage is easier if you act early, before water soaks deeper into carpets, walls, and furniture.
Get rid of standing water
- Small puddles: Use towels, mops, or a squeegee to push water toward a floor drain or out a door if allowed and safe.
- Larger shallow areas: Use a wet-capable vacuum if you have one and know how to use it safely. Empty the tank into a suitable drain between passes.
- Trapped water: Check low spots, under furniture, and inside closets. Water can pool in these areas and stay hidden.
Move items out of the wet zone
Focus first on items that absorb water easily and are hard to dry:
- Area rugs, throw rugs, runners
- Boxes and paper items stored on the floor
- Upholstered cushions and small furniture
- Clothing, shoes, and bedding on or near the floor
If possible, move these to a dry area with good air circulation. Place items on racks, clean tiles, or other hard surfaces, not directly on carpet, to help air reach all sides.
Protect what has not been wetted yet
- Lift furniture legs onto small blocks or dishes to keep them out of damp carpet.
- Unplug small electronics in the affected area and relocate them to a dry room.
- Gather important documents and store them in a dry, high spot away from the leak.
Step 3: Start Drying Fast (Hour 6–24)
Drying is the heart of mold prevention after water damage. The goal is to lower moisture in surfaces and indoor air as quickly and evenly as possible. In many homes, you can make a meaningful difference with simple tools and a basic plan.
Use airflow to your advantage
- Open interior doors: This helps air move freely between rooms and reduces damp pockets.
- Position fans safely: Aim them across wet floors and walls, not directly into them, to avoid forcing water deeper into materials.
- Elevate rugs and cushions: Lean them against walls or furniture so air can move on both sides.
Do not run fans in rooms where ceilings or walls appear structurally weakened or where wiring may be compromised by water. In shared buildings, follow guidance from property management.
Ventilate when outdoor conditions allow
If outdoor air is not excessively humid and it is safe to open windows, ventilation can help:
- Open windows on opposite sides of the home to create a cross-breeze.
- Use bathroom or kitchen fans that exhaust outdoors to help remove moist air.
- Close windows if outside air is very humid or if outdoor conditions (such as smoke or extreme weather) make ventilation unsuitable.
Support drying of different surfaces
- Hard floors (tile, vinyl, sealed wood): After removing standing water, wipe with dry towels, then keep fans running until surfaces no longer feel cool or damp to the touch.
- Carpet: Blot with dry towels, press firmly to absorb water, then use fans and ventilation. If padding underneath is soaked, it may be difficult to fully dry without professional help.
- Walls and baseboards: Gently dry the surface with towels. Aim fans along the wall lengthwise. Watch for swelling, bubbling, or staining that could suggest deeper moisture.
Consider dehumidification if available
In many homes, especially in humid regions or during rainy seasons, a dehumidifier can speed drying:
- Place it in the dampest room, away from walls.
- Keep doors and windows mostly closed in that room while it runs.
- Empty the collection bucket often so it can continue working.
If you do not have a dehumidifier, focus on airflow, ventilation when feasible, and removing damp materials promptly.
Step 4: Clean and Separate Materials (Hour 12–36)
As surfaces start to dry, cleaning helps remove dirt and residues that can hold moisture. Separating what can likely be saved from what may need to be discarded also becomes clearer in this window.
Basic cleaning of hard surfaces
On non-porous surfaces such as tile, sealed countertops, metal, and many plastics:
- Wipe away dirt or sediment left by water using soap and clean water.
- Rinse with clean water and dry with towels.
- Allow surfaces to air dry completely with good airflow.
For semi-porous surfaces like some wood finishes, avoid soaking them. Use lightly damp cloths and dry immediately afterward.
Handling porous items and soft furnishings
Porous materials can hold water deeper inside, making thorough drying harder. These include:
- Mattresses and upholstered furniture
- Carpet padding
- Insulation inside walls or ceilings
- Paper goods and cardboard
For small, lightly damp items like clothes or linens, washing and thoroughly drying them in a dryer can often be enough. For larger items that became heavily soaked, or for items exposed to visibly dirty water, professional guidance may be needed to decide what can be restored.
Sorting items into zones
To stay organized, consider three simple categories:
- Dry and clean: Items that never got wet or that you have fully dried and wiped down.
- Drying in progress: Items that are still damp but appear salvageable, such as area rugs or cushions.
- Questionable or likely discard: Items that stayed soaked for many hours, are difficult to dry, or have begun to smell musty.
Keep these groups physically separated as much as possible so moisture and odors from one group do not affect the others.
Step 5: Monitor for Musty Odors and Early Mold Signs (Hour 24–48)
The 24–48 hour window is when you may begin to notice early signs of mold if drying has been incomplete. Catching these signs early can guide your next steps and whether outside help is needed.
What to watch and smell for
- Persistent musty smell: A continuing damp, earthy, or stale odor, especially localized to one room, closet, or wall section.
- Visible discoloration: Spots or streaks that appear darker than the surrounding surface, which may be greenish, brownish, blackish, or other colors.
- Soft or crumbling material: Baseboards, drywall, or wood trim that feel softer than usual, or show warping or bubbling.
These signs do not always mean there is widespread mold growth, but they do indicate that moisture has affected the materials and that additional drying or professional assessment may be appropriate.
Check hidden and less obvious areas
Even in small apartments, moisture can linger in tucked-away spaces. Within the first two days, briefly check:
- Under sinks and inside vanity cabinets
- Inside closets that share a wall with the wet area
- Behind or under large furniture pressed against outside walls
- Near floor-level vents or baseboard heaters
If you find dampness spreading beyond the original zone, expand your drying efforts to these areas as well.
When to pause DIY efforts
Within the first 48 hours, consider contacting building management or a qualified service if:
- Water came from a sewer backup or heavily contaminated source.
- More than one room has saturated walls, ceilings, or floors.
- You see extensive discoloration across large areas of wall or ceiling.
- The musty odor becomes stronger despite your drying efforts.
It is reasonable to document what you see, keep notes of times and actions taken, and share this information when requesting help.
Step 6: Special Considerations for Apartments, Renters, and Shared Buildings
In multi-unit buildings and rental homes, you may have less control over building systems, wall cavities, and professional cleanup decisions. Still, there is a lot you can do within your own space to reduce moisture and keep good records.
Coordinate with landlords and neighbors
- Report water damage as soon as possible, including time, location, and known cause.
- Ask if other units have reported similar issues, especially above, below, or next to yours.
- Request written confirmation of any inspections or repairs planned.
Focus on what you can control inside your unit
- Keep air moving with fans in affected rooms when safe to do so.
- Avoid blocking vents or radiators with furniture or stored items.
- Store belongings in plastic bins or on shelves instead of directly on floors.
- Consider simple door draft stoppers if odors seem to travel from other areas, while still allowing enough airflow for drying in your own space.
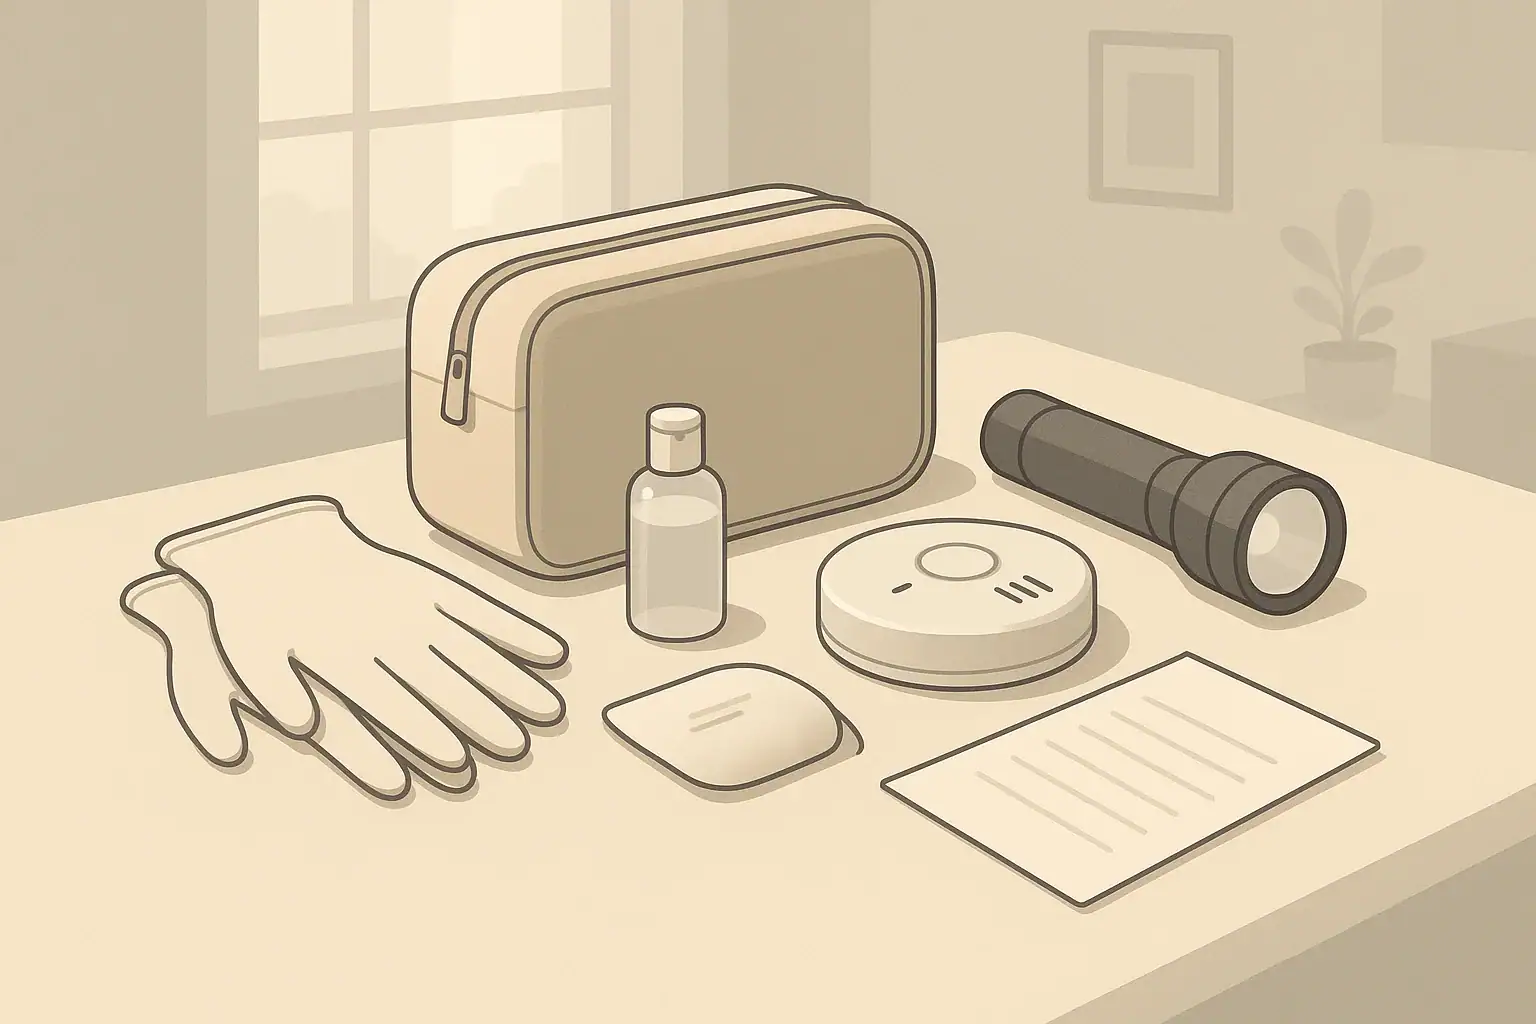
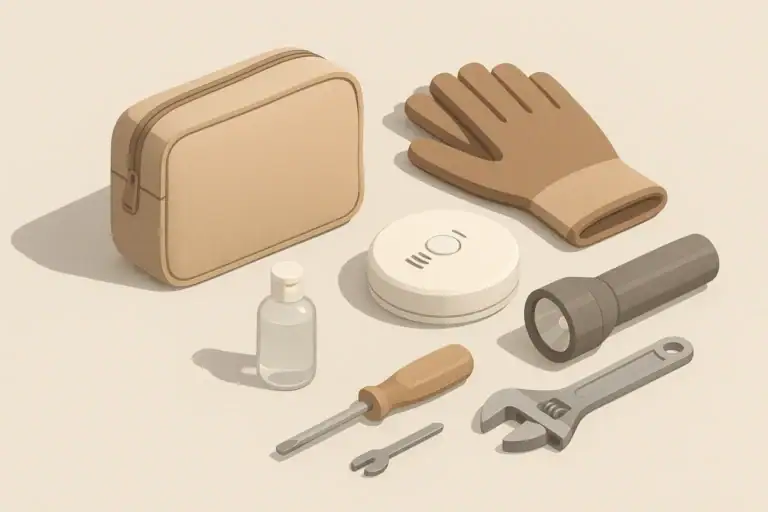
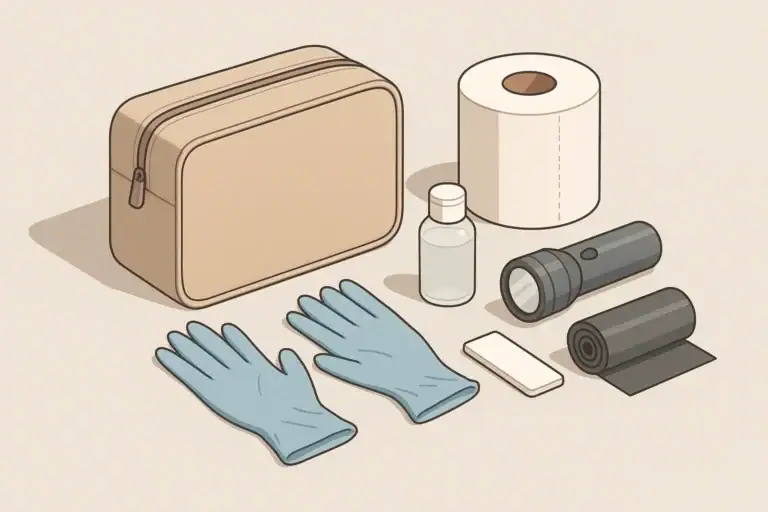
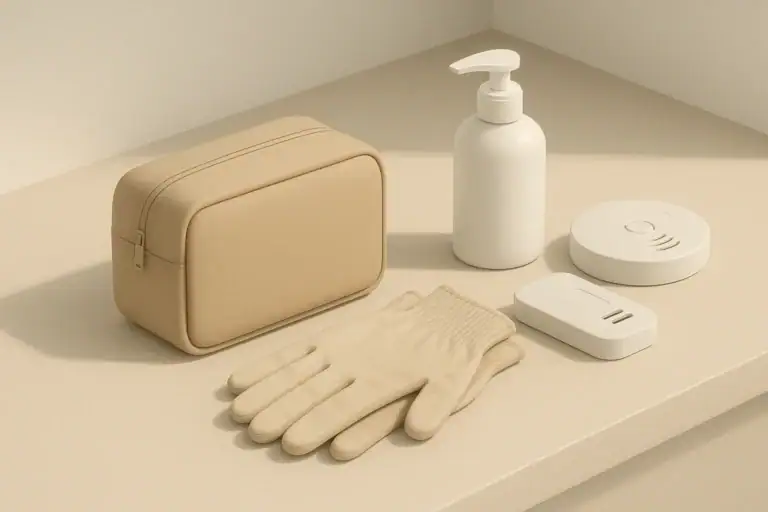
Prepare simple supplies for future incidents
Because leaks and small overflows are common in many buildings, keeping a small, dedicated kit can make rapid response easier next time:
- Absorbent towels or rags stored in a labeled container
- A basic mop or squeegee suitable for your flooring type
- Lightweight plastic sheeting or heavy trash bags to cover items temporarily
- Gloves and a small bucket for wringing towels
Step 7: Connect Mold Prevention to Your Overall Home Readiness
Water damage from leaks, storms, or appliance failures often happens alongside other everyday disruptions, such as short power outages or temporary loss of hot water. Integrating mold prevention steps into your broader home readiness plans can make your response calmer and more efficient.
Plan for water disruptions and cleanup together
When thinking about water preparedness, it can help to consider both clean water storage and the possibility of unwanted water indoors. A simple household plan might include:
- Knowing how to shut off main and fixture-level water valves.
- Storing a modest supply of drinking water in stable containers.
- Keeping basic cleaning tools where they are easy to reach in a hurry.
Account for different living situations
Mold prevention steps are similar across homes, but the way you organize your plan may vary:
- Small apartments: Limited storage space means a compact kit, but short distances make it easier to move items to a dry area quickly.
- Larger homes: You may need more fans and more time to check all affected rooms, especially basements and crawlspaces.
- Families with kids or pets: Designate one adult to focus on supervising children and animals while another handles immediate cleanup.
- Seniors or anyone with mobility limits: Consider identifying neighbors or family who could assist with moving heavier items if a leak occurs.
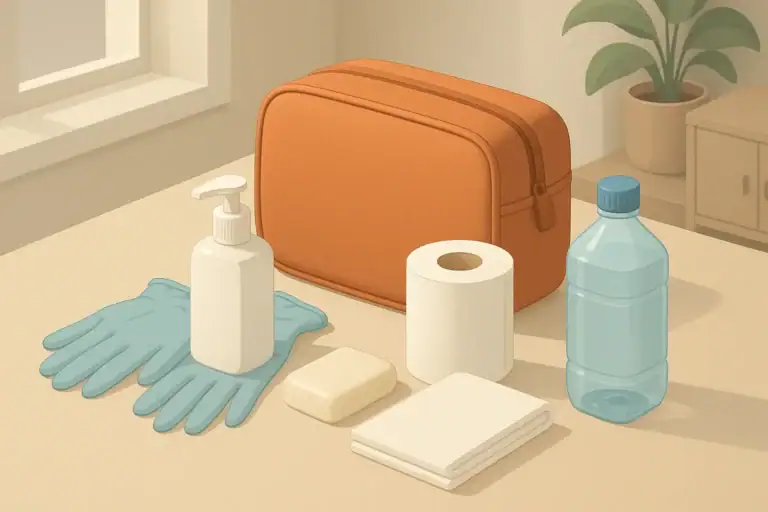
Simple hygiene and sanitation considerations
After water damage, some areas and items may not be usable for a short period. A basic hygiene plan helps you manage comfortably:
- Keep a small reserve of cleaning wipes or cloths and mild cleaning agents.
- Store a backup set of towels and bedding in a dry, higher location.
- Have a simple trash plan for disposing of water-damaged items, following local guidance.
Example values for illustration.
| Need | Simple supplies | Safe use note | Disposal idea |
|---|---|---|---|
| Drying hands after cleanup | Dedicated towels or paper towels | Keep separate from regular kitchen towels | Wash towels hot; bag and bin paper |
| Wiping hard surfaces | Cloths, mild soap, bucket | Avoid soaking electrical items | Rinse cloths, launder after use |
| Managing damp small items | Trash bags, labels or markers | Separate wet from dry items | Seal bags; follow local trash rules |
| Temporary bathroom cleaning | Brush, mild cleaner, gloves | Ventilate small rooms during use | Rinse tools, store to dry |
| Protecting feet on wet floors | Washable shoes or sandals | Use non-slip soles where possible | Air-dry shoes; clean soles later |
| Handling soaked paper goods | Boxes, bins, or lined container | Avoid tearing; lift in small bundles | Bag securely; follow local guidance |
| Separating cleaning gear | Dedicated storage bin | Label for cleanup use only | Periodically empty and clean bin |
Keeping a Calm, Practical Checklist for Future Events
Water damage can be stressful, but having a simple, written checklist makes it easier to act quickly without feeling rushed. Consider keeping a copy of the key steps somewhere easy to find:
- Safety and shutting off water or power if needed
- Removing standing water and moving belongings
- Starting airflow and drying within the first hours
- Cleaning hard surfaces and sorting items
- Checking for musty odors and signs of ongoing moisture
By treating mold prevention as part of your overall home readiness, you can respond to leaks and minor floods with steady, practical actions that help protect your space and belongings.
Frequently asked questions
How quickly should I dry wet materials to prevent mold growth after water damage?
Aim to remove standing water and begin active drying within the first 6–24 hours and to complete drying within 24–48 hours when possible; mold can start growing on damp materials within about 24–48 hours. Porous materials that stay wet longer are at higher risk and may need disposal or professional restoration.
Can I rely on household fans alone for mold prevention after water damage?
Household fans help by increasing airflow and speeding surface drying, especially when combined with open doors and cross-ventilation, but they are not always sufficient alone in very humid conditions or for deeply soaked materials. Avoid running fans in areas with structural or electrical damage, and use dehumidification when available for better moisture removal.
Which soaked items are likely unsalvageable and should be discarded?
Porous items exposed to contaminated water (for example from a sewer or outdoor flood) are often safest to discard, and large items like mattresses, upholstered furniture, and carpet padding are frequently unsalvageable if soaked for many hours. Small, lightly damp textiles can often be laundered and dried thoroughly; when in doubt, consult a restoration professional.
When should I call a professional for water damage or mold prevention?
Contact a professional if water is from a contaminated source, multiple rooms or structural elements are saturated, you detect visible mold covering larger areas, or drying efforts in 24–48 hours do not resolve dampness and odors. Also seek help if there are safety concerns such as electrical, structural, or health issues.
What steps should renters take to coordinate with landlords to reduce mold risk?
Report the incident promptly with photos and timestamps, request written confirmation of inspections or repairs, and document any communications. While you wait for building-level response, take immediate in-unit steps you can safely do—remove standing water, move belongings, and increase airflow—and keep records of your actions.
- Simple checklists and realistic planning
- Water, power, lighting, and pantry basics
- Family plans (kids, pets, seniors) and seasonal prep
Broken Glass Cleanup Kit: Gloves, Shoes, Bags, and First Steps
Temporary Window Covering After Storm Damage: Safe Short-Term Options
Emergency Toilet Setup: Bags, Buckets, Absorbents, and Hygiene
Utility Shutoff Labels: Gas, Water, and Electric Basics for Homeowners
Water Shutoff Valve Checklist: Find, Label, and Test It Before a Leak
Emergency Handwashing Station: How to Set One Up at Home