Why an Emergency Toilet Setup Matters
Toilets are easy to take for granted until the water stops flowing or the sewer line backs up. Short-term disruptions can happen during winter storms, hurricanes, power failures that affect pumping stations, or plumbing issues in a single building. In these situations, flushing can push waste into places it should not go, or simply will not work.
Having a simple emergency toilet plan helps you:
- Maintain basic hygiene when plumbing is unavailable
- Reduce odors and limit contact with waste
- Protect your home from backups and contamination
- Stay calmer during outages, especially with kids, seniors, and guests
This guide focuses on practical home setups using common items: buckets, bags, absorbents, and simple cleaning supplies. The goal is short-term readiness, not long-term off-grid living.
Basic Principles of Emergency Sanitation at Home
Before getting into specific setups, it helps to understand a few basic principles. These apply whether you live in a house or an apartment, and whether you have one bathroom or several.
Know When Not to Flush
In many emergencies, you can still use your regular toilet if the pipes and sewers are working. In others, flushing can cause damage or backups. Consider avoiding flushing when:
- You are told by local authorities not to use the sewer system
- Your toilet backs up or drains very slowly after flushing
- You know the sewer main or septic system is flooded or damaged
- You are in an upper-floor apartment and the building has known sewer issues during outages
When in doubt, reserving the toilet and using a lined bucket or a dry setup can prevent bigger problems.
Separate Liquid and Solid Waste When Possible
Separating urine and feces is optional but helpful. Urine is mostly liquid and can quickly add weight and volume to your waste bags. When separated:
- Solid-waste bags stay lighter and easier to handle
- Absorbents work better and longer
- You can often dispose of small amounts of urine more easily when plumbing is restored
If you cannot easily separate, that is fine. Use more absorbent material and change bags more often.
Containment, Absorption, and Hygiene
A safe, workable emergency toilet focuses on three things:
- Containment: Strong bags and a stable container (bucket or existing toilet bowl) to avoid spills
- Absorption: Material that soaks up liquid, helps reduce odor, and keeps bags manageable
- Hygiene: Hand cleaning, surface disinfecting, and safe temporary storage of used bags
You do not need specialized equipment for a short-term emergency. A few simple supplies organized ahead of time make a big difference.
Example values for illustration.
| Home situation | Primary toilet option | Why it fits |
|---|---|---|
| Small apartment, 1 bathroom | Lined regular toilet bowl | Uses existing space and seat, easy for all ages |
| House, multiple bathrooms | Dedicated bucket toilet | Keeps one toilet off-limits, centralizes waste handling |
| House with garage or porch | Bucket in semi-outdoor area | Moves odors away from living space |
| Family with young kids | Bucket with seat or step-stool support | Makes seating more secure and familiar |
| Senior or mobility limits | Lined toilet bowl or raised seat frame | Reduces need to step up or balance |
| Short outage (under 24 hours) | Minimal kit in bathroom | Focus on bags, absorbent, hand cleaning |
| Multi-day outage potential | Full bucket system plus storage bin | Improves odor control and bag organization |
Core Supplies: Buckets, Bags, and Absorbents
emergency toilet You can build a reliable emergency toilet from items found in most hardware or home stores. Aim to gather and store these in one clearly labeled container so you are not searching during an outage.
Choosing a Bucket or Base
Many people use a basic plastic bucket as the main structure. Features to consider:
- Capacity: Something in the common household size range is usually enough for several uses before changing the bag.
- Stability: A wide base is less likely to tip; placing the bucket against a wall helps.
- Handle: Makes it easier to move when empty or when changing bags.
- Lid (optional): A lid helps with odor between uses and during transport, though you can also fold or tie bags.
If you cannot store a bucket, you can line your existing toilet bowl with bags and use the seat as usual. The bucket method is helpful if you want to keep the toilet itself completely out of use during sewer problems.
Bags: Types and How to Use Them
Strong bags are the heart of your emergency toilet. Consider keeping:
- Primary liner bags: Thick trash bags or contractor-style bags to line the bucket or toilet bowl.
- Inner waste bags: Slightly smaller bags nested inside the liner to hold the actual waste and absorbent.
- Extra small bags: For used wipes, gloves, and other hygiene trash.
Using a double-bag system (one larger bag as a liner, one inner bag for waste) adds a layer of protection against leaks. When the inner bag is ready to be changed, you can tie it off and still have a clean outer liner in place.
Absorbent Materials
Absorbents help manage moisture and odor. Many common household materials can work:
- Clean, unused pet litter (non-clumping or clumping, used as directed on its packaging)
- Shredded paper or newspaper
- Sawdust or wood shavings (from untreated, clean wood)
- Dry leaves or grass clippings (if clean and available)
- Paper towels or extra toilet paper
Sprinkling a small layer of absorbent in the bag before use and adding a bit after each use keeps the contents more manageable. For a family, a small bag or box of absorbent material dedicated to emergency use is helpful.
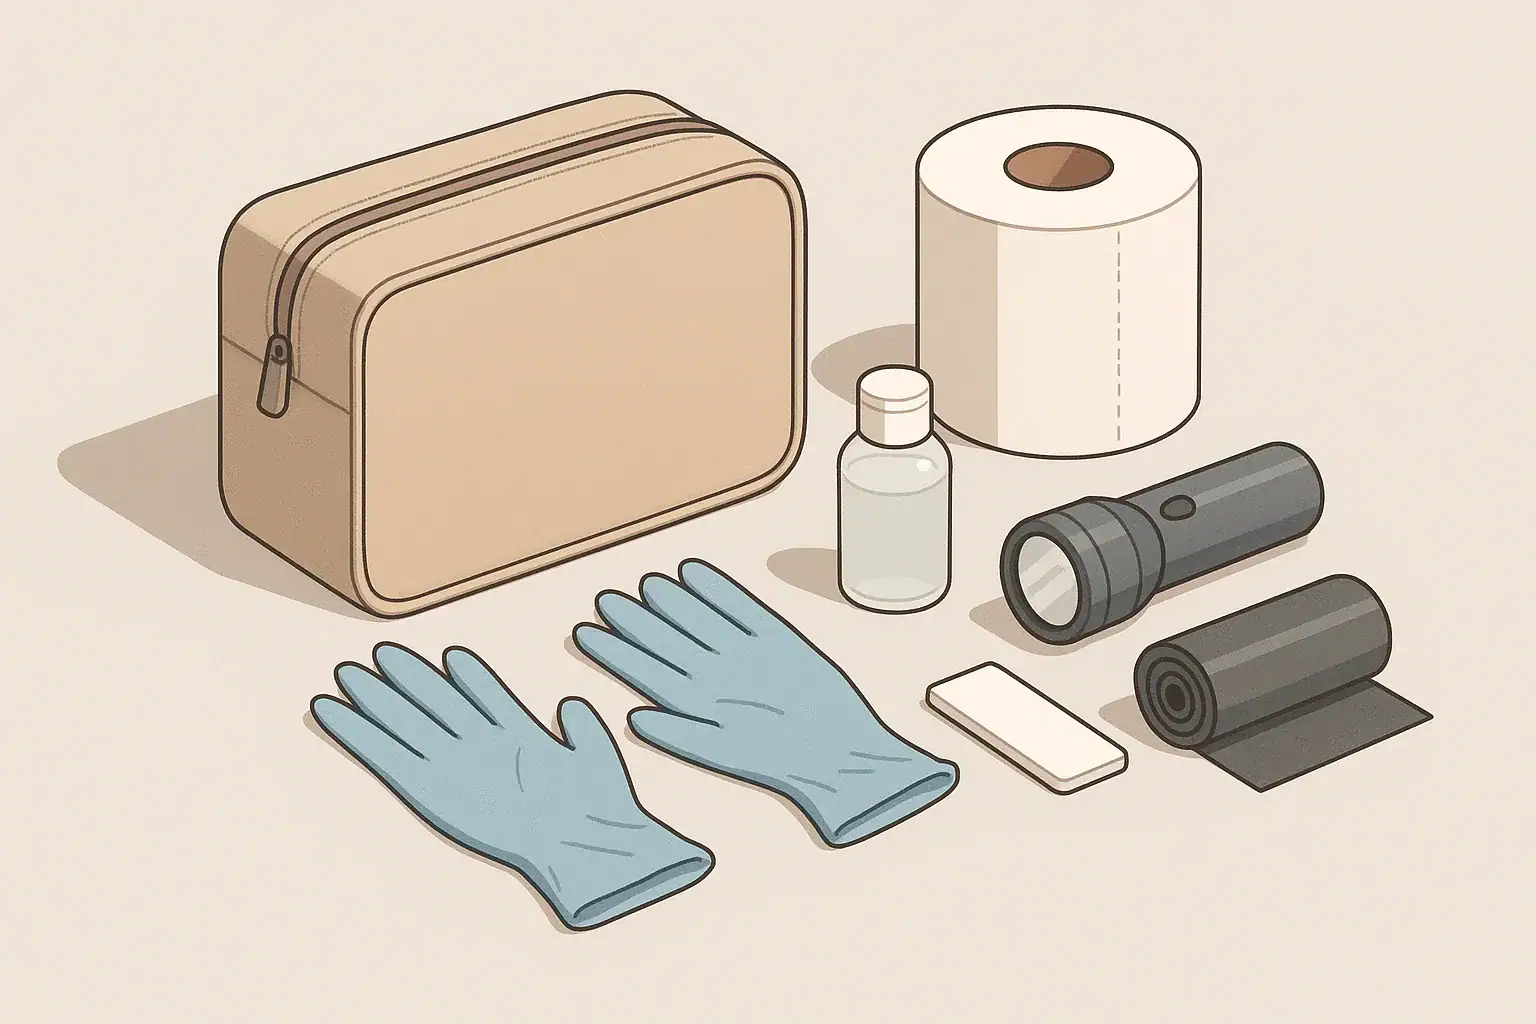
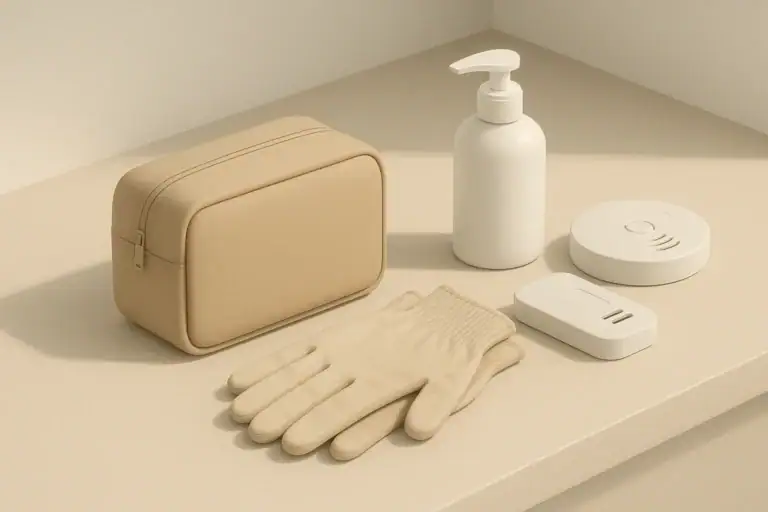
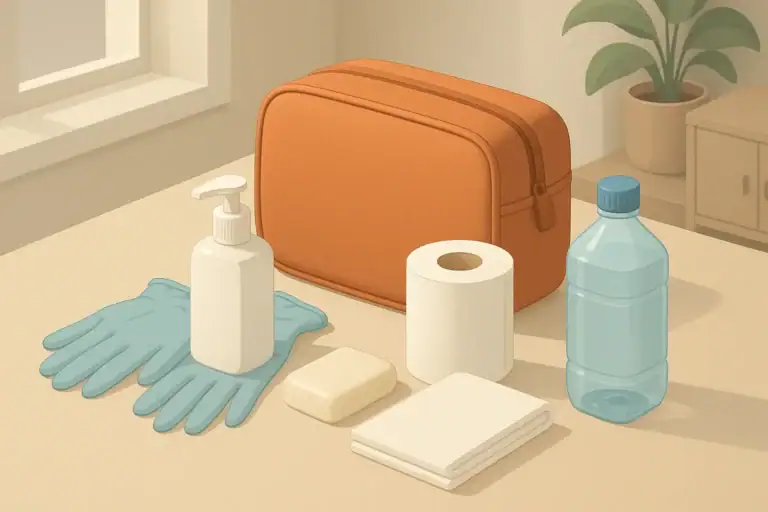
Additional Helpful Items
For comfort, safety, and easier cleaning, consider adding:
- Disposable gloves
- Hand soap or travel-size handwash
- Alcohol-based hand sanitizer
- Disinfecting wipes or a simple spray cleaner and paper towels
- Toilet paper or unscented tissues
- Unscented bags for used wipes and gloves
- A small flashlight or headlamp stored nearby
Setting Up a Bucket or Lined Toilet System
Once you have the basic supplies, you can set up a simple and repeatable process. Practice it once in calm conditions so your household knows what to do.
Step 1: Prepare the Space
Choose where your emergency toilet will live. Common options:
- Your regular bathroom, using the existing toilet with bags
- A separate bathroom to keep smells and traffic contained
- A corner of a laundry room, garage, or covered porch (if climate and privacy allow)
Make sure there is enough room to sit and stand safely, and that young children or people with mobility challenges can reach it comfortably. Keep a small basket or container nearby with toilet paper and hand-cleaning supplies.
Step 2: Line the Bucket or Toilet
Use this general process for either a bucket or a toilet bowl:
- Open a large, strong liner bag and place it inside the bucket or bowl, pushing it down to the bottom.
- Fold the top edge of the bag over the rim to keep it in place.
- Place a second, smaller bag inside as the inner waste bag if you are double-bagging.
- Add a layer of absorbent material to the bottom of the inner bag.
If you are lining a toilet bowl, you can lower the seat onto the bag edges to clamp them in place, but be sure the bag is not pinched so tightly that it tears.
Step 3: Make Seating More Comfortable and Stable
Comfort matters, especially for children, older adults, and anyone who may need help. Options include:
- Using the regular toilet seat when lining the bowl for a familiar feel.
- Placing a simple seat or padded ring on top of a bucket.
- Putting the bucket against a wall so it cannot slide backward.
- Using a small mat or towel under the bucket to reduce slipping.
Test the setup by carefully sitting on it before you need it in an emergency.
Step 4: Using and Changing the Bags
When someone uses the emergency toilet:
- Encourage them to sit rather than stand to reduce splashing and spills.
- After each use, sprinkle a small amount of absorbent material over the waste.
- Keep a limit in mind for how full a bag should get—often no more than about one-third to halfway, so it can be tied easily and lifted safely.
To change a full bag:
- Put on disposable gloves if you have them.
- Gather the top of the inner bag, gently twisting to remove air.
- Tie a secure knot or use a tie/strap to close the bag.
- If you used a double-bag system and the outer liner is clean, leave it in place; otherwise, remove and replace it as well.
- Wipe any surfaces that were splashed or touched with a disinfecting wipe or cleaner.
- Remove gloves and wash or sanitize your hands.
Odor Control and Safe Temporary Storage
Even in short outages, odor and storage are common concerns. A few simple practices can keep your home more comfortable.
Reducing Odors at the Source
Odor control starts with how you set up and use the system:
- Use enough absorbent so the surface appears mostly covered and not overly wet.
- Keep the bucket or lined toilet covered with a lid or closed seat between uses.
- Store a small, open container of baking soda nearby to sprinkle lightly if desired.
- Ventilate the room when possible by opening a window slightly or running a fan if power is available.
Avoid strong sprays or overpowering fragrances in small, enclosed spaces. Mild ventilation and consistent cleaning are often more effective.
Bag Handling and Short-Term Storage
Once a bag is tied, you may not be able to remove it from the property immediately, especially during storms or when collection services are disrupted. For short-term storage:
- Place sealed waste bags inside a second outer bag for extra containment.
- Store them in a sturdy bin with a lid, in a cool, shaded area if possible.
- Keep the storage area away from food, children, and pets.
- Limit how often you open the storage container to reduce odor release indoors.
When normal trash service resumes, follow local guidance for disposing of bagged waste. If specific instructions are given by local authorities, follow those directions.
Example values for illustration.
| Need | Simple supplies | Safe use note | Disposal idea |
|---|---|---|---|
| Hand cleaning | Soap, water, hand sanitizer | Wash with soap and water when available; use sanitizer on dry hands | Used paper towels in small trash bag with household waste |
| Surface disinfection | Disinfecting wipes or spray, paper towels | Wipe toilet seat, bucket rim, and handles after bag changes | Seal in trash bag before placing with other waste |
| Managing solid waste | Double-bag system, absorbent, gloves | Tie bags securely; avoid squeezing or overfilling | Store in lidded bin until regular collection resumes |
| Managing liquid waste | Separate container or frequent bag changes | Do not pour into drains if authorities advise against it | Follow local guidance once plumbing is confirmed safe |
| Personal cleanliness | Toilet paper, unscented wipes, small washcloth | Use wipes sparingly; do not flush into compromised systems | Bag wipes separately if heavily soiled, then place in waste bin |
| Odor management | Absorbent, baking soda, ventilation | Use light amounts; avoid irritating fragrances | Odor materials stay inside sealed waste bags |
Planning for Different Households and Spaces
Every home is different. A small apartment with limited storage has different needs from a large house, and families have different comfort levels and privacy concerns.
Apartments and Small Spaces
In apartments, space and building rules may limit what you can store and where you can keep waste:
- Use your existing toilet with liner bags to avoid storing an extra bucket.
- Keep a compact kit: a small stack of strong bags, a modest amount of absorbent, and basic hygiene supplies.
- Plan a discreet storage spot for tied bags, such as a bin on a balcony, if building rules allow.
- Talk with roommates or family members in advance about where the emergency setup will be located.
Families with Children
Children may be anxious about changes to their routine. A few simple steps can help:
- Explain in simple terms that the emergency toilet is temporary and helps keep everyone healthy.
- Keep a small footstool nearby so younger children can sit and stand safely.
- Store extra wipes, small trash bags, and a familiar comfort item (like a small toy nearby) to ease stress.
- Assign an adult to handle bag changes and cleaning so children do not have to see or manage waste.
Seniors and People with Mobility Challenges
For older adults or anyone with mobility issues, accessibility and stability are priorities:
- Use the existing toilet with a lined bag if standing from a lower bucket would be difficult.
- Consider a raised seat frame if you already use one in daily life.
- Keep grab bars or sturdy supports within reach where possible.
- Place supplies at a height that does not require bending or reaching far.
Pets and Indoor Accidents
Pets may also be stressed during emergencies. While this guide focuses on human waste, consider:
- Keeping extra pet litter or absorbent on hand for both pet and human needs.
- Using separate bags and a separate area for pet waste to avoid confusion.
- Cleaning indoor accidents promptly with absorbent and disinfectant to reduce odors.
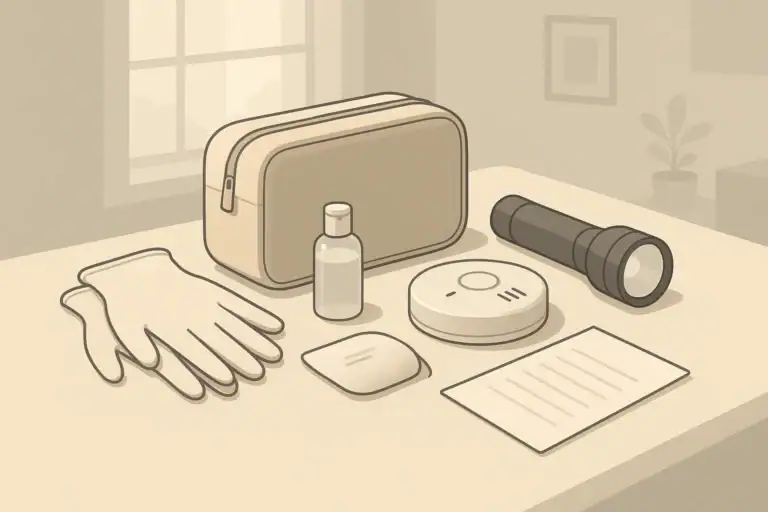
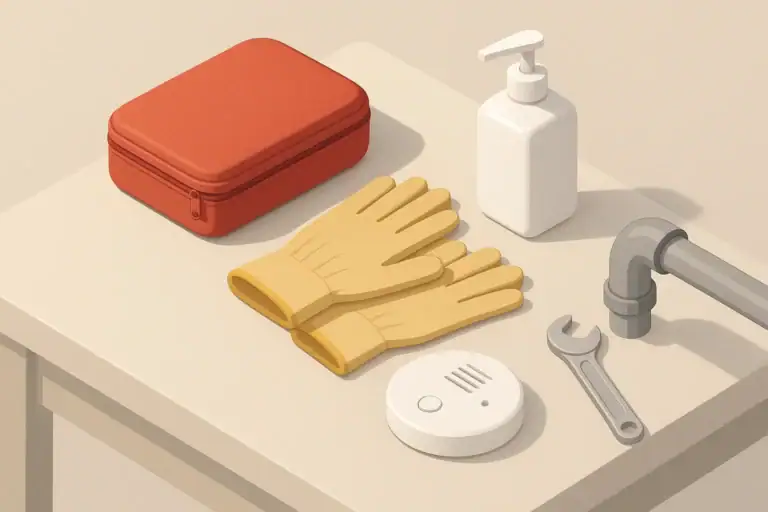
Simple Checklist to Build Your Kit
To pull everything together, you might assemble a small bin or tote labeled for emergency sanitation. Common contents include:
- One sturdy bucket or a note that the existing toilet will be lined
- Roll of strong trash bags plus several smaller bags
- Absorbent material (pet litter, shredded paper, or similar)
- Toilet paper and tissues
- Soap, hand sanitizer, and a few washcloths or paper towels
- Disinfecting wipes or a small spray cleaner
- Disposable gloves and a small flashlight
Storing this kit alongside other home readiness items—like water, basic tools, and lighting—helps you respond more smoothly to short-term disruptions without panic.
Frequently asked questions
How should sealed waste bags be stored and disposed of after an outage?
Keep sealed waste bags inside a second outer bag or a lidded, sturdy bin in a cool, shaded location away from food, children, and pets until collection resumes. When normal trash service is available, dispose of the sealed bags per local rules or the guidance provided by local authorities; if special directives were issued during the outage, follow those instructions.
Can I flush the contents of a lined toilet or inner bag once plumbing is restored?
Do not flush bags, absorbent materials, wipes, or other nonflushable items, as they can clog plumbing and sewers. If waste is only human waste and toilet paper and the sewer system is confirmed safe, use the toilet normally; otherwise dispose of sealed bags with regular trash following local guidance.
Which absorbent materials work best to control liquid and odor in an emergency toilet setup?
Non-clumping absorbents like sawdust, shredded paper, or non-clumping litter are effective at soaking up liquids; baking soda helps neutralize odors when used sparingly. Choose materials you can store safely and handle without creating dust or contamination, and avoid chemically treated or contaminated substrates.
How often should I change bags and what is the safest way to handle them?
Change inner bags before they are too full—commonly around one-third to one-half full—to reduce the risk of spills and make lifting easier. Wear disposable gloves if available, twist and tie the bag to remove excess air, place it into an outer bag or lidded bin, clean any splashed surfaces, and wash or sanitize hands afterward.
What are the best ways to manage odors in a small apartment during a multi-day outage?
Use adequate absorbent in each bag, keep the bucket or lined toilet covered between uses, and store sealed waste in a lidded container away from living spaces. Light ventilation and a small open container of baking soda near the setup can help reduce odors; avoid strong fragrances that may irritate occupants.
- Simple checklists and realistic planning
- Water, power, lighting, and pantry basics
- Family plans (kids, pets, seniors) and seasonal prep
Mold Prevention After Water Damage: First 24–48 Hours Checklist
Broken Glass Cleanup Kit: Gloves, Shoes, Bags, and First Steps
Temporary Window Covering After Storm Damage: Safe Short-Term Options
Utility Shutoff Labels: Gas, Water, and Electric Basics for Homeowners
Water Shutoff Valve Checklist: Find, Label, and Test It Before a Leak
Emergency Handwashing Station: How to Set One Up at Home