Why a Manual Can Opener Belongs in Every Ready Pantry
A manual can opener is one of the smallest tools that can quietly decide whether your pantry is truly usable in a power outage or other short-term disruption. If most of your shelf-stable food is in cans but you cannot open them without electricity, your pantry is more of a display than a backup.
In everyday life, a manual opener is just a backup for when the electric one fails. In a blackout, it becomes the only way to access many ready-to-eat foods: beans, soups, vegetables, fruits, tuna, chicken, and more. That matters in apartments, houses, and dorm-style setups, especially where cooking options are limited.
This checklist walks through choosing, storing, and maintaining a manual can opener as part of realistic, calm home readiness for families, renters, and anyone living in small spaces.
Choosing a Manual Can Opener for Home Readiness
You do not need a complicated tool, but a little intentionality helps. Focus on an opener that is simple, sturdy, and easy to use for everyone in the household who might need it, including kids old enough to help, seniors, and anyone with limited grip strength.
Basic Features That Actually Matter
When you look at manual can openers, most share a similar shape, but a few details affect how they perform when you really need them.
- Comfortable handles: Thick, rounded handles are usually easier to grip, especially for small hands or arthritic hands. Thin metal handles can dig into fingers under load.
- Smooth-turning knob or crank: The turning knob should move easily without sticking. If it is stiff in the store, it may be harder to use on a full pantry can.
- Reliable cutting wheel: The cutting wheel should feel sharp and align cleanly with the gear. Visible nicks or misalignment lead to jagged cuts or half-open lids.
- Visible gear teeth: The gear that walks around the can rim should have well-formed teeth. Worn-down teeth can slip and stall while opening.
- Reasonable weight: Extremely lightweight, flimsy openers can bend. Extremely heavy ones may be tiring for some users. Aim for something that feels solid but not bulky.
Usability for Different Household Members
In a short-term emergency, the person who normally handles cooking might be busy with other tasks. Choose a can opener that others can safely use.
- Kids and teens: For older children who help with meals, look for an opener with a clear, intuitive design and no sharp edges exposed except at the cutting wheel.
- Seniors: Larger turning knobs and cushioned handles are easier on joints. Test how much force it takes to pierce and start turning.
- People with limited hand strength: Consider models that require less squeezing pressure once the initial puncture is made, and practice ahead of time.
Redundancy: One Opener Is Not Always Enough
If your pantry is central to your home readiness plan, it is sensible to have more than one manual can opener. A second opener is inexpensive compared to the value of the food it helps you access.
- Keep one in everyday kitchen use so you know it works.
- Store a second with your emergency supplies or blackout kit.
- Consider a compact spare in a go-bag or car kit if canned food is part of those plans.
Example values for illustration.
| Task | Why it matters | Notes |
|---|---|---|
| Select a sturdy manual opener | Reduces chance of breakage during an outage | Test on several can sizes at home |
| Designate a backup opener | Provides redundancy if one fails or is misplaced | Store in a different spot than the primary |
| Test ease of use for all adults | Ensures anyone can open cans under stress | Include older kids or teens where appropriate |
| Label opener location in emergency plan | Speeds up meal prep in low light or confusion | Use simple written notes in your home plan |
| Add opener to go-bag checklist | Keeps canned food usable if you must leave home | Only if your go-bag includes canned items |
| Schedule quick annual inspection | Catches rust or dull blades before you need it | Combine with smoke alarm or filter checks |
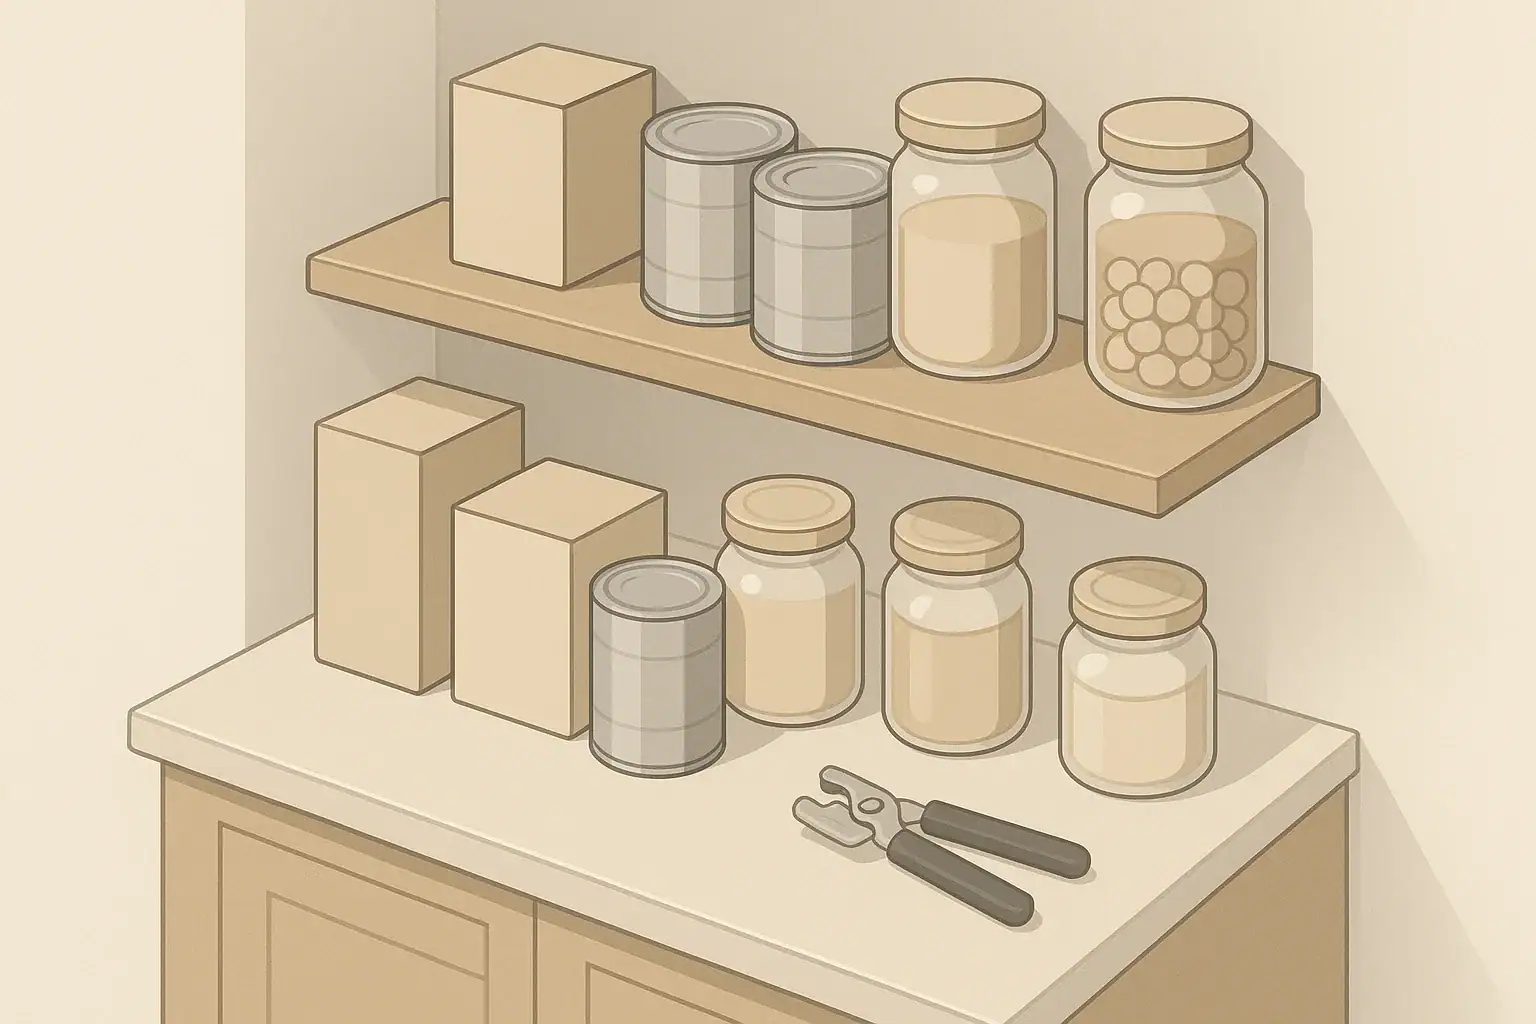
Where to Keep Manual Can Openers for Everyday and Emergency Use
Placement matters as much as the tool itself. In a stressful moment—like a storm-related blackout—you want to reach the opener without digging through crowded drawers.
Kitchen Storage for Daily Access
For everyday meals, store your main opener close to where you actually open and prep cans.
- Top drawer near the stove or prep area: Keeps it within reach when cooking.
- Utensil crock or wall hook: Visible storage reduces the chance of misplacement, especially in busy households.
- Avoid deep, cluttered drawers: In low light, reaching into a crowded drawer with other sharp tools can be unsafe.
Backup Opener with Emergency Supplies
Your secondary opener can live with your emergency food or blackout kit so it is always in the same place as the cans.
- Attach it to a small hook or key ring inside the pantry.
- Place it in a labeled container or bin with “no-cook” or “ready-to-eat” foods.
- Include a simple flashlight or battery lantern nearby for safe use in the dark.
Apartment vs House Considerations
Different homes call for slightly different storage strategies.
- Apartments and studios: Space is tight, so aim for one main location that everyone knows—often a single pantry cabinet or utility shelf.
- Houses: If you have multiple food storage spots (kitchen, basement shelves, garage cabinets), consider a low-cost opener for each main area.
- Shared housing or roommates: Agree on a consistent spot and note it in any shared emergency plan or household guide.
Using a Manual Can Opener Safely, Even in Low Light
Manual can openers are straightforward tools, but in stressful conditions—dark kitchens, tired kids, or rushed meal prep—small safety habits help prevent cuts and spills.
Step-by-Step Use in a Calm Setting
Practice when the lights are on and you are not in a hurry. That way, using the opener in a blackout feels familiar.
- Inspect the can for dents or bulges; set aside any that look questionable.
- Place the can on a stable, flat surface, such as a countertop or sturdy table.
- Open the can opener handles and position the cutting wheel at the can rim.
- Clamp down firmly so the wheel punctures the lid.
- Turn the knob smoothly around the rim, keeping your other hand clear of sharp edges.
- Lift the lid carefully; if it does not separate fully, use a utensil to avoid touching jagged metal.
- Dispose of the lid in a container where kids and pets cannot reach it.
Extra Caution During Blackouts
When the power is out, add a few extra steps to stay safe.
- Use steady lighting: A hands-free light source (battery lantern or headlamp) helps you see the rim and lid clearly.
- Clear the workspace: Move other tools and clutter away so you are not fumbling near knives or glass in the dark.
- Contain sharp waste: Use a dedicated container or heavy bag for lids so they do not poke through trash.
- Keep kids and pets back: Excited or nervous movement in a small kitchen can lead to spills or contact with sharp edges.
Minimizing Mess When Water Is Limited
During water disruptions, you may be less able to rinse spills or soaked countertops. Small habits can make cleanup easier.
- Open cans over a shallow tray or plate to catch drips.
- Lay a washable or disposable cloth under the can before opening.
- Use a dedicated spoon or spatula for scraping food from lids so you do not have to touch the underside.
Maintaining and Cleaning a Manual Can Opener
A neglected opener can become sticky, rusty, or difficult to turn. Occasional maintenance helps ensure the tool works when you need it, especially for long-stored backups.
Routine Cleaning After Everyday Use
Food residue on the cutting wheel or gears can harden over time. After use:
- Wipe down the cutting wheel and gear with a damp cloth or sponge.
- Avoid submerging the entire opener if it is not designed for that; trapped water can encourage rust.
- Dry thoroughly, paying attention to joints and the pivot area.
Occasional Deep Cleaning and Lubrication
For openers in daily use, a deeper clean every few weeks or months (depending on frequency) can keep the mechanism smooth.
- Use a small brush, like an old toothbrush, to remove dried food from the teeth.
- If allowed by the manufacturer, lightly lubricate the turning mechanism with a food-safe product, then wipe away excess.
- Check for rust spots, chips, or wobbling parts and retire any opener that seems unsafe or unreliable.
Checking Long-Stored Backup Openers
Backups stored with emergency food can sit untouched for years. Put them on a simple inspection rotation.
- Once a year, take backup openers out and open a single can with each.
- Confirm that the cut is clean and the turning feels smooth.
- Dry them fully before returning them to storage, especially in basements or garages with moisture.
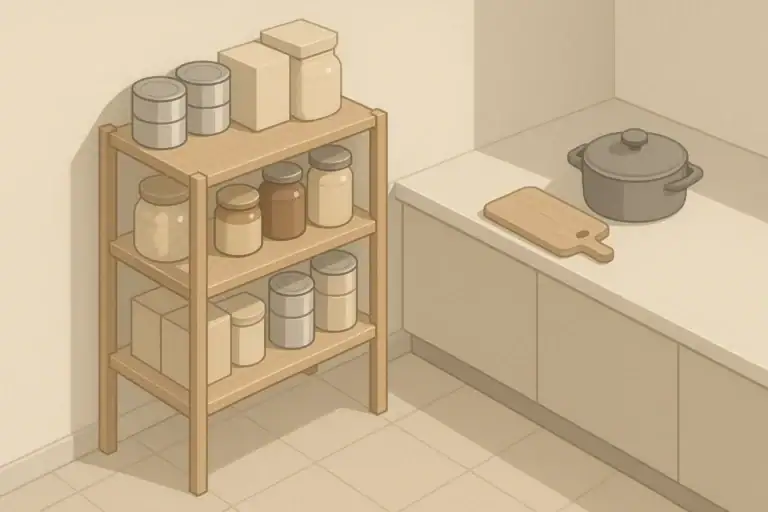
Integrating Manual Can Openers into Pantry Planning
A can opener matters most when it matches the food you have and the ways you plan to use it during disruptions. Think about it as part of your overall pantry strategy rather than a separate gadget.
Matching Openers to the Types of Cans You Store
Different cans place different demands on an opener.
- Standard soup and vegetable cans: Most basic openers handle these easily.
- Large cans (bulk tomatoes, beans, or fruit): Heavier cans require more control; make sure your opener grips firmly and does not slip.
- Small or narrow cans (some pet foods or specialty items): Check that the cutting wheel can engage the rim without the handles bumping into the can body.
- Pull-tab cans: Many can be opened without a tool, but some tabs break. A manual opener remains a good fallback.
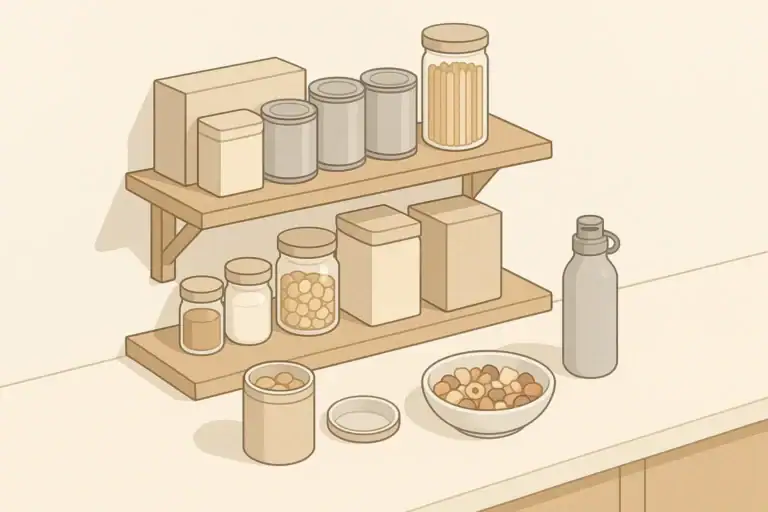
No-Cook and Low-Cook Meals During Outages
For short-term emergencies, many people rely on foods that require little or no cooking. A manual opener makes these options practical.
- Canned beans and chili that can be eaten at room temperature if needed.
- Canned fruits in juice or light syrup for quick energy and variety.
- Canned vegetables that can be added to simple stovetop or camp-stove meals.
- Canned tuna, chicken, or salmon for protein in sandwiches, wraps, or salads.
As you build this kind of pantry, check that every can you are counting on can be opened with your existing tools.
Planning for Families, Kids, and Seniors
Think about who will actually be eating the food you open and who may help prepare it.
- Families with young kids: Keep sharp lids immediately out of reach and show older children how to hand used cans to an adult.
- Households with seniors: Make sure at least one opener is easy to operate with limited grip strength and clearly stored in a familiar spot.
- Multi-generational homes: Consider labeling the opener location with a simple picture or color code for those who prefer visual cues.
Example values for illustration.
| Food type | Storage tip | Rotation interval idea | No-cook use |
|---|---|---|---|
| Canned beans | Store in cool cabinet, group by type | Use oldest within about 1–2 years | Drain and mix with oil and seasoning |
| Canned vegetables | Keep similar sizes together for easy stacking | Rotate into weekly meals regularly | Serve at room temperature in salads |
| Canned fruits | Store away from direct heat sources | Check dates during seasonal pantry cleanouts | Eat directly or mix with dry cereal |
| Canned meats or fish | Separate from high-moisture areas | Use older cans in planned recipes first | Combine with crackers or tortillas |
| Canned soups and chilis | Group ready-to-eat varieties together | Rotate during colder months | Eat unheated if needed in short outages |
| Evaporated or canned milk | Place in a visible spot near baking items | Use in baking or sauces before newer cans | Mix with water for simple drinks or cereals |
Building a Calm, Practical Pantry Readiness Habit
Adding a manual can opener to your home readiness plans is not about expecting the worst. It is about noticing small gaps—like a pantry full of cans but no way to open them without power—and closing them with simple, affordable tools.
By choosing a reliable opener, keeping a backup, storing them where everyone can find them, and folding them into your pantry rotation habits, you turn a tiny utensil into a quiet form of everyday resilience. Whether you live in an apartment or a house, share space with roommates or family, or support kids and older adults, this one tool helps make the food you already own more accessible in both regular days and short-term disruptions.
Frequently asked questions
How often should I inspect a backup manual can opener stored with emergency food?
Inspect backup openers at least once a year: take them out, open a can to verify the cutting wheel and gear work smoothly, and check for rust or wobble. Dry them thoroughly before returning to storage, especially if stored in basements or garages where moisture is more likely.
What features make a manual can opener easier for seniors or people with limited grip strength?
Look for larger, cushioned or thicker handles and a generously sized turning knob so less force is needed and pressure is distributed more comfortably. Smooth-turning gears and a solid grip on the can rim also reduce the effort required to open cans safely.
Is it safe to fully submerge a manual can opener when cleaning?
Avoid fully submerging a manual can opener unless the manufacturer states it is safe to do so, because trapped water can promote rust. Instead, wipe or brush away food residue, dry thoroughly, and apply a food-safe lubricant to the mechanism if needed.
Where should I store an emergency backup can opener in a small apartment?
Store a backup with your emergency food or blackout kit in a clearly labeled spot in the pantry or a nearby cabinet, and consider attaching it to a small hook or key ring for visibility. Keep a primary opener in the everyday kitchen area so someone can access cans quickly during regular use.
Will one manual can opener work on all the different can sizes I might store?
Many basic openers handle standard soup and vegetable cans, but very large bulk cans and narrow specialty cans can pose challenges; the opener must grip properly and not have handles that bump the can. Test your opener on the actual can types you store and consider adding a second style if needed.
- Simple checklists and realistic planning
- Water, power, lighting, and pantry basics
- Family plans (kids, pets, seniors) and seasonal prep
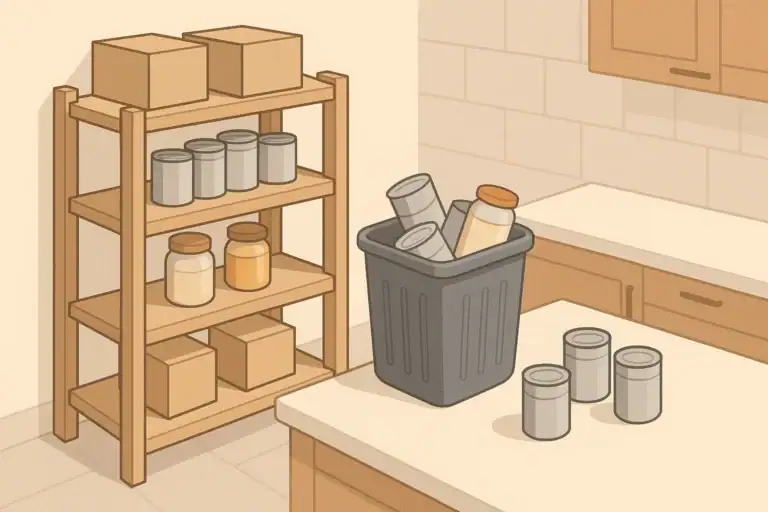
Food Spoilage Cleanup After an Outage: What to Toss and Document
One-Person Emergency Pantry: Simple Quantities Without Overbuying
Emergency Snack Box: No-Prep Foods for Stressful Days

Shelf-Stable Sauces and Flavor Boosters for Emergency Meals
Pantry Labeling System: Expiration Dates, Meals, and Rotation Bins
Freezer-First Meal Plan: What to Eat Before It Spoils