Why Plan No-Cook Emergency Meals?
Short-term emergencies like winter storms, heatwaves, or neighborhood power outages can make normal cooking difficult or unsafe. A no-cook emergency meal plan gives you a simple way to feed yourself and your household for at least 72 hours without relying on a stove, microwave, or fridge. No-cook does not have to mean complicated. The goal is to combine basic pantry items you already recognize into filling meals that:- Do not require refrigeration once opened (or are used up quickly).
- Can be eaten cold or at room temperature.
- Use little or no water for preparation and cleanup.
- Work for adults, kids, and older family members with simple adjustments.
How Much Food Do You Need for 72 Hours?
For most households, aiming for at least three basic meals and one or two snacks per person per day is a practical starting point. For a 72-hour (3-day) no-cook plan, you might picture:- 3 breakfasts × 3 days = 9 person-breakfasts
- 3 lunches × 3 days = 9 person-lunches
- 3 dinners × 3 days = 9 person-dinners
- Snacks to fill in gaps and support children, pregnant people, or older adults as needed
| Category | Examples | Why it helps |
|---|---|---|
| Ready-to-eat proteins | Canned beans, canned fish, shelf-stable tofu | Adds staying power to meals without cooking |
| Spreads | Nut or seed butters, shelf-stable hummus cups | Pairs with crackers or bread for quick meals |
| Grains & bases | Crackers, dry cereal, instant oats, tortillas | Easy foundation for sweet or savory meals |
| Fruits & vegetables | Canned fruit, applesauce cups, canned veggies | Adds variety, fiber, and familiar flavors |
| Snacks | Trail mix, granola bars, jerky, popcorn | Helps with energy dips and kid-friendly bites |
| Comfort items | Hot cocoa mix, tea bags, shelf-stable pudding | Provides routine and comfort during disruptions |
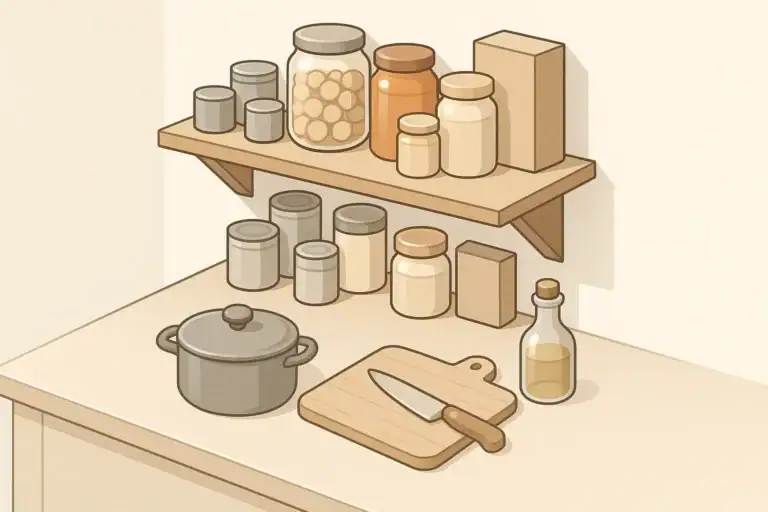
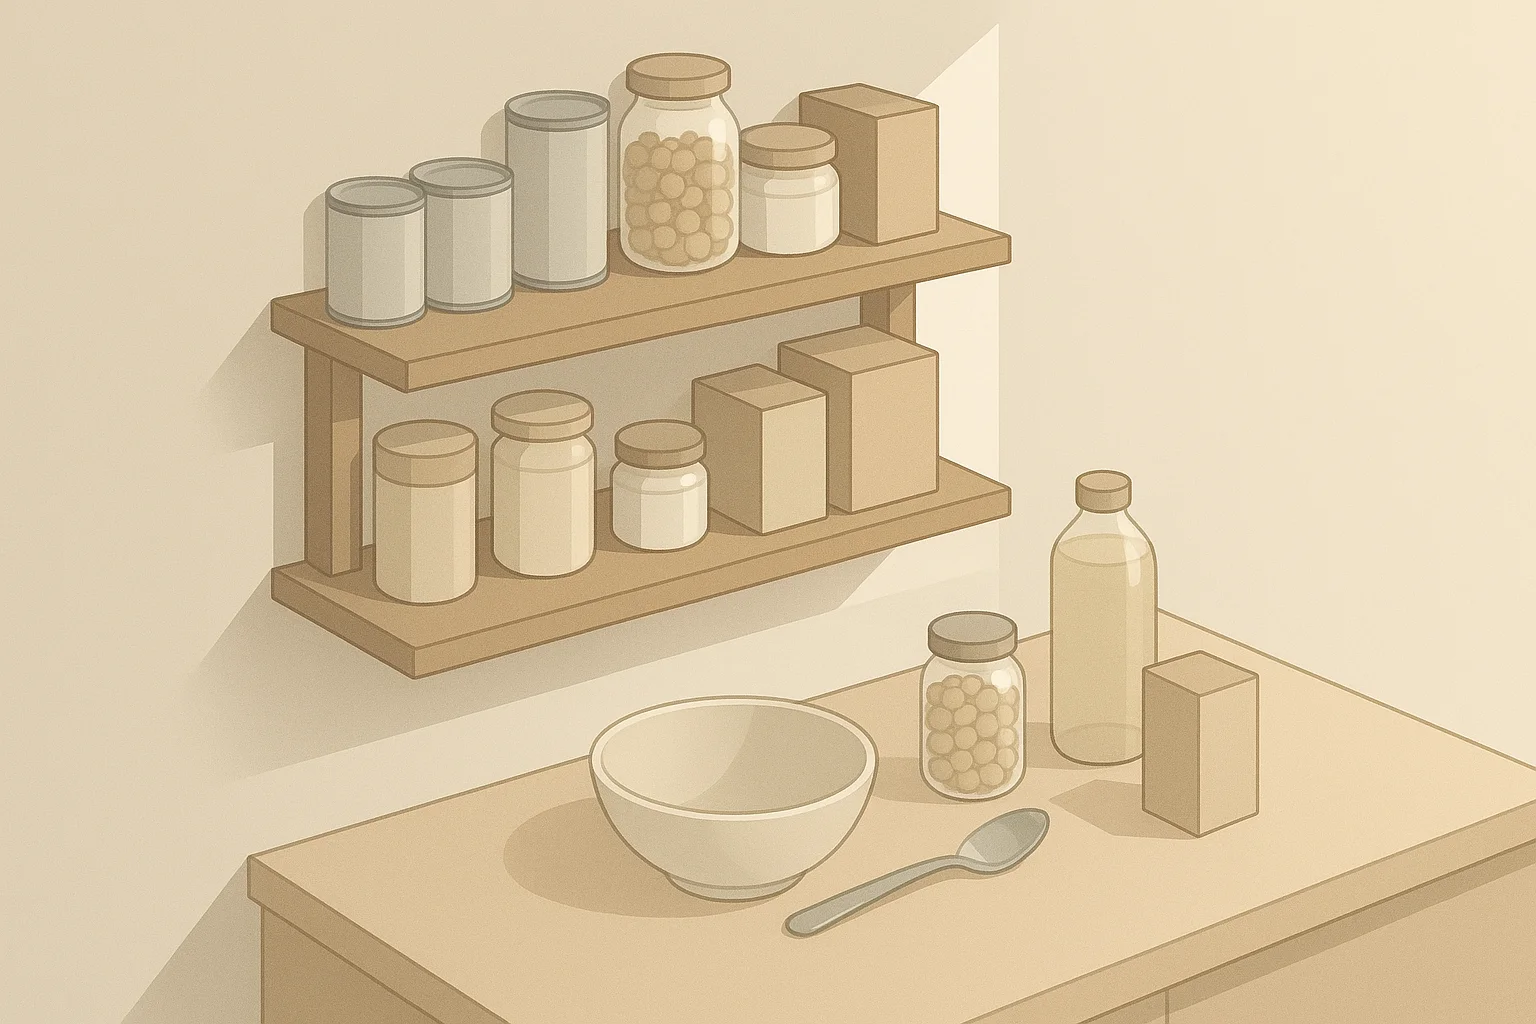
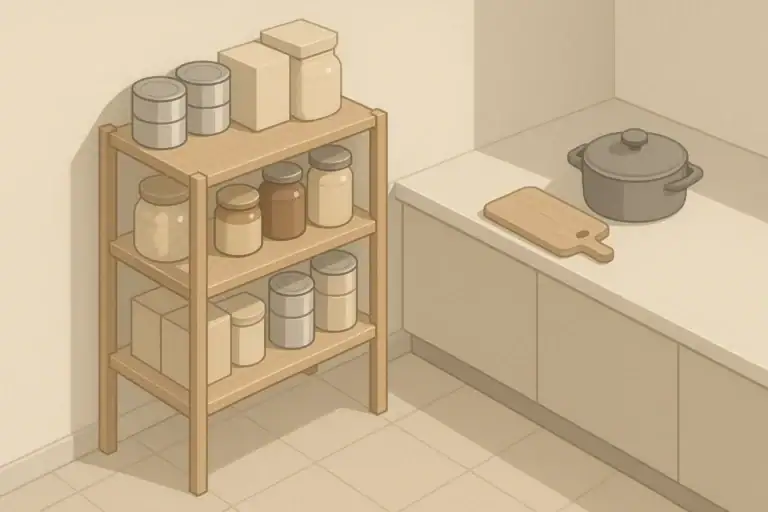
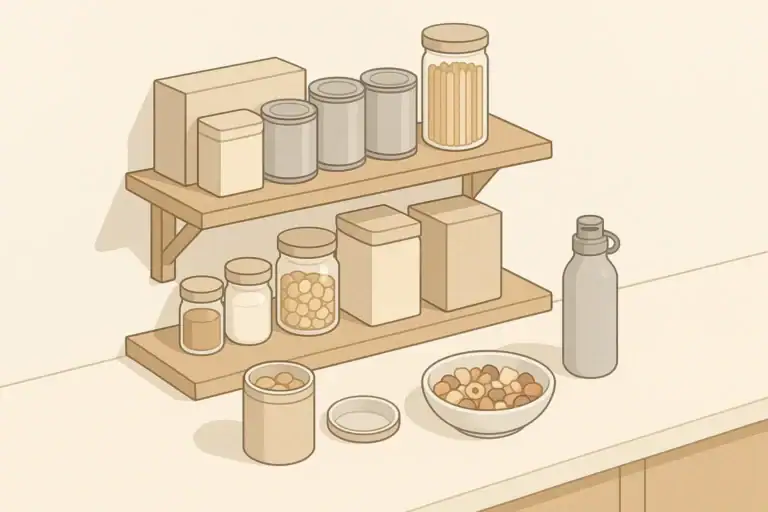
Core Building Blocks for No-Cook Emergency Meals
Instead of collecting random cans, think in terms of meal “building blocks.” This keeps your pantry usable in daily life and easy to rotate.Ready-to-Eat Proteins
Protein helps meals feel more satisfying and can be especially important for kids, older adults, and people doing physical cleanup work after a storm.- Canned beans (black beans, chickpeas, kidney beans)
- Canned lentils
- Canned fish (such as tuna, salmon, sardines) packed in water or oil
- Canned chicken or other meats
- Shelf-stable tofu or cooked lentil pouches (no heating required)
- Nut and seed butters (peanut, almond, sunflower, tahini)
- Jerky or similar dried meat-style snacks
Grains, Crackers, and Simple Bases
These items act as the base of a meal and pair with protein, fruits, or spreads.- Dry cereal or granola (plain or lightly sweetened)
- Instant oats that can be eaten with cold water or dry like muesli
- Crackers (sturdy varieties store better than delicate ones)
- Rice cakes
- Shelf-stable tortillas or flatbreads
- Plain popcorn kernels if you have a safe non-electrical way to pop them, or pre-popped shelf-stable popcorn
Shelf-Stable Fruits and Vegetables
Fruits and vegetables add variety and can help meals feel more complete. Many shelf-stable options require only a can opener or pull tab.- Canned fruit in juice or water (peaches, pears, pineapple, mandarin oranges)
- Unsweetened applesauce cups or pouches
- Dried fruit (raisins, cranberries, apricots, mango)
- Canned vegetables (corn, green beans, carrots, mixed veggies)
- Tomato products (diced tomatoes, tomato sauce) for mixing with beans or fish
- Shelf-stable pickled vegetables for flavor and variety
Snacks, Sides, and Comfort Foods
Snacks are more than “extras” during an emergency. They can help maintain routines, especially for children and stressed adults.- Granola or snack bars
- Trail mix or mixed nuts and seeds
- Crackers and cheese-style spreads that do not require refrigeration until opened
- Shelf-stable pudding cups
- Instant hot chocolate, tea bags, or instant coffee (helpful if you have a safe way to heat water)
- Cookies or simple sweet biscuits
Special Considerations: Babies, Seniors, and Dietary Needs
Households with specific dietary needs should adjust the 72-hour plan accordingly.- Babies: Infant formula if used, baby cereal, pouches, and snacks that do not need refrigeration after opening or that can be finished quickly.
- Toddlers and young children: Mild-flavored foods, squeezable pouches, and easy-to-chew options.
- Seniors: Soft foods like canned fruit, yogurt-style shelf-stable snacks, or soft crackers may be easier to manage.
- Allergies or intolerances: Stock alternative milks, nut-free spreads, or gluten-free crackers as needed.
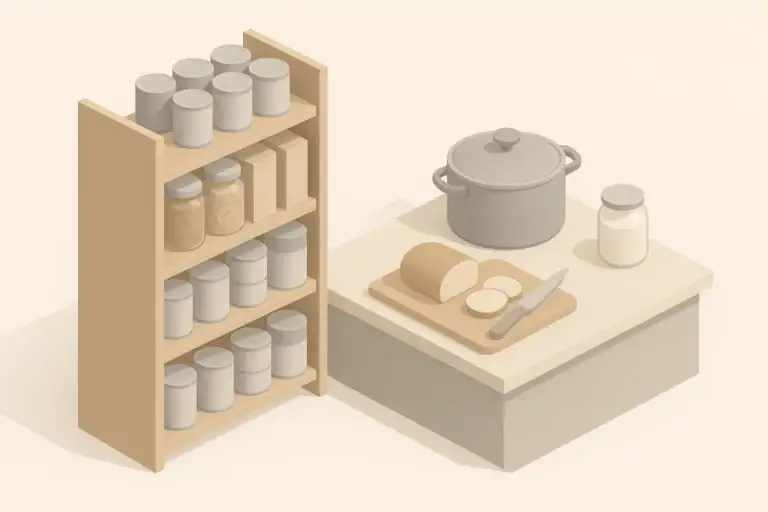
Sample 72-Hour No-Cook Emergency Menu
Use this as a template, not a strict rule. Adjust portion sizes for your household and swap in similar foods you already like.Day 1
- Breakfast: Dry cereal with shelf-stable milk or a plant-based alternative, plus a banana or canned fruit.
- Lunch: Crackers topped with nut butter and sliced dried fruit, plus a handful of nuts.
- Dinner: Canned beans mixed with canned corn and salsa-style tomatoes, eaten with tortillas or rice cakes.
- Snack: Granola bar and applesauce cup.
Day 2
- Breakfast: Instant oats soaked in a little water or shelf-stable milk, topped with dried fruit.
- Lunch: Canned fish mixed with a bit of oil or mayo-style shelf-stable packet, eaten on crackers with pickled vegetables on the side.
- Dinner: Canned lentils mixed with diced canned vegetables, seasoned with salt, pepper, and herbs.
- Snack: Trail mix and a small cookie or biscuit.
Day 3
- Breakfast: Granola eaten dry or with shelf-stable milk, plus an applesauce cup.
- Lunch: Nut butter wraps using tortillas and sliced dried fruit.
- Dinner: Canned chicken mixed with beans and a bit of tomato sauce, eaten with crackers.
- Snack: Jerky or a plant-based protein snack and a pudding cup or similar dessert.
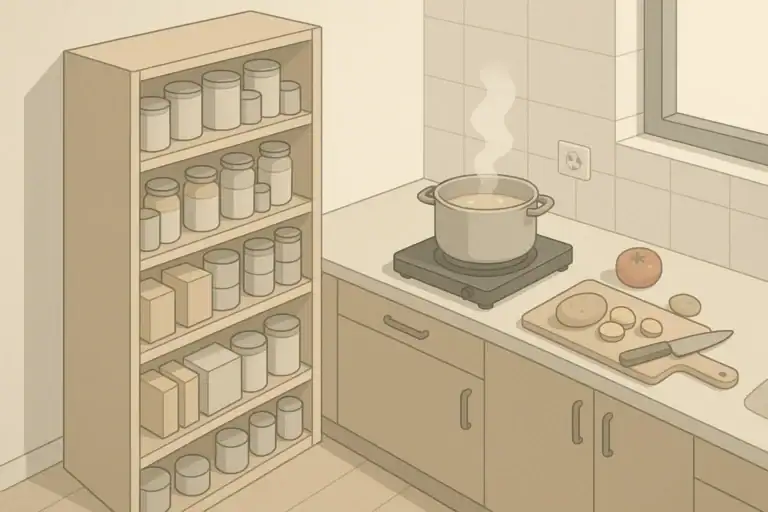
Practical Storage and Safety Tips
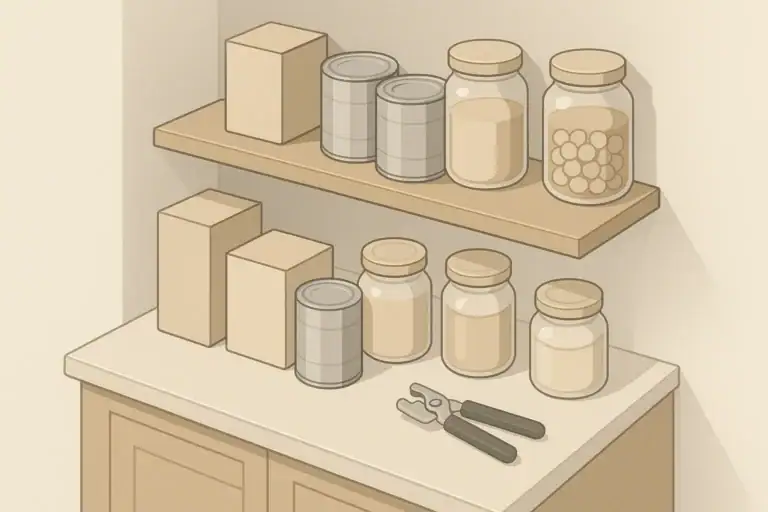
Even simple no-cook food benefits from a little planning around storage, tools, and safety. These steps help you use your pantry confidently when the power goes out.Essential Non-Food Items for No-Cook Meals
Alongside food, keep a small kit for opening, serving, and cleaning up meals.- Manual can opener (test it before you need it)
- Reusable plates, bowls, cups, and utensils
- Resealable bags or containers for leftovers if you have short-term cooling
- Paper towels or clean cloths
- Trash bags
- Basic dish soap and a small sponge or scrubber
Managing Refrigerated and Frozen Foods When Power Goes Out
No-cook does not mean you must ignore what is already in your fridge or freezer. In many short outages, food in a well-sealed fridge or freezer can stay cool for some hours. General common-sense practices include:- Keep doors closed as much as possible to hold in the cold air.
- Use perishable foods first if they can be safely eaten cold or at room temperature.
- When in doubt about safety, it is generally safer to discard questionable items than risk eating them.
Food Handling Without Running Water
During some emergencies, tap water may be limited or unavailable. If you expect this, plan ahead by storing drinking water separately from water for simple cleaning tasks. You can reduce water use by:- Using reusable dishes but wiping them thoroughly before washing.
- Assigning each person one cup and one set of utensils labeled in a way your household understands.
- Using a small basin system: one for washing with a little soapy water, one for rinsing with clean water.
Planning for Kids, Pets, and Limited Space
No-cook planning looks different in a studio apartment than in a large house, and when caring for kids or pets. A few simple adjustments keep it manageable.Kid-Friendly No-Cook Ideas
Children often prefer familiar flavors and simple meals. Involve them in planning and taste-testing some of your pantry items during regular snack times.- Choose cereals and granola bars they already like.
- Include squeezable fruit or yogurt-style shelf-stable pouches.
- Stock mild-flavored crackers and spreads.
- Add a few individually wrapped treats per child.
Including Pets in Your 72-Hour Plan
Pets need their own small emergency pantry. For most households, this can be as simple as:- At least three days of regular pet food, stored in a cool, dry place.
- A manual way to open canned food if you normally rely on an electric opener.
- Extra water for pets in your overall water plan.
Small-Space and Apartment Strategies
In small apartments or shared housing, storage is often the main limitation. You can still maintain a 72-hour no-cook pantry by:- Using under-bed or high-shelf storage for lightweight items like cereal and crackers.
- Storing heavier canned goods in sturdy bins at floor level to avoid shelf overload.
- Rotating items into regular use so your emergency stash is mostly what you already eat.
- Choosing multi-use foods that work for both daily meals and emergencies.
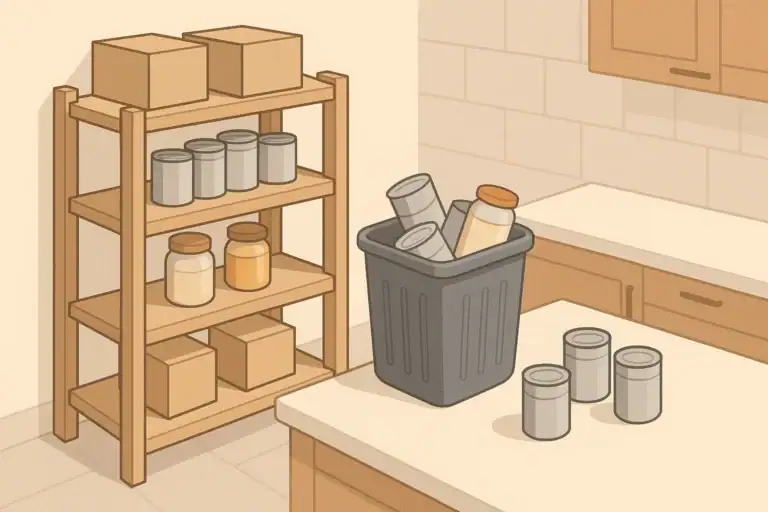
Keeping Your No-Cook Pantry Fresh and Ready
A 72-hour pantry works best when it is part of your normal kitchen, not a forgotten box in a closet. A simple rotation plan can keep food fresh without extra effort.| Food type | Storage tip | Rotation interval idea | No-cook use |
|---|---|---|---|
| Canned beans & vegetables | Store in cool, dry cabinet; check for rust or bulging | Use and replace every 6–12 months | Mix into salads, wraps, or cold bowls |
| Canned fish & meats | Rotate into weekly lunches | Use and replace every 6–12 months | Serve on crackers or in tortilla wraps |
| Nut/seed butters | Keep sealed until needed; stir if separated | Use and replace every 3–6 months | Spread on bread, crackers, or fruit |
| Crackers, cereal, granola | Seal tightly after opening to reduce staleness | Use and replace every 3–4 months | Base for breakfast or quick snacks |
| Dried fruit & nuts | Keep in airtight containers away from heat | Use and replace every 3–6 months | Add to oats, trail mix, or snack bowls |
| Shelf-stable milk & drinks | Store upright; note dates during shopping | Use and replace every 3–6 months | Pour over cereal or drink with meals |
| Snack bars & treats | Group by earliest date in front of bin | Use and replace every 2–4 months | Quick energy boost and comfort food |
Next Steps: Build Your 72-Hour No-Cook Plan
Turning this information into a workable home plan can be done gradually:- Make a short list of building blocks your household already likes.
- During regular shopping trips, add one or two extra shelf-stable items.
- Choose a labeled spot for your emergency pantry bin or shelf.
- Once or twice a year, check dates, use older items, and replace them.
Frequently asked questions
How much water should I store to support a 72-hour no-cook meal plan?
Plan for at least 1 gallon (about 3.8 liters) of water per person per day for drinking and basic hygiene, so roughly 3 gallons (about 11.4 liters) per person for 72 hours. Increase that amount for hot weather, nursing, or if you have young children or pets. Store water separately from food so it is easy to access during an outage.Which no-cook protein options work best if I don’t have a can opener or many tools?
Choose shelf-stable pouches (tuna, salmon, lentils), pull-tab cans, nut and seed butters, jerky, and ready-to-eat protein snack packs that open by hand. These require minimal tools and provide concentrated calories and nutrients. Keep a manual can opener in your kit as a backup for standard cans.How long can opened shelf-stable foods be safely eaten without refrigeration?
Unopened shelf-stable items are safe until their labeled date when stored properly. Once opened, aim to consume most canned or prepared items within 24–48 hours if you cannot refrigerate them, and discard anything with an off smell, discoloration, or foam. Perishable foods like dairy or cooked meats should not be left at room temperature for more than two hours.What should I include for infants or older adults who need soft or specialized foods?
For infants, include ready-to-feed or shelf-stable formula if used, powdered formula with safe water, baby food pouches, and baby cereal that can be prepared with bottled water. For older adults, pack soft shelf-stable options such as applesauce cups, pudding cups, canned fruit, and soft crackers or spreadable protein options. Test any specialized foods during normal times to ensure tolerance and acceptability.How can I keep a 72-hour no-cook pantry fresh without creating waste?
Rotate emergency items into regular meals on a schedule (for example, use and replace canned goods every 6–12 months and snack items more frequently). Store newer items behind older ones so you use the earliest-dated products first, and check dates once or twice a year. Integrating emergency foods into everyday use reduces waste and keeps your pantry familiar to everyone in the household.Recommended next:
About
ReadyHomePlan
ReadyHomePlan publishes practical home readiness guides for outages and short-term emergencies—power, water, food basics, communication, and family planning—without hype.
- Simple checklists and realistic planning
- Water, power, lighting, and pantry basics
- Family plans (kids, pets, seniors) and seasonal prep
Food Spoilage Cleanup After an Outage: What to Toss and Document
One-Person Emergency Pantry: Simple Quantities Without Overbuying
Emergency Snack Box: No-Prep Foods for Stressful Days
Shelf-Stable Sauces and Flavor Boosters for Emergency Meals
Pantry Labeling System: Expiration Dates, Meals, and Rotation Bins
Manual Can Opener Checklist: Small Tools That Keep a Pantry Usable
Keep reading