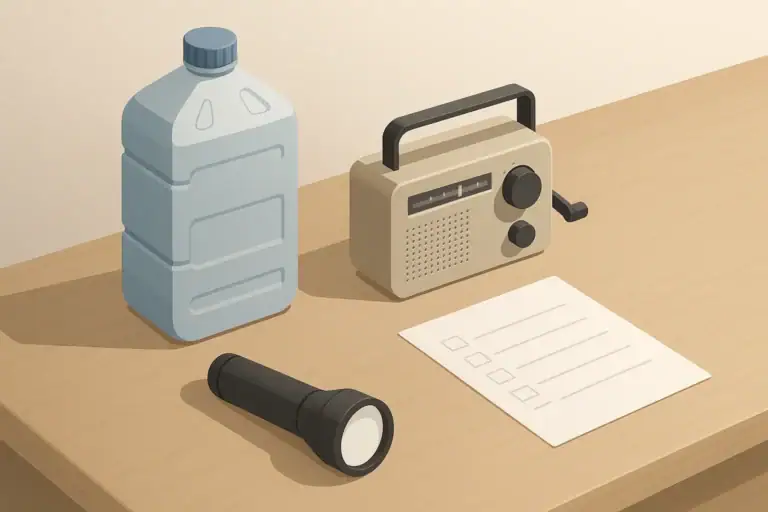
A 72-hour kit is a compact collection of essentials meant to keep you reasonably comfortable, safe, and self-sufficient for about three days. It is not about extreme survival. Instead, it focuses on realistic, short-term disruptions such as power outages, water main breaks, winter storms, or evacuation orders.
Many emergencies resolve or stabilize within a few days, but services like power, water, or local stores may be slow to return to normal. A well-thought-out 72-hour kit can help you bridge that gap without panic, whether you live in a small apartment, a single-family home, or a shared rental.
There are two main types of 72-hour setups:
- Stay-at-home kit: Supplies organized so you can shelter in place during a short disruption.
- Go-bag: A portable version you can grab quickly if you need to leave home.
Most households benefit from both: core supplies stored at home and at least one grab-and-go bag per person.
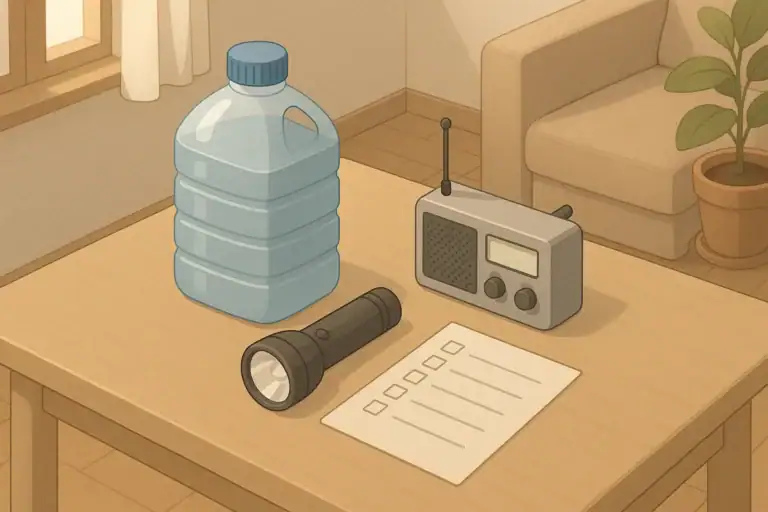
What Is a 72-Hour Kit and Why It Matters
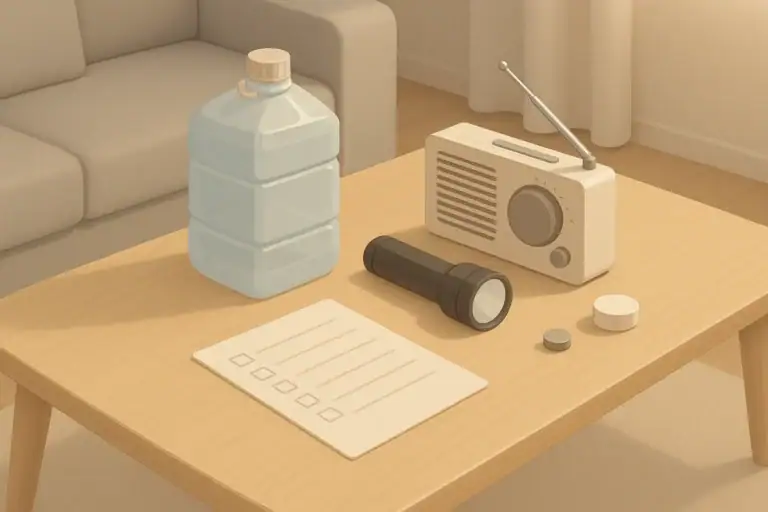
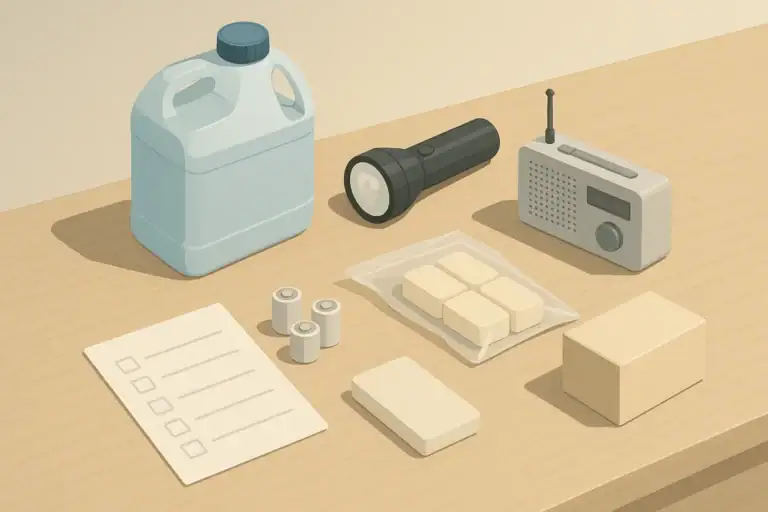
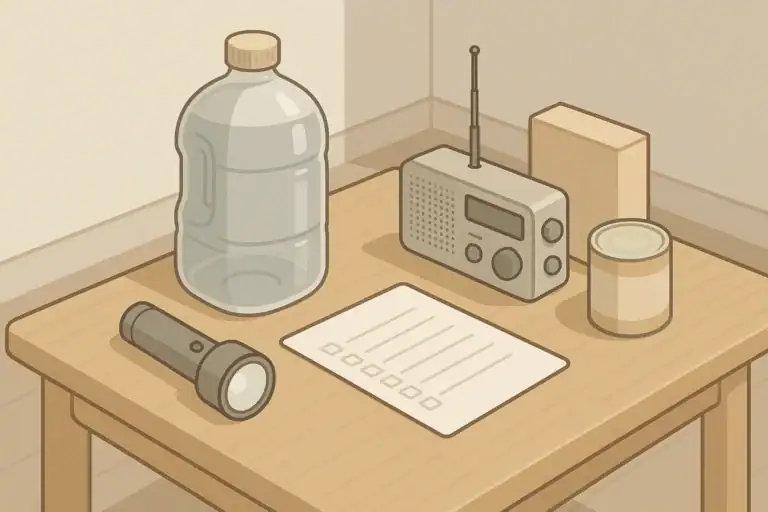
What to Pack in a 72-Hour Kit
Start with basics that cover water, food, light, warmth, information, and important documents. Build in layers based on your space, climate, family size, pets, and any special needs.
Water and Simple Treatment Options
Plan on having enough safe drinking water for everyone in your household, including pets, for about three days. For many families, that is several gallons in total. If you cannot store that much, focus on what fits and add simple ways to make additional water safer if needed.
- Store water in clean, food-safe containers.
- Include a small supply of disinfecting tablets or a basic household disinfectant (for water treatment only if local guidance allows).
- Keep a dedicated measuring tool (like a small spoon) and printed directions with your kit.
If you live in a small apartment, consider a mix of smaller bottles that fit in closets or under beds. In houses, larger containers can work in utility areas or garages where temperatures remain reasonable.
Food That Works Without Cooking
Choose shelf-stable foods your household actually eats and that require little to no preparation. Focus on items that can be eaten straight from the package or with minimal heating.
- Ready-to-eat canned meals and vegetables (include a manual can opener).
- Nut butters, crackers, and simple snack bars.
- Instant foods that only need hot water if you have a safe way to heat it.
- Special items for babies, toddlers, and seniors as needed.
Rotate these foods into your regular pantry so they do not sit for years and go unused.
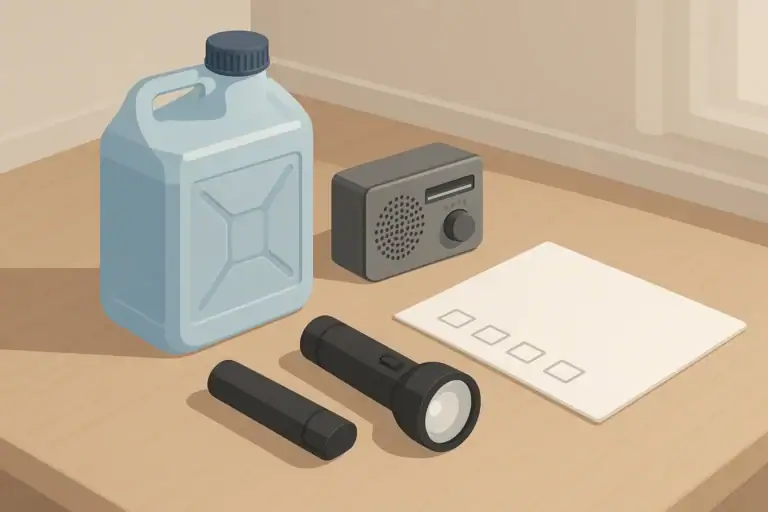
Lighting and Safe Power Basics
When the power goes out, safe lighting becomes a priority. Battery-powered lights are usually safer than open flames indoors.
- Small flashlights or headlamps (one per person is ideal).
- A compact lantern for lighting a room.
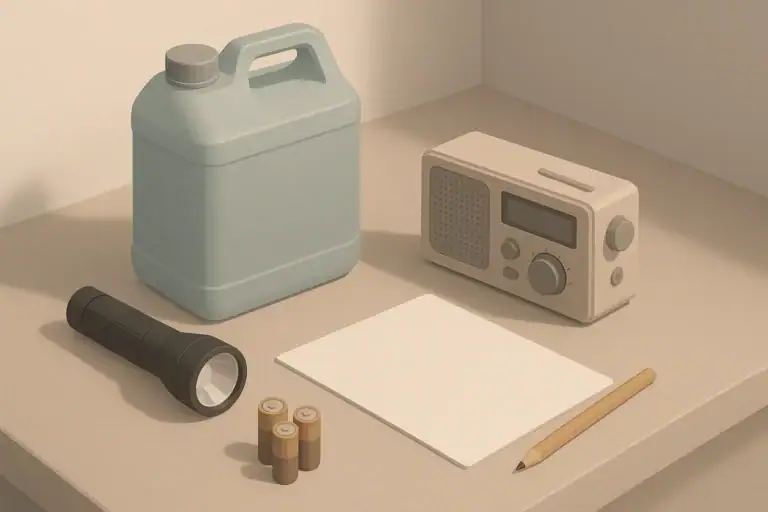
- Extra batteries in the sizes your devices use.
- Optional: a small, simple power bank for charging phones.
Store batteries in original packaging or a container that prevents contact between terminals. Avoid using open flames near flammable materials or in poorly ventilated spaces.
Communication and Information
Staying informed helps you make better decisions about sheltering in place or evacuating. Plan for communication even if cellular networks are overloaded or power is out.
- Small battery-powered or hand-powered radio.
- Printed list of important phone numbers and addresses.
- Basic written family communication plan, including an out-of-area contact.
Keep copies of key information in each go-bag, not only on phones, in case a device is lost or its battery is drained.
Documents, Cash, and Small Essentials
A short disruption can still be easier to manage if you have essential documents and a little cash on hand.
- Copies of IDs, insurance details, and key contacts in a waterproof pouch.
- Small amount of cash in small bills.
- Keys: spare house and car keys held inside your kit.
Keep original documents in a safe place; the kit can hold copies that are “good enough” for many situations.
Hygiene, Comfort, and Clothing
Simple hygiene supplies help maintain comfort and reduce stress during short emergencies.
- Toothbrushes, toothpaste, and basic soap or wipes.
- Toilet paper and sealable plastic bags for temporary waste solutions.
- Hand sanitizer stored away from heat sources.
- Basic menstrual products and infant care items if needed.
- Change of season-appropriate clothing and spare socks.
Choose comfortable, neutral clothing that layers well, especially in regions with wide temperature swings.
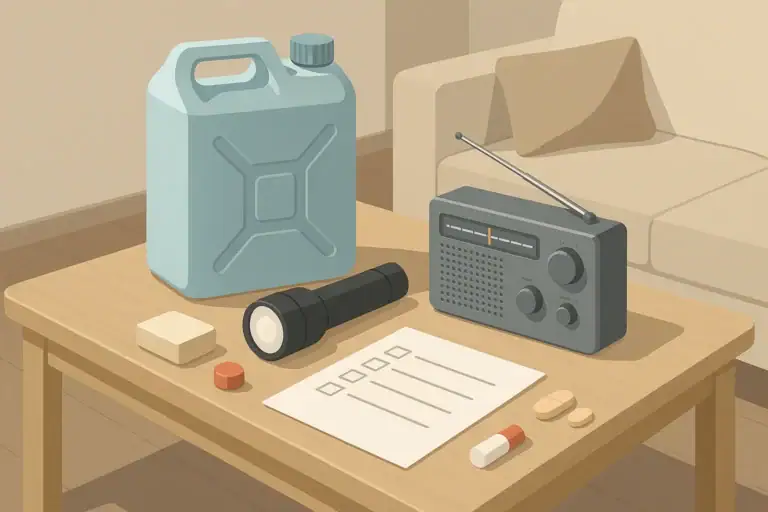
Simple First-Aid and Personal Items
Include a modest, well-organized first-aid setup and personal items your household truly relies on.
- Bandages, gauze, adhesive tape, and antiseptic wipes.
- Basic over-the-counter remedies typically used at home.
- Personal prescription items, packed following your clinician’s guidance.
- Glasses or spare contact lenses and supplies if applicable.
A 72-hour kit is not a full medical cabinet. Aim for a small selection that matches your everyday needs.
Special Considerations: Kids, Pets, and Seniors
Adjust your kit to reflect who lives in your home.
- Kids: Familiar snacks, a simple toy or game, and a lightweight comfort item.
- Pets: Food, extra water, leash, waste bags, and carrier if needed.
- Seniors or those with mobility needs: Mobility aids, spare batteries for devices, and clear instructions for caregivers.
Label items clearly so others can help if the primary caregiver is not available.
Example values for illustration.
| Task | Why It Matters | Notes |
|---|---|---|
| Estimate 3 days of water | Prevents dehydration and supports basic hygiene | Plan extra for hot climates and pets |
| Select no-cook foods | Ensures you can eat even without power or gas | Choose familiar, easy-to-digest items |
| Add safe lighting and batteries | Reduces trip hazards and stress during blackouts | Match battery types to devices you own |
| Prepare key documents copies | Simplifies insurance, identification, and travel needs | Store in waterproof, easy-to-carry pouch |
| Include basic hygiene items | Maintains comfort and normal routines | Keep quantities small but sufficient |
| Customize for kids and pets | Keeps everyone calmer and more manageable | Add comforting, familiar items where possible |
Where to Store Your 72-Hour Kit
The best storage spot is one you can reach quickly, that protects supplies from extreme temperatures and moisture, and that makes sense for your living situation. Many homes end up with a combination of locations.
Stay-at-Home Kit Storage Ideas
For sheltering in place, you do not need everything to be ultra-portable, but you should still be able to move key items if conditions change.
- Closets near main living spaces: Easy to access in the dark, out of direct sunlight.
- Under beds: Good for compact bins of food, water, and clothing in small apartments.
- Interior hall cabinets: Better climate stability than attics or garages in many regions.
Try to avoid long-term storage in places that regularly become extremely hot or freezing unless the items are rated for those conditions.
Go-Bags: Placement and Access
Go-bags work best when they are stored where you naturally pass by during daily routines. The goal is to grab them quickly without searching.
- Near the main exit door, but out of direct view from windows.
- On a closet shelf by your shoes or coats.
- For multi-story homes, consider a smaller bag on each level.
Each able-bodied person can have their own bag sized to what they can realistically carry. Shared items like bulkier food or water can be divided among adults.
Apartment vs House: Space-Smart Strategies
Storage options vary widely between small apartments and larger homes, but both can support a solid 72-hour plan.
- Apartments: Use vertical space, under-bed bins, and the tops or backs of closets. Combine everyday items (like pantry food and seasonally rotated clothing) with emergency needs so space does double duty.
- Houses: Consider a central location such as a hallway closet for core supplies, with additional water and tools in a garage or utility area where temperatures stay relatively moderate.
If you rent, select storage locations that do not require modifications to the structure, and keep your kit portable enough in case you need to relocate quickly.
Car Kits vs Home Kits
A small car kit can complement your home kit, especially in regions where road closures or severe weather may leave you delayed away from home. However, vehicles can experience very high or low temperatures.
- Use your car kit for items less affected by temperature swings (blankets, basic tools, simple snacks).
- Limit long-term storage of heat-sensitive items, including some types of batteries and certain foods.
- Refresh water and snacks in vehicles more frequently due to temperature impacts.
Rely on your home kit as the primary resource and treat car supplies as a backup layer.
How to Maintain and Rotate Your 72-Hour Kit
A 72-hour kit is most useful when the contents are current and familiar. Simple, scheduled maintenance keeps it ready without becoming a large project.
Set a Refresh Schedule That Fits Your Life
Most households can maintain their kit effectively by checking it on a predictable schedule.
- Twice per year, such as when clocks change or at the start of new seasons.
- After any event where you used supplies (storms, outages, evacuations).
- When major life changes occur (new baby, new pet, health changes).
Mark these refresh points on a calendar or note app so they are not forgotten.
Rotating Food and Water
Use a “first in, first out” approach. Place newer items behind older ones so they are used later during regular meals.
- Move older canned or packaged foods from your kit into your everyday pantry before their best-by dates.
- Replace them in the kit with the same items from a new shopping trip.
- Check water containers for cloudiness or damage and replace as needed.
Some households choose to refresh stored water on a schedule, such as annually, even if it still looks clear, especially when using repurposed containers.
Checking Batteries, Electronics, and Light Sources
Before and after severe weather seasons or local high-risk periods, inspect any electronics in your kit.
- Test flashlights and lanterns briefly to ensure they power on.
- Replace batteries that show any sign of corrosion, leakage, or reduced performance.
- If you keep batteries installed, check more frequently for leakage; consider storing them separately and inserting when needed.
Label battery packages with the month and year purchased to help with proactive replacement.
Updating Documents and Personal Info
Documents and contact details can change over time.
- Review printed contact lists for updated phone numbers and addresses.
- Refresh copies of IDs and insurance details after renewals or life changes.
- Adjust your written plan if family members move or if meeting locations change.
Consider keeping a brief summary page on top of your documents pouch for quick reference during stressful moments.
Adapting for Seasons and Regional Risks
Short-term emergencies often follow seasonal patterns, such as winter storms, hurricanes, heatwaves, or poor air quality from regional wildfire smoke. Align your kit with the most likely scenarios in your area.
- Winter: Extra layers, warm socks, hats, and simple ways to stay warm safely.
- Hot weather: Light clothing, sun protection items, and attention to increased water needs.
- Storm-prone areas: Supplies to manage power outages and temporary sheltering.
- Smoke-prone regions: Materials that can help you reduce indoor smoke exposure, if recommended locally.
As seasons change, move off-season clothing or accessories back into regular storage and replace them with what you are most likely to need next.
Example values for illustration.
| Food Type | Storage Tip | Rotation Interval Idea | No-Cook Use |
|---|---|---|---|
| Canned meals and beans | Store in a cool, dark cabinet | Check every 6–12 months | Eat at room temperature if needed |
| Nut butters | Keep tightly sealed away from heat | Swap into regular pantry once a year | Spread on crackers or bread |
| Snack bars | Use sturdy, individually wrapped options | Use in lunches every few months | Quick energy with no prep |
| Crackers and dry snacks | Store in sealed bags or containers | Rotate with weekly snacks | Pair with canned items or spreads |
| Instant oatmeal or grains | Protect from moisture in sealed bags | Use during cooler months | Can soak in water if heating is limited |
| Baby or toddler items | Check package dates frequently | Rotate monthly as diets change | Use as part of normal feeding routine |
Keeping Your 72-Hour Kit Practical and Manageable
A useful 72-hour kit balances readiness with simplicity. Focus on items you already know how to use, in quantities you can store comfortably. Involve everyone in the household so they know where supplies are and what they are for. With modest, steady attention a couple of times a year, your kit can quietly support you through many everyday disruptions without becoming a source of worry or clutter.
Frequently asked questions
How much water should I store in a 72-hour kit per person?
Plan on at least about 1 gallon (roughly 4 liters) per person per day for drinking and basic hygiene, so approximately 3 gallons per person for 72 hours. Increase this amount for hot weather, breastfeeding, heavy physical activity, or to include pets.
How should I store prescription medications in a 72-hour kit?
Keep an extra three-day supply of essential prescriptions in their original labeled containers or with a clear list of medications and dosages, and place them in a waterproof pouch at recommended temperatures. Coordinate with your clinician about refill timing and emergency replacement options.
Can I rely on a car kit instead of a home 72-hour kit?
No; a car kit is a helpful backup for travel delays but should not replace a home 72-hour kit because vehicles experience extreme temperatures that can degrade food, water, and medicines. Treat car supplies as a temporary layer and keep primary resources at home.
How often should I rotate food and water in my 72-hour kit?
Use a first-in, first-out approach and check items on a predictable schedule — commonly every 6–12 months for packaged foods and annually for stored water. Replace items sooner if packaging is damaged or dates are approaching.
What should I include for children and pets in a 72-hour go-bag?
For children include age-appropriate food or formula, diapers or supplies, a familiar snack, a small comfort item, and any medications; for pets include at least three days of food, extra water, a leash or carrier, and waste bags. Tailor quantities and items to the child’s age and the pet’s size and health needs.
Recommended next:
- Start Here: A Calm Home Emergency Readiness Plan
- Emergency Plan Checklist: A Simple One-Page List for Home Readiness
- Emergency Readiness Calculators: Water, Power, and Pantry Planning
- 72-Hour Kit vs 7-Day Plan vs 14-Day Plan: What to Add at Each Step
- Apartment vs House Readiness: The Key Differences in Your Plan
- The 30-Minute Home Readiness Audit: What to Check Today
- More in Start Here →
- Simple checklists and realistic planning
- Water, power, lighting, and pantry basics
- Family plans (kids, pets, seniors) and seasonal prep
What to Do in the First Hour of an Emergency at Home
Room-by-Room Emergency Kit Audit: What to Check in 20 Minutes
Moving Into a New Apartment: Emergency Setup Checklist
New Homeowner Emergency Readiness Checklist: First 30 Days
How to Practice Your Plan: Simple Drills You Can Do in 15 Minutes
How to Create a Two-Week Home Readiness Plan Without Overbuying