Why Home Readiness Matters (Without Going Overboard)
Home readiness is simply planning for short-term disruptions: a winter storm that knocks out power, a water main break, a heatwave, or smoky air from distant wildfires. You do not need a bunker or months of supplies to be safer and more comfortable. A small, well-thought-out starter kit can make a big difference. This guide walks through three budget levels for a basic home starter kit in the United States:- Under $50: bare essentials for light, water, and basic comfort
- Under $100: adds backup power and simple communication options
- Under $200: rounds out a stay-at-home kit for most short outages
Step 1: Start Where You Are and Set a Budget
Before buying anything, take a quick look at what you already have and what risks are most common where you live. This keeps you from buying duplicates or items you will never use.Check Your Existing Supplies
Walk through your home and make a simple list. You may already have:- Flashlights or headlamps (and extra batteries)
- Reusable water bottles or jugs
- Shelf-stable pantry foods that do not need cooking
- Blankets, warm clothing, or manual hand warmers
- Battery-powered or crank radio
- Basic first-aid supplies
Match Your Kit to Your Living Situation
Next, think about what is most realistic for your household:- Apartment renters: Limited storage, possibly no gas stove, and rules about fuel and open flames.
- Small homes: A bit more storage, but still need compact, multipurpose items.
- Families with kids: Extra snacks, comfort items, and keeping lighting and cords kid-safe.
- Pets: Food, water, and a way to keep pets calm and contained.
- Older adults: Easy-to-open packaging, clear labeling, and items that are not too heavy.
| Situation | If this sounds like you… | Then consider starting with… |
|---|---|---|
| Tight budget, first steps | Renting, little storage, can only spend a small amount right now | Under $50: light, basic water, simple comfort items |
| Frequent brief outages | Lose power a few times a year, need phone charged and safe lighting | Under $100: add small power bank and better lighting |
| Family with kids | Need extra snacks, light for bedtime, calm activities | Under $100 or $200: prioritize lighting, food, simple comfort |
| Work from home | Rely on phone and basic electronics to stay connected | Under $100 or $200: add backup charging and small devices |
| Severe weather area | Storms or heatwaves make outages more likely | Under $200: aim for full weekend stay-at-home kit |
| Building slowly | Prefer to spread costs over a few months | Start at $50, then step up to $100 and $200 |
Under $50: The Absolute Basics for Light, Water, and Comfort
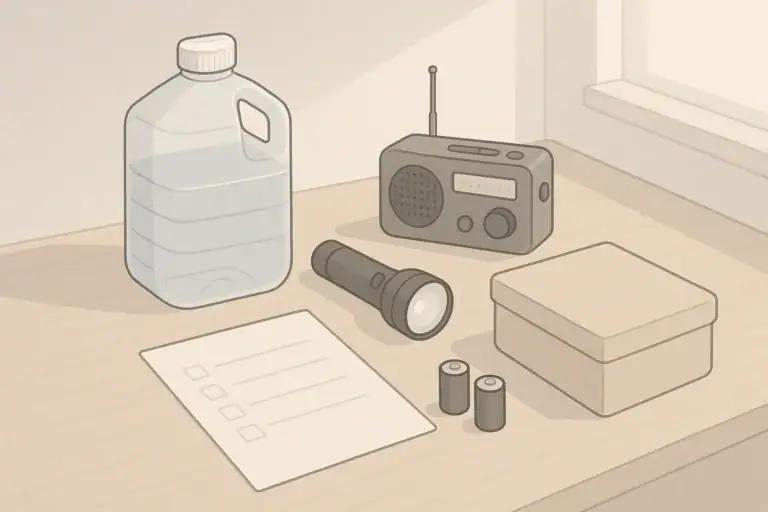
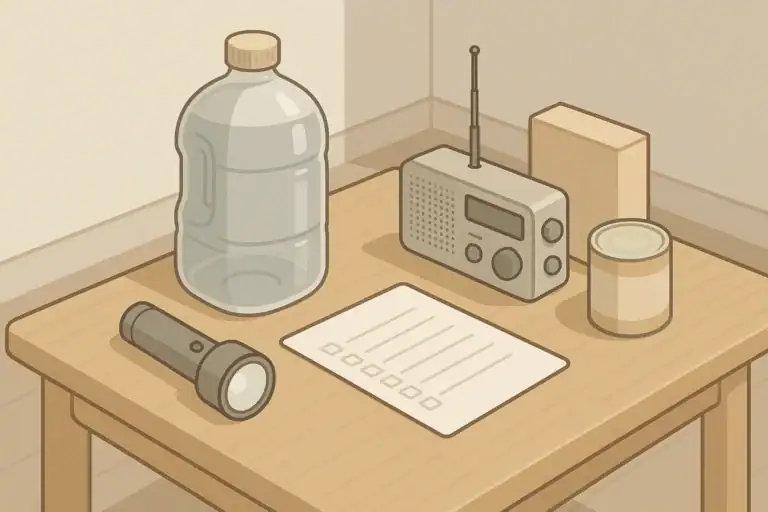
With about $50, focus on items that keep you safe, oriented, and reasonably comfortable for a short outage or water disruption. This is the “better than nothing” kit many households can build quickly.Priority 1: Safe Lighting
A reliable, non-flame light source is one of the most important pieces of home readiness, especially in apartments where candles may not be allowed or safe.- At least one flashlight or lantern: Prefer options that are stable when set down so you can keep your hands free.
- Extra batteries: Enough for at least one full replacement for each light.
Priority 2: Basic Water Readiness
For short disruptions, your goal is to keep some clean water on hand and have a simple way to make questionable water safer if needed.- Reusable containers or jugs: Choose sizes you can lift and store easily in an apartment closet or under a bed.
- Simple water treatment option: Such as basic disinfection tablets or a small household filter. Follow instructions carefully and store them in a dry place.
Priority 3: No-Cook Food and Small Comforts
Under $50, you will not build a large pantry, but you can add a few items that make outages easier:- Shelf-stable snacks (crackers, nut butters, dried fruit, canned items that are safe to eat cold)
- Manual can opener if you store canned foods
- Basic hygiene supplies (wipes, tissues, trash bags) for when water is limited
Simple Storage Tip for Small Spaces
If you live in a small apartment or share space with roommates, dedicate one bin or box to your starter kit. Label it clearly, keep it off the floor, and avoid stacking heavy items on top that would make it hard to access quickly.Under $100: Add Backup Power and Communication
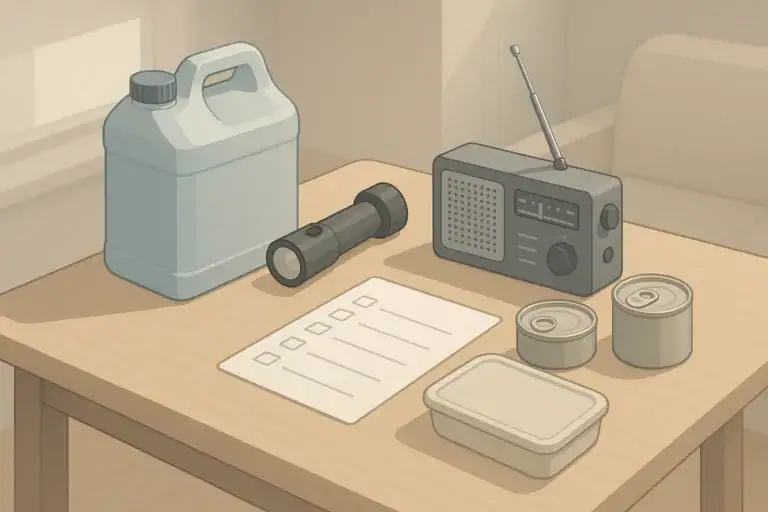
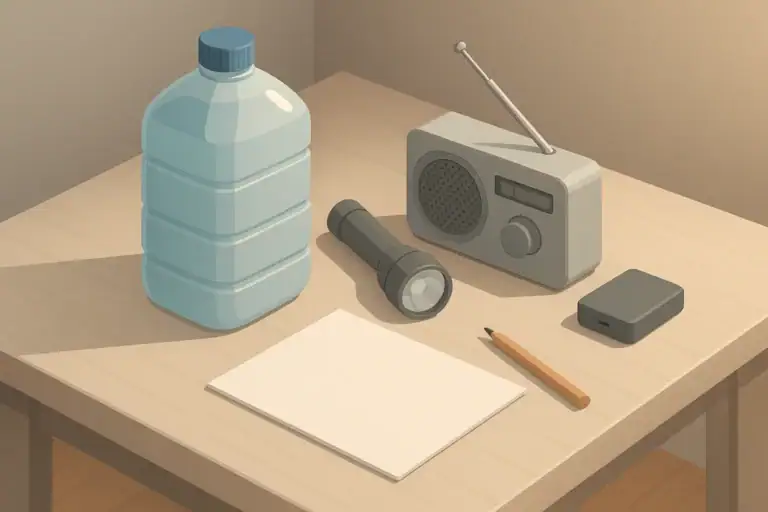
With about $100 total, you can keep all the basics above and add backup power for phones and small devices, plus better lighting and comfort items for families. This tier works well for renters and small homes that experience occasional storms or outages.Backup Power for Phones and Small Devices
Staying in touch with family, checking weather updates, and using simple apps can be crucial in a disruption. At this budget level, consider:- Portable power bank: Enough to recharge one or two phones at least once, depending on size and usage.
- Charging cables: Keep a dedicated cable in the kit so it is always available.
Improved Lighting and Room Coverage
Boost your lighting so you can safely move around, cook simple food, and care for children or pets during an outage.- Add a second flashlight, lamp, or lantern so multiple rooms have light.
- Consider a headlamp for hands-free tasks like cooking or moving on stairs.
- Increase your battery supply, clearly labeled by type and stored in a dry container.
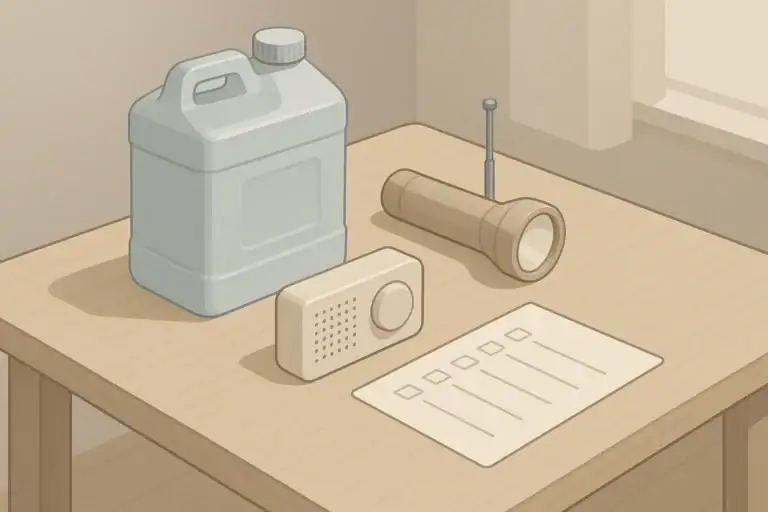
Basic Communication and Information
Access to reliable information helps you make calm, informed decisions.- Battery-powered or crank radio: Useful for weather alerts and local news during extended outages.
- Paper contact list: A simple list of important numbers (family, neighbors, landlord, local utilities) in case your phone battery dies or you cannot access stored contacts.
Comfort for Kids, Pets, and Seniors
With a bit more budget, you can reduce stress for more vulnerable household members.- For kids: Simple card game, coloring supplies, familiar snacks, and a small blanket or comfort item set aside in the kit.
- For pets: Extra food portioned into sealed bags, a spare leash, and waste bags.
- For seniors: Easy-open snacks, backup glasses, and clear labels on medication containers (but keep medications in their original labeled bottles).
Basic Plan: What to Do When the Lights Go Out
Your supplies work best when everyone knows how to use them. Even a short written plan helps:- Where the kit is stored
- Who will grab flashlights and check on neighbors or family
- How you will communicate if phones are low on battery
- Which room you will gather in if the home gets very cold or hot
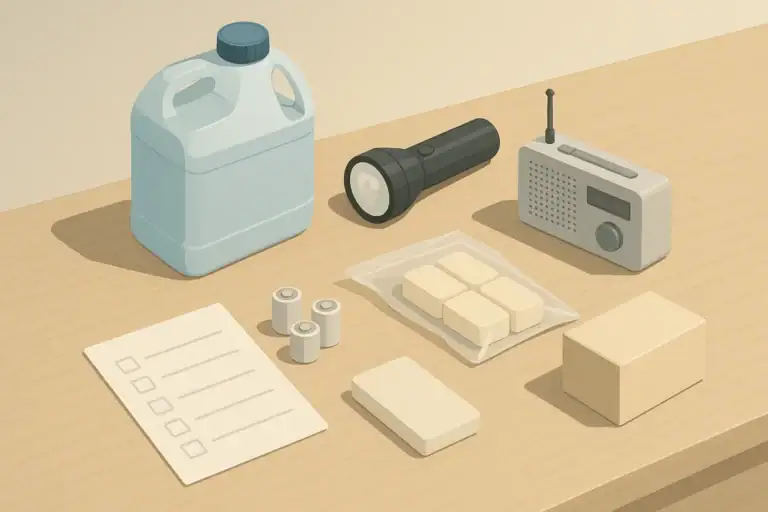
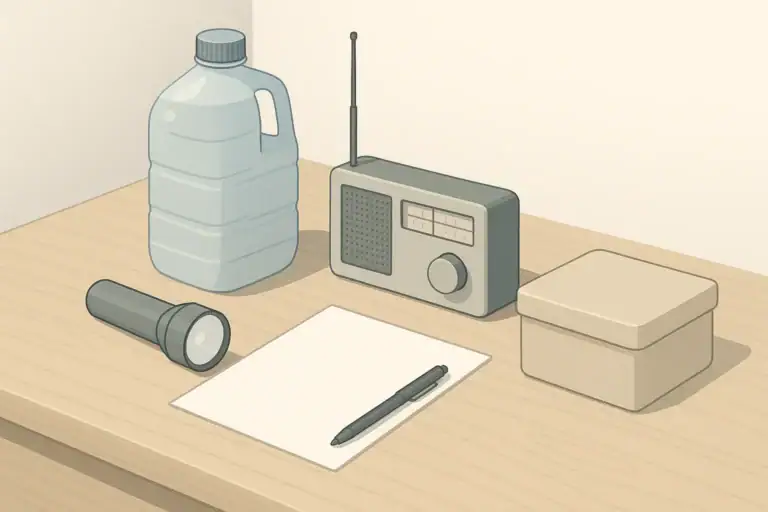
Under $200: A Well-Rounded Stay-at-Home Kit
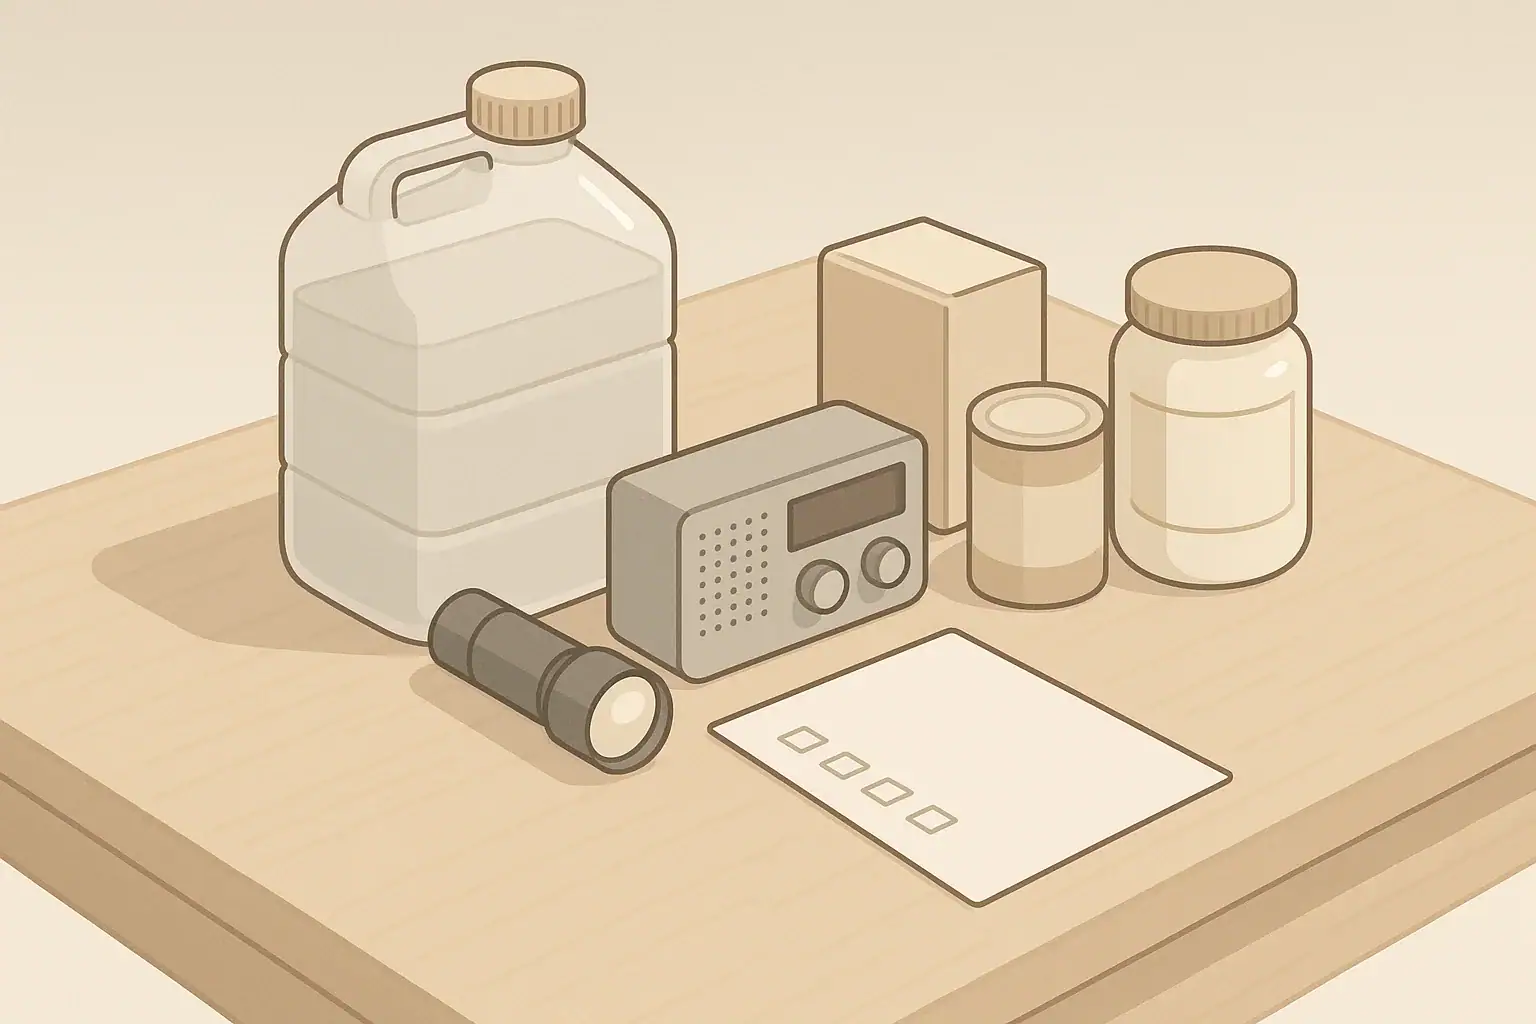
With about $200 total, you can build a compact, well-rounded kit designed to help your household stay put through a typical weekend-length disruption. This tier adds more water, food, and comfort supplies and begins to address seasonal or regional risks.Expand Water and Simple Treatment
At this level, you can increase water storage and add another way to treat questionable water.- Extra containers: Aim for enough capacity to cover at least a few days of drinking and minimal washing for everyone in the home.
- Backup treatment method: For example, a second type of filter or disinfectant, or supplies for boiling water if you have a safe heat source.
Build a Simple, Ready-to-Use Pantry
A small emergency pantry does not need to be separate from your everyday food. Focus on foods you already like that:- Store well at room temperature
- Can be eaten without cooking or with very minimal heating
- Offer some variety (salty, sweet, protein, fruit, etc.)
Backup Cooking and Safe Ventilation
If it is safe and allowed where you live, limited backup cooking options can make outages more comfortable. Always follow manufacturer instructions and local rules, and never use fuel-burning devices in enclosed spaces without proper ventilation.- Consider a small, portable cooking device rated for the areas where you plan to use it.
- Keep appropriate fuel stored safely and securely, away from heat sources and children.
- Have simple cookware dedicated to emergency use so you can find it quickly.
Seasonal and Regional Add-Ons
Use any remaining budget to adapt your kit to the conditions you face most often.- Winter storms: Extra blankets, warm socks, and layers of clothing; draft stoppers for windows and doors.
- Heatwaves: Battery-powered fan, light-colored curtains, and plans to spend time in the coolest room of the home.
- Hurricanes or severe storms: Plastic sheeting or bags to protect important items, and a way to keep documents dry.
- Wildfire smoke: Materials to improve indoor air (such as a simple filter and fan combination if appropriate), and soft cloths for wiping surfaces where smoke residue may settle.
Organizing Everything into a Simple System
As your kit grows, organization matters more.- Use two or three clearly labeled containers instead of many small ones.
- Group items by function: lighting and power; water and food; hygiene and comfort.
- Keep a short inventory sheet on top of the main bin.
| Food type | Storage tip | Rotation interval idea | No-cook or low-cook use |
|---|---|---|---|
| Canned beans | Store in a cool, dry cabinet off the floor | Plan to use within about 1 year of purchase | Rinse and eat cold with seasoning |
| Canned vegetables | Group by type so you can see what you have | Use in regular meals every few months | Add to salads or eat as a side dish |
| Canned soups or stews | Place newer cans behind older ones | Check dates during seasonal cleanups | Eat at room temperature if heating is not available |
| Nut butters | Keep tightly sealed after opening | Use within several months once opened | Spread on crackers or bread |
| Dried fruit | Store in airtight containers or sealed bags | Rotate into snacks every few months | Eat as-is or mix with cereal |
| Instant grains or oats | Keep away from moisture in closed containers | Use and replace during normal breakfasts | Soften with room-temperature liquid if needed |
| Shelf-stable milk options | Store upright and avoid high heat | Use in cooking or drinks every few months | Drink plain or add to cereal |
Keeping Your Kit Affordable, Updated, and Calm
Home readiness works best as an ongoing habit rather than a one-time project. You do not need to buy everything at once. Adding a few items to your cart each month can build a solid kit over a season or two.Stretching Your Budget
- Prioritize multipurpose items that work for daily life and emergencies.
- Watch for general household discounts on staples like batteries and pantry foods.
- Share some items with trusted roommates or neighbors, such as bulk water containers, when appropriate.
Simple Maintenance Routine
Plan a brief checkup a few times a year, such as at the start of each new season.- Test flashlights and replace or recharge batteries.
- Check water containers for leaks or signs that they need to be cleaned and refilled.
- Rotate pantry items into regular meals and replace them with fresh ones.
- Review your contact list and update any changed numbers.
Involving the Whole Household
When everyone knows where the kit is and how to use it, preparedness becomes less stressful. Show kids how to use flashlights safely, talk about staying calm during storms, and agree on simple steps for checking on neighbors when it is safe to do so. A modest starter kit under $50, $100, or $200 will not solve every possible problem, but it can turn many everyday disruptions into manageable inconveniences. The goal is not perfection; it is to be just a bit more ready than you were yesterday, within the budget and space you have.Frequently asked questions
What are the absolute essentials for a home readiness starter kit under $50?
For about $50, focus on a reliable non-flame light source (flashlight or lantern) with extra batteries, a few reusable water containers, a simple water-treatment option, and some shelf-stable no-cook foods plus basic hygiene supplies. Keep these items together in a clearly labeled bin so they are easy to find in an outage.How much water should I store in a small household starter kit?
A practical short-term target is about 1 gallon per person per day for drinking and minimal hygiene, and many small kits aim for at least a three-day supply. For apartments, choose slim, easy-to-lift containers that fit in closets or under beds rather than large heavy jugs.How often should I check and rotate items in my home readiness starter kit?
Do a brief check a few times a year, such as at the start of each season: test and replace batteries or recharge power banks, inspect water containers and refill as needed, and rotate pantry items into regular meals before their expiration dates. Keep a short inventory list on top of your main bin to simplify checks.Can renters include backup cooking devices or fuel in a starter kit?
Many rental agreements and building codes restrict fuel-burning devices and open flames, so check your lease and local rules before storing fuel or using a portable stove indoors. Where restricted, prioritize non-fuel options like battery-powered appliances or cold-eating supplies, and only use fuel-burning devices in well-ventilated, approved outdoor areas if allowed.What should I buy first if I plan to build a home readiness starter kit over time?
Start with items that offer the biggest safety gain for the least cost: stable lighting with extra batteries, a few gallons of water in manageable containers, and some no-cook foods and hygiene supplies. After that, add a small power bank, a second light source or headlamp, and additional water or food as your budget allows.Recommended next:
- Start Here: A Calm Home Emergency Readiness Plan
- Emergency Plan Checklist: A Simple One-Page List for Home Readiness
- Emergency Readiness Calculators: Water, Power, and Pantry Planning
- 72-Hour Kit: What to Pack, Where to Store It, and How to Maintain It
- 72-Hour Kit vs 7-Day Plan vs 14-Day Plan: What to Add at Each Step
- Apartment vs House Readiness: The Key Differences in Your Plan
- More in Start Here →
About
ReadyHomePlan
ReadyHomePlan publishes practical home readiness guides for outages and short-term emergencies—power, water, food basics, communication, and family planning—without hype.
- Simple checklists and realistic planning
- Water, power, lighting, and pantry basics
- Family plans (kids, pets, seniors) and seasonal prep
How to Practice Your Plan: Simple Drills You Can Do in 15 Minutes
How to Create a Two-Week Home Readiness Plan Without Overbuying
Emergency Preparedness for Small Spaces: Storage Ideas That Work
Readiness for Renters: No-Drill, Low-Cost Upgrades That Matter
Shelter-in-Place vs Evacuation: How to Decide Quickly
Emergency Documents: What to Copy, Print, and Store Safely
Keep reading