Why a Public Transit Evacuation Plan Matters
Evacuation planning often assumes you have a car. Many people do not. You might rely on buses, trains, rideshares, or friends to leave your neighborhood during a short-term emergency. With a little planning, you can still leave quickly and safely without overpacking or panicking.
This guide focuses on realistic, short-duration evacuations where officials ask you to leave an area for storms, chemical spills, wildfires, or power-related issues. The goal is to be ready to move on foot and by public transit while carrying only what you can manage comfortably.
Instead of a large, heavy go-bag, you will focus on a compact kit, simple documents, and a plan for how to move from home to bus, train, or a pick-up point.
Know Your Local Transit and Evacuation Options
Before thinking about packing, it helps to understand how you might actually leave your area. This looks different in a city apartment than in a rural home, and different again if you have kids, older adults, or pets.
Map Your No-Car Exit Routes
Start by identifying at least two ways you could leave your home area without driving:
- Regular public transit: buses, subways, light rail, commuter trains.
- Special evacuation routes: sometimes cities designate bus or train routes in an emergency.
- Rideshare or taxis: useful early, but may be unavailable if demand is high.
- Friends or coworkers: pre-arranged rides if they drive and live nearby.
- On foot or bike: to reach a safer part of town or a transit hub.
Write these down and keep them simple. For example, “Walk to Main Street bus stop, take Bus 5 north to downtown transit center, then take regional train out of the area.”
Where You Might Go
You do not need a perfect destination, just a few realistic options:
- A friend or relative’s home in a different neighborhood or town.
- A hotel or short-term rental reachable by transit, if affordable for you.
- A public shelter or community center designated by local authorities.
Keep addresses and cross-streets written down, not only saved in your phone.
Understand Transit Limits During Emergencies
Public transit systems may reduce routes, change schedules, or shut down entirely in some emergencies. Plan for:
- Changes in schedule: buses running less often or diverted.
- Overcrowding: you may need to stand and carry your bag the whole trip.
- Walking segments: be prepared to walk further than usual if routes change.
This is why packing light is critical. If you cannot comfortably carry it for several blocks or up stairs, it is too heavy for a transit-based evacuation.
Example values for illustration.
| Situation | Primary Option | Backup Option |
|---|---|---|
| You live near frequent buses | Walk to main bus line and ride to central hub | Rideshare or taxi if buses are suspended |
| You live near a train or subway | Take first available train out of affected area | Walk to alternate station or bus corridor |
| Transit is limited but friends drive | Pre-arranged ride with neighbor or coworker | Bus to agreed meeting point if roads clog |
| You are in a dense downtown area | Walk to major transit hub with multiple lines | Shelter in a safer part of downtown if travel stops |
| You have mobility challenges | Accessible bus or paratransit reservation when possible | Friend, caregiver, or community transport plan |
| Pets must come with you | Pet-friendly transit route or shelter | Friend or family home in reachable area |
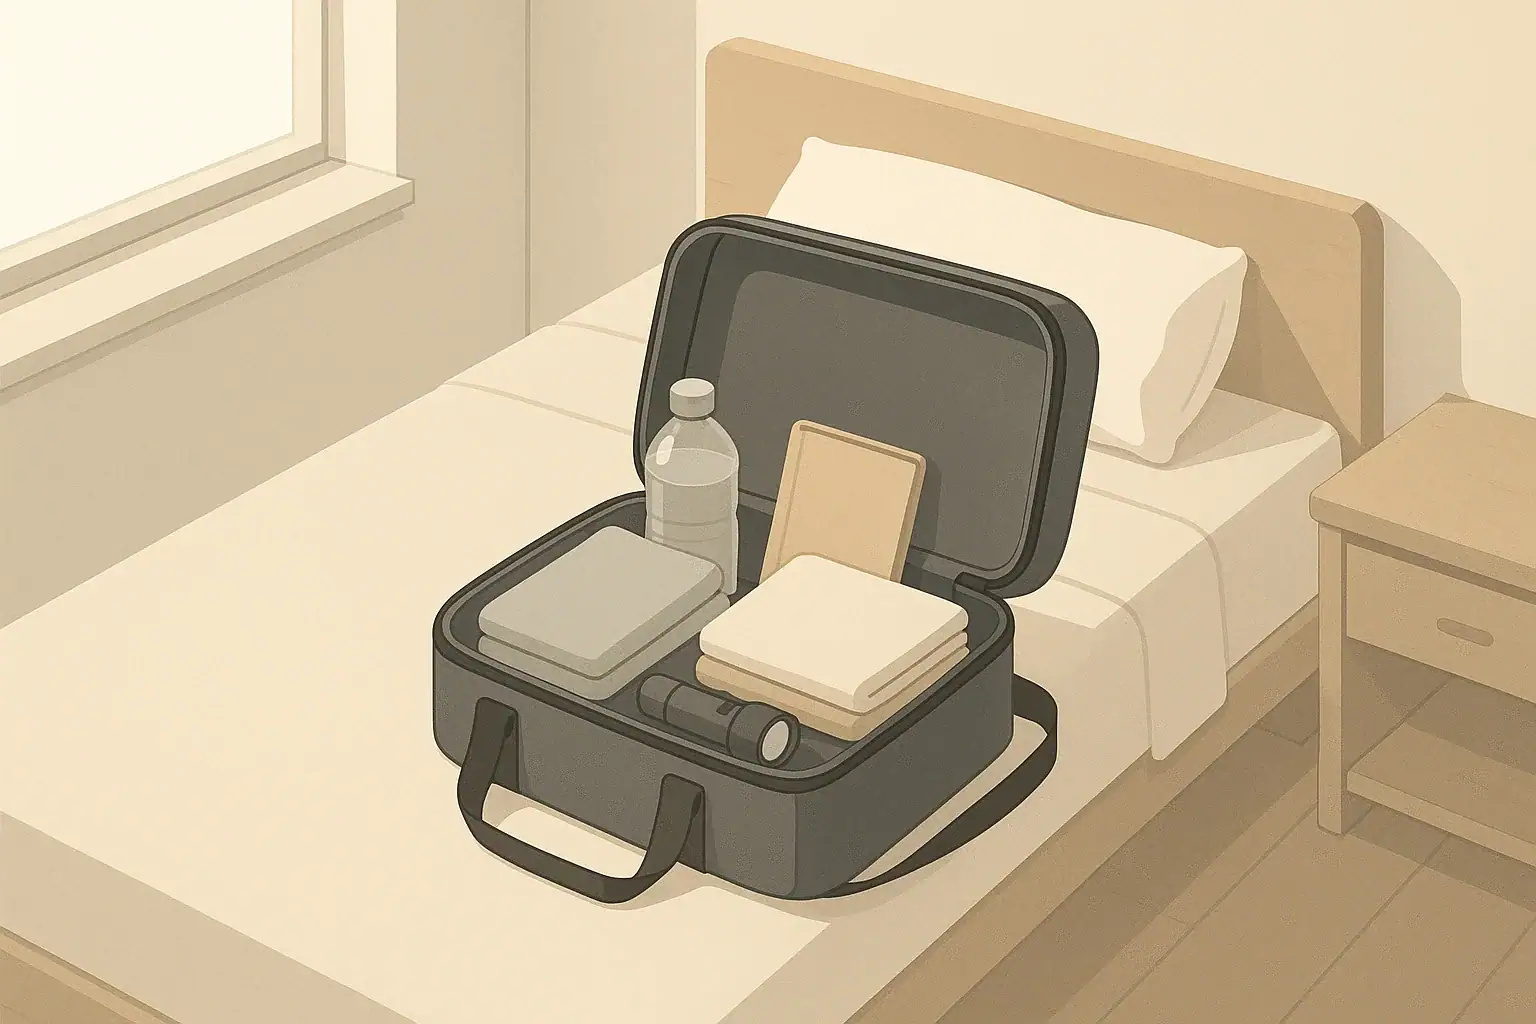
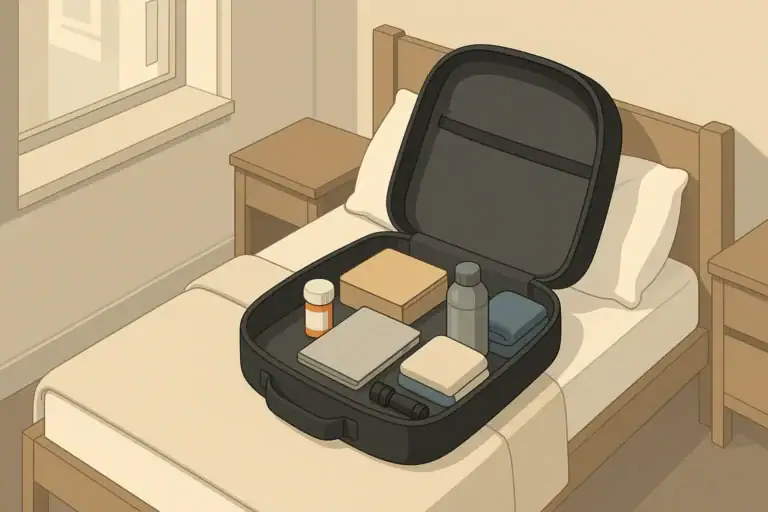
Designing a Transit-Friendly Go-Bag
Your go-bag for public transit should be small, comfortable, and hands-free when possible. You want something you can carry in a crowded bus aisle, lift into a luggage rack, and keep close in a shelter.
Pick the Right Type of Bag
Choose a bag you already own that is:
- Comfortable to carry: backpack or small duffel with a shoulder strap.
- Modest size: roughly daypack-sized, not a huge hiking pack.
- Simple and sturdy: no need for special features, just solid straps and zippers.
If you have mobility challenges, consider a rolling bag that you can also carry briefly up stairs if needed.
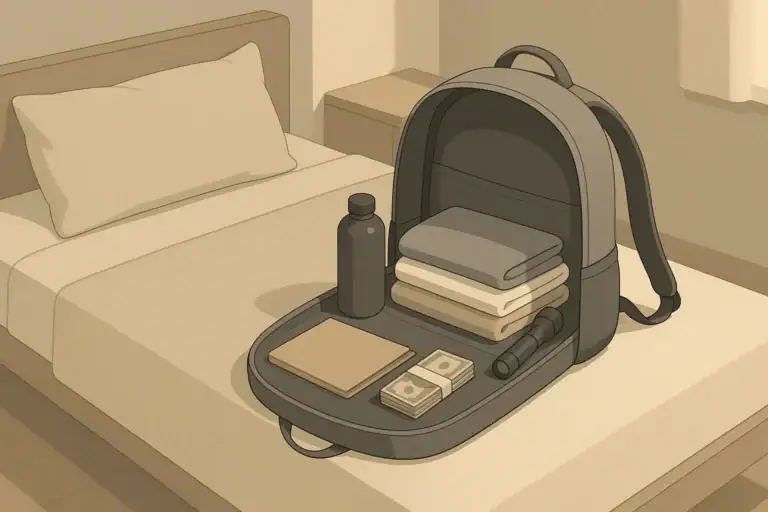
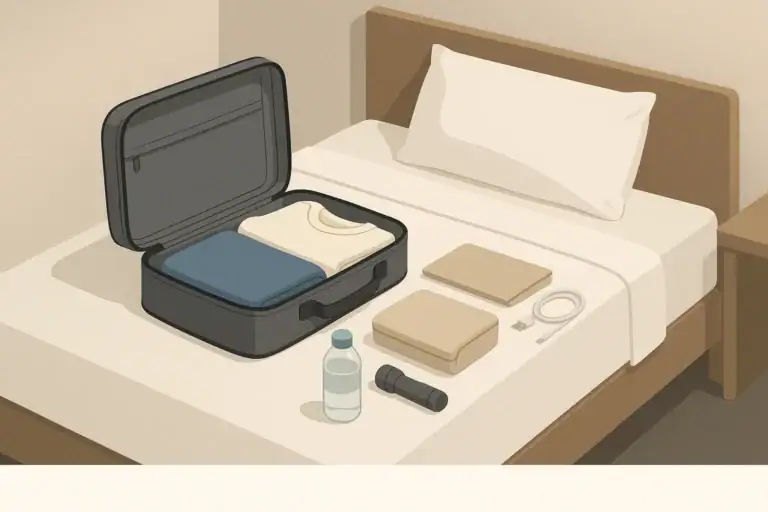
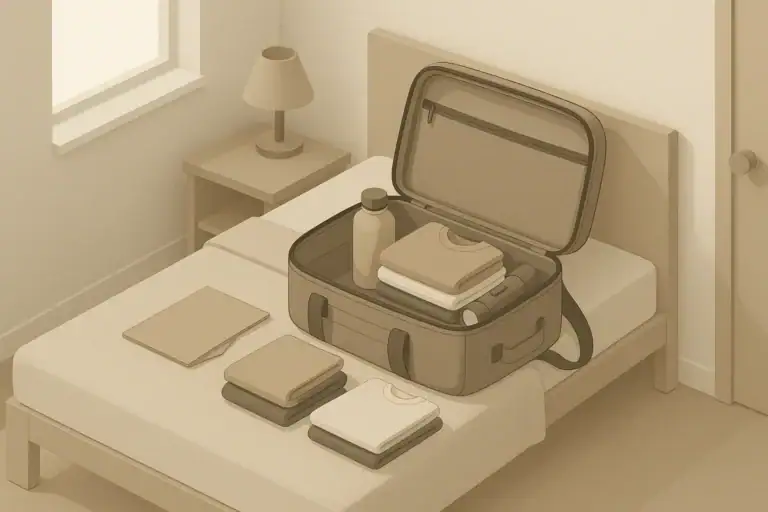
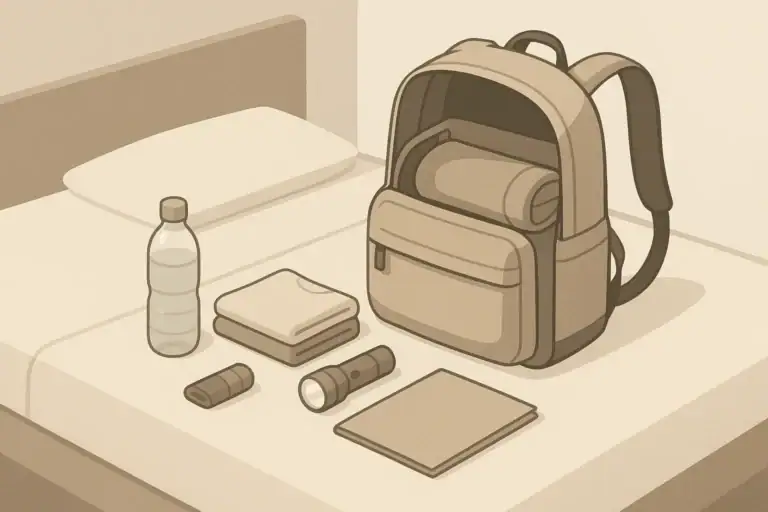
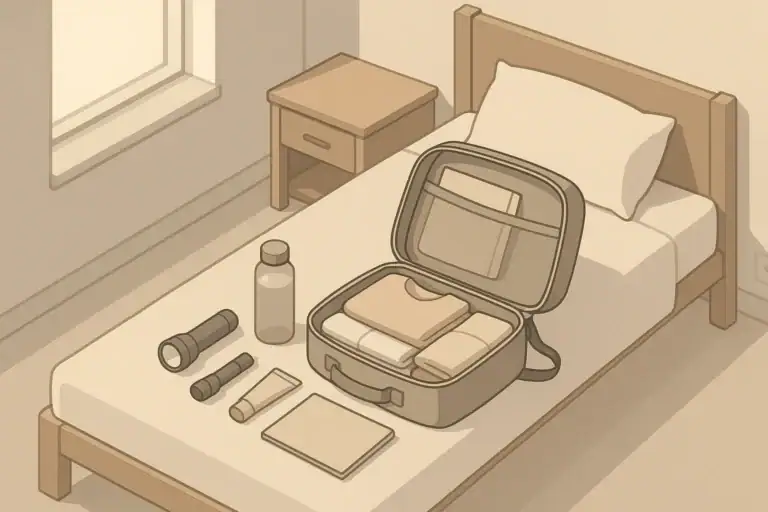
Lightweight Essentials for 24–72 Hours
Focus on items that give you warmth, water options, basic food, and communication without adding much weight. Think in layers:
- Water: one small reusable bottle and a lightweight way to treat or flavor water if needed.
- Food: compact, no-cook snacks like bars, nuts, dried fruit, or crackers.
- Clothing: one change of underwear and socks, a lightweight base layer, and a compact extra layer for warmth.
- Warmth and shelter: packable rain layer or poncho, light hat, thin gloves if your climate is cold.
- Light and power: small flashlight or headlamp, plus spare batteries or a tiny power bank and charging cable.
- Hygiene: travel-size toiletries, tissues, hand wipes, and basic menstrual or incontinence supplies if needed.
- Documents and money: photocopies of IDs, list of key contacts, some cash in small bills, transit cards.
- Communication: phone, charging cable, list of phone numbers written down.
Lay everything out and then remove anything that is not truly needed for one to three days away from home.
Weight Test: The Two-Block Rule
Put on your packed bag and walk two city blocks or around your building. Climb at least one flight of stairs if possible. If you feel strained, reduce weight until it feels manageable. This simple test helps you avoid being overloaded during an actual evacuation.
Special Considerations: Kids, Seniors, and Pets
Traveling with others changes how you pack and move. The more dependents you have, the more important it is to streamline your own gear and share the load carefully.
Evacuating with Children
For kids, the priorities are safety, comfort, and keeping them calm:
- Essentials only: extra diapers or pull-ups, wipes, a compact change of clothes, simple snacks, and any daily medications.
- Comfort items: one small stuffed toy or comfort object, not a bag full of toys.
- Entertainment: small notebook and pencil, or offline activities your child already enjoys.
- Older kids: give them a small backpack with a light share of supplies if they can carry it safely.
Talk ahead of time in simple terms about what might happen and how you will ride a bus or train together if you need to leave.
Evacuating with Older Adults or Limited Mobility
If someone in your group uses a cane, walker, or wheelchair, or tires easily:
- Streamline gear: keep their bag very light and focus on medications, mobility aids, and any crucial medical information.
- Transit options: learn how accessible buses, trains, and paratransit services work in your area.
- Seating strategy: enter vehicles early when possible to find a safe, stable seat.
- Labels: keep a card with emergency contacts and key conditions in an easy-to-find pocket.
Consider a simple checklist taped inside a cabinet door to help a caregiver or neighbor pack quickly if you are not home.
Evacuating with Pets on Transit
Rules for animals on public transit vary, but some common themes are:
- Small pets: often must be in a carrier that you can hold on your lap or keep at your feet.
- Service animals: usually allowed but may need to remain on leash or harness.
- Pet kit: small bag of food, a collapsible bowl, waste bags, and any medications.
Practice getting your pet into a carrier calmly, and keep their carrier accessible, not buried in storage. If your transit system restricts pets, plan alternative routes to pet-friendly shelters or friends’ homes.
Step-by-Step: Leaving Home Without a Car
When an evacuation notice or strong recommendation comes, having a routine helps you stay calm and efficient. You can adapt the steps below to your home, whether you live in an apartment or a house.
1. Confirm the Situation and Your Route
- Check local alerts through phone notifications, official apps, radio, or TV.
- Decide whether you are leaving immediately or have time to gather a few extras.
- Choose your first-choice transit route and a backup if it is crowded or delayed.
2. Grab Your Go-Bag and Add Last-Minute Items
Your go-bag should already be mostly packed. Add a few time-sensitive items:
- Daily medications.
- Wallet, keys, and transit cards.
- Phone, charger, and any backup battery you use regularly.
- Glasses or contact lenses and solution.
Do a quick mental check: “Water, food, light, medications, documents, cash, phone.”
3. Secure Your Home Briefly
If time and safety allow:
- Turn off lights and unnecessary appliances.
- Unplug electronics that do not need to stay on.
- Lock doors and windows.
- Leave a simple note for household members if you might miss each other, stating where you plan to go.
4. Move to Your Transit Point
Leave as early as possible; waiting can mean more crowded buses and trains.
- Wear sturdy shoes you can walk in for at least a mile.
- Dress in layers that match the weather and season.
- Keep your bag close to your body and valuables in inner pockets.
- Watch for updated information at stops or stations.
5. Stay Oriented En Route
On the bus or train:
- Note the name of each major stop in case you need to get off early.
- Keep your group together and agree on what to do if someone is separated.
- Use text or brief calls to update a contact outside the affected area.
What to Pack for Different Hazards
The basics of water, food, clothing, and documents stay the same across emergencies. A few details change depending on the main risk in your region, such as storms, wildfire smoke, or heat.
Storms and Heavy Rain
If you live in an area with hurricanes or severe storms:
- Emphasize rain protection: packable rain jacket or poncho, plastic bags to keep items dry.
- Bring small towel or bandana to dry hands and gear.
- Include phone protection: simple resealable bag for electronics.
Winter Weather
For cold climates and winter storms:
- Focus on warmth: thin thermal base layer, hat, gloves, and warm socks.
- Choose insulating but packable layers instead of one bulky piece.
- Consider hand warmers if they fit your budget and space.
Heatwaves
For very hot conditions:
- Wear light-colored, breathable clothing and a hat.
- Pack electrolyte or flavor packets for water if you use them.
- Prioritize a refillable water bottle and know where you can refill it along the way.
Wildfire Smoke and Air Quality
In areas affected by wildfire smoke or other air quality issues:
- Include a simple face covering you find comfortable.
- Keep a spare covering or two if space allows.
- Plan your route to minimize walking in heavy smoke when possible.
Pantry and Water Readiness for Quick Departures
Even if you are leaving, short-term home readiness makes evacuation smoother. Having some shelf-stable food and safe water at home means you can grab a few items quickly without shopping in a rush.
Simple Pantry for Grab-and-Go
Choose shelf-stable foods that:
- Do not require cooking.
- Do not rely on refrigeration once opened.
- Are familiar to you and your household.
Rotate these into your regular meals so nothing goes to waste. When evacuating, take small, dense items that travel well in your bag.
Water Planning When Using Transit
Carrying large jugs on a bus is not realistic. Instead:
- Keep several days of water at home for normal disruptions.
- For evacuation, carry one modest bottle per person and refill whenever you can.
- Know locations with likely access to water along your route, such as stations or public buildings.
Example values for illustration.
| Food Type | Storage Tip | Rotation Interval Idea | No-Cook Use |
|---|---|---|---|
| Nut or seed packs | Keep in a small bin near go-bag | Use and replace every 1–2 months | Quick snack on bus or in shelter |
| Granola or snack bars | Buy in small boxes and label dates | Rotate through school or work snacks | Easy portioned energy source |
| Dried fruit | Store in resealable bags or containers | Use in breakfasts weekly, restock as needed | Pair with nuts for simple trail mix |
| Crackers or plain biscuits | Choose sturdy types that do not crumble easily | Incorporate into regular snacks monthly | Combine with nut butter packets |
| Instant oatmeal packets | Keep near mugs and utensils | Use for quick breakfasts and replace | Mix with warm water if available |
| Shelf-stable milk or alternatives | Store in cool cabinet, front row | Use before date in normal meals | Drink alone or add to cereal or oats |
| Single-serve nut butter | Keep in a small pouch with spoons | Rotate through lunches every few weeks | Spread on crackers or eat directly |
Keeping Your Transit Evacuation Plan Updated
An evacuation plan works best when it is simple and occasionally refreshed. Set a reminder a couple of times per year to:
- Check transit maps and note any major route changes.
- Update your contact list and printed copies.
- Refresh snacks, batteries, and medications in your bag.
- Review your route with household members, including children and caregivers.
By keeping your plan calm, lightweight, and realistic for buses and trains, you increase your chances of getting out safely and with less stress, even when you do not have a car.
Frequently asked questions
What should I pack in a transit-friendly go-bag for 24–72 hours?
Pack lightweight, compact items that cover water, food, warmth, communication, and essential documents: a small water bottle, no-cook snacks, a change of socks and underwear, a packable layer or rain jacket, a small flashlight or headlamp with spare power, medications, copies of IDs and contact information, transit cards, and some cash. Remove anything that is not essential for one to three days to keep the bag manageable for walking and crowded transit.
How can I plan an evacuation route if public transit is limited or shut down?
Identify at least two exit options: your regular transit route, an alternate transit corridor or station, and non-transit options such as walking routes, bike paths, or pre-arranged rides with friends. Keep printed addresses for shelters and friends’ homes, monitor official alerts for service changes, and choose routes that minimize walking through hazardous areas.
How should I handle medications and medical information during a public transit evacuation plan?
Keep medications in their original containers when possible, pack enough for several days if you can, and store a written list of medications, dosages, allergies, and key medical contacts in your bag. If someone needs refrigeration or special storage, plan ahead with caregivers or shelters and include copies of prescriptions and relevant medical records with your documents.
Are pets allowed on public transit during evacuations, and how do I prepare them?
Policies vary by transit system; small pets are commonly allowed in a secure carrier and service animals are typically permitted with appropriate control. Prepare a compact pet kit with food, a collapsible bowl, waste bags, and any medications, and practice getting your pet into a carrier calmly so you can move quickly if needed.
How do I test whether my go-bag is light enough for a no-car evacuation?
Use the Two-Block Rule: put the packed bag on, walk two city blocks and climb at least one flight of stairs, then assess how you feel. If you are strained or excessively tired, remove nonessential items until you can comfortably carry the bag while standing and moving in crowds.
- Simple checklists and realistic planning
- Water, power, lighting, and pantry basics
- Family plans (kids, pets, seniors) and seasonal prep
Cash in an Emergency Kit: Small Bills, Storage, and Safety
Hotel Evacuation Bag: Essentials for Short Notice Stays
Seasonal Go-Bag Swap: What to Change for Summer vs Winter
Go-Bag Medication List: Refills, Copies, and Rotation
Packing Fast: A 10-Minute System for Getting Out the Door
Go-Bag Maintenance: Quarterly Checks and Rotation Schedule