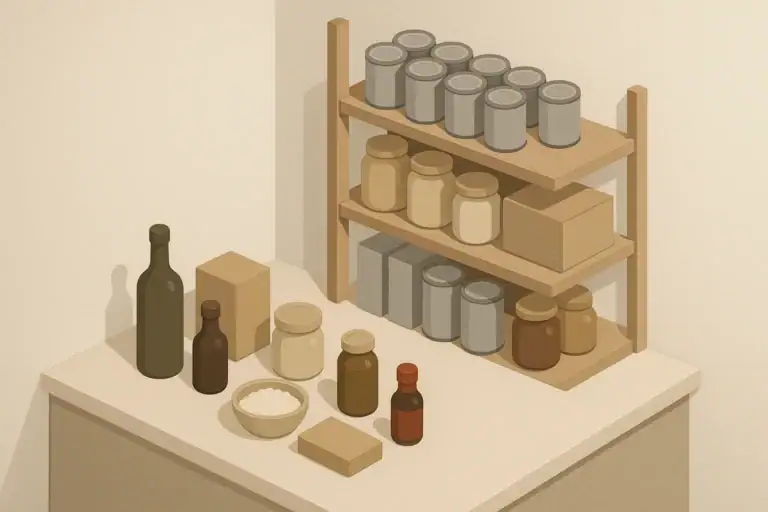
Why a Pantry Labeling System Matters for Everyday Readiness
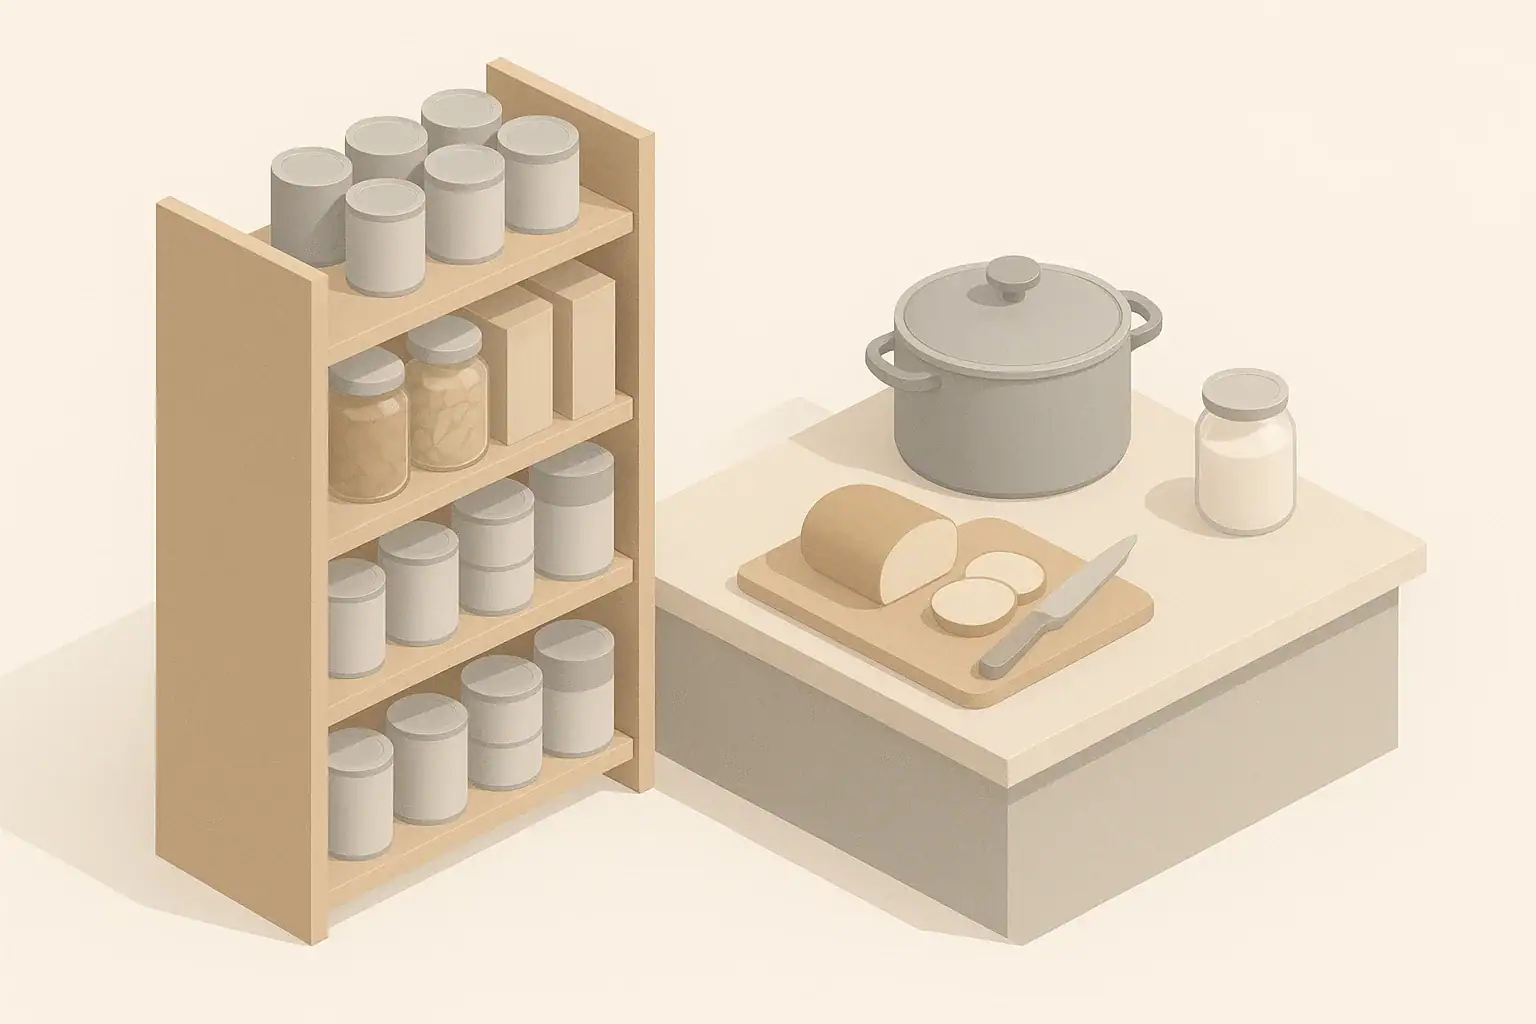
A clear pantry labeling system is one of the simplest ways to support everyday cooking and short-term emergency readiness. Instead of digging through crowded shelves, you can see at a glance what you have, what needs to be used soon, and which items are best for power outages or water disruptions.
Good labeling is less about perfection and more about consistency. By choosing a simple system and sticking to it, you:
- Reduce wasted food from forgotten or expired items
- Make weeknight meals faster to plan and cook
- Know which foods work if the power or water goes out
- Rotate backup items so your emergency stash is always usable
- Help the whole household find and return items correctly
This approach works in small apartments, larger homes, and shared spaces. You do not need a dedicated pantry room. A cabinet, a few shelves, or a closet can all become an efficient, labeled pantry area.
Core Elements: Dates, Meals, and Rotation Bins
A practical pantry labeling system for home readiness focuses on three things:
- Expiration and purchase dates so you can see what to use first
- Meal cues that connect ingredients to simple dishes
- Rotation bins that guide what moves forward and what gets replenished
You can adapt these ideas to fit your space and style, but using the same layout and wording across the pantry helps everyone understand the system quickly.
Example values for illustration.
| Task | Why it matters | Notes |
|---|---|---|
| Write date on every item when it comes home | Makes first-in, first-out rotation easy | Use month/year or full date, whichever you will read |
| Highlight or rewrite the “use by” date | Prevents small print from being overlooked | Front or top of package is easiest to see |
| Group foods by type on shelves | Simplifies inventory and planning | Example groups: grains, cans, snacks, breakfast |
| Mark special items for outages | Quickly locate ready-to-eat foods during disruptions | Use a simple symbol or color code |
| Set a regular review day | Keeps the system from drifting over time | Example: first weekend of each month |
| Keep a small list or notepad nearby | Capture items to restock before they are forgotten | Update when you move the last unit of an item |
Labeling Expiration and Use-First Dates
Manufacturers already print “best by” or “use by” information, but it is often small or hard to find. A pantry labeling system makes these dates visible and meaningful for your household.
Choosing your date format
Pick a date format that is quick to write and easy to scan:
- Month/Year only (for example, 3/27) if that is enough detail for you
- Full date (for example, 3/15/27) for items you want to track more closely
Use the same format on all labels. Consistency helps when you are sorting or doing a quick check before storms or heatwaves.
Where to write dates
To make dates easy to see, write them where you naturally look first:
- Cans: on the top or front, not just the rim
- Boxes: front upper corner or top flap
- Jars: lid or front label corner
- Bags: upper front area, above or near the product label
- Bulk containers: on the side and on the lid, so either view works
If the printed date is clearly visible, you can circle it or trace over it instead of rewriting it, as long as it is easy to find when you open the cabinet.
Use-first and “soft” deadlines
Some households like to add a second, more practical date called a “use first by” date. This is not a safety guideline; it is a planning cue. It might be set slightly earlier than the printed date so that you are nudged to use the item in regular cooking before it sits too long.
For example, you might write “Use first by 2/27” on a can that has a printed date of 4/27. This helps you prioritize older items when building meal plans, especially if you keep a deeper pantry for weather or outage scenarios.
Meal-Based Labeling: Turning Ingredients into Quick Plans
Labeling by dates alone helps with rotation, but labeling by meals helps with daily life. When pantry items are tied to simple meal ideas, anyone in the household can grab ingredients and know what to cook, even during a stressful situation like a power outage or a busy weekday.
Simple meal labels
Meal labels do not need to be detailed recipes. Think of them as reminders. A few examples:
- “Chili night add beans + tomatoes” on a can of chili seasoning
- “Pasta + sauce + frozen veggies” on a box of pasta
- “Oatmeal + nut butter + dried fruit” on oats
- “Tuna salad + crackers” on canned tuna and a nearby box of crackers
You can keep the wording very short. The goal is to suggest combinations that use pantry staples and help you rotate items in everyday meals.
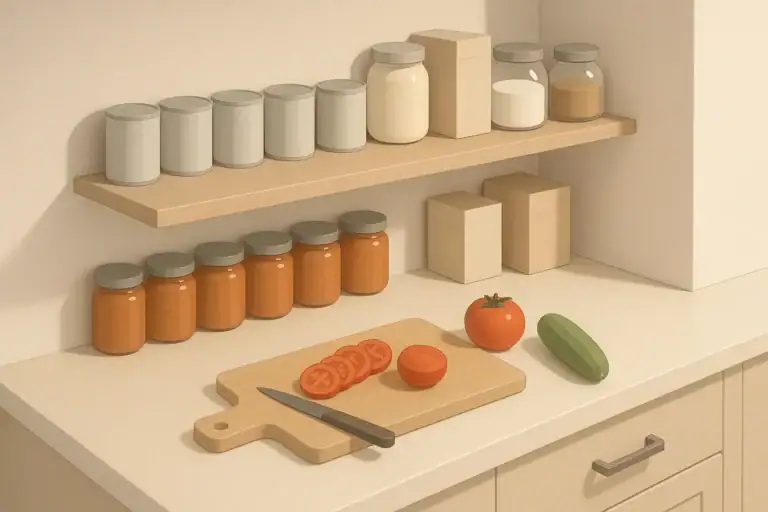
Meal bundles for everyday and outage use
Consider assembling “meal bundles” on your shelves:
- Shelf-stable everyday meals: pasta, sauce, canned vegetables, seasoning
- Low-prep meals: soup, instant rice, canned beans, seasoning
- No-cook or minimal-cook meals: tuna, nut butter, crackers, shelf-stable milk
Place items that go together in the same general area and mark the shelf or bin with the meal name, such as “Pasta dinners” or “No-cook lunches.” This makes it easy to grab what you need during outages when you want to limit how long the fridge or freezer is open.
Color or symbol codes for special uses
If you like visual systems, you can add simple colors or symbols to show how items fit into your household’s plans:
- One color or symbol for no-cook foods (useful if power goes out)
- Another for kid-friendly foods that children can help with
- Another for allergy-safe or dietary-specific items, if needed
- Another for pet-related shelf-stable supplies, stored nearby but clearly separate
These markings are for household organization only. They do not replace reading ingredient lists or instructions, but they help you find suitable items quickly when you are in a hurry.
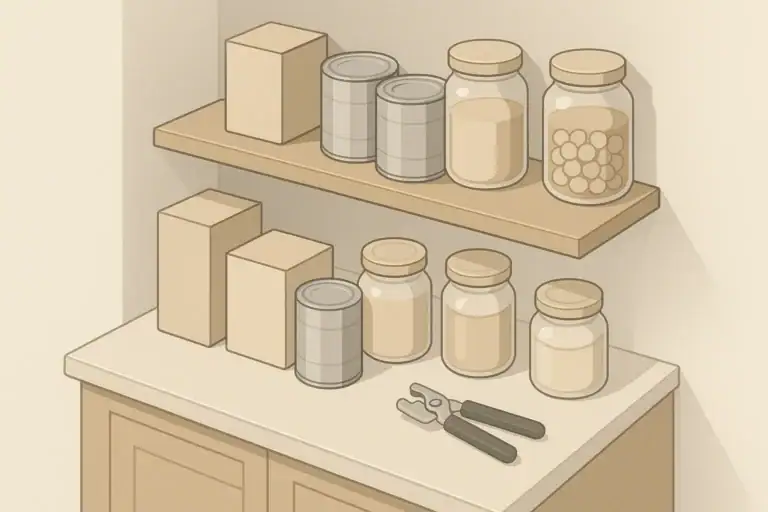
Rotation Bins: First-In, First-Out Made Simple
Rotation bins turn your pantry shelves into a one-way path: new items in from one direction, older items out from another. This supports a “first-in, first-out” habit that keeps your everyday and emergency foods fresher without a lot of effort.
How rotation bins work
A rotation bin can be any container or defined shelf section with a clear front and back. The idea is straightforward:
- Place new purchases at the back or bottom of the bin.
- Pull items to cook or eat from the front or top.
- When you put groceries away, slide older items forward if needed.
You can do this with dedicated plastic bins, baskets, or simply by assigning left and right sides of a shelf. The key is to label the space so everyone understands “new items go here, use-first items go there.”
Types of rotation bins
Depending on your space, you might set up rotation bins by:
- Food type: canned vegetables, soups, pasta, breakfast items, snacks
- Use: everyday cooking, busy-night meals, outage-friendly meals
- Household member: kid snacks, shared items, pet supplies
Label bins clearly with large, simple wording. Children, guests, or roommates are more likely to use the system correctly when it is obvious where items belong.
Front row “use soon” section
Designate a small front row or a specific basket for items that should be used soon. This is helpful for:
- Foods approaching their printed date
- Open packages that need to be finished
- Items you want to try before buying in larger quantities
When you plan meals for the week, check this section first and build your recipes around these items. This keeps rotation natural without feeling like extra work.
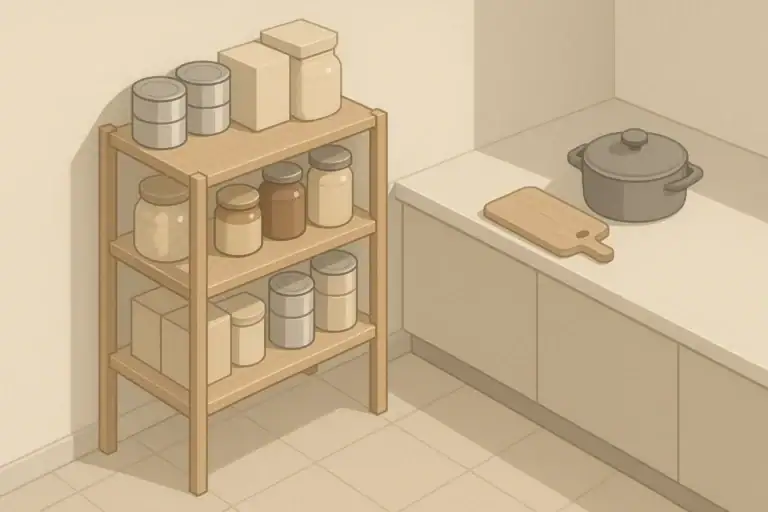
Planning Pantry Zones for Different Homes
Homes and apartments vary widely, but you can apply the same labeling logic to almost any layout. The goal is to create clear zones instead of scattered items.
Small apartments and limited storage
If your space is tight, labeling becomes even more important. Consider:
- Assigning one cabinet or shelf as your primary pantry zone
- Using stackable bins with front labels so you can reach items in the back
- Keeping heavier cans on lower shelves and labeling the fronts of the shelves themselves
- Storing a small outage-friendly bin in an easy-to-reach spot separate from daily snacks
Simple labeling like “Breakfast,” “Quick dinners,” and Outage-friendly can reduce the urge to overbuy while still helping you stay ready for short-term disruptions.
Families with kids, seniors, or shared kitchens
In households with multiple people cooking or grabbing snacks, labeled pantry zones help with both safety and routine. Ideas include:
- Kid-accessible shelf: clearly labeled snacks and breakfast items children are allowed to choose from
- Adult-only shelf or bin: items that require cooking or careful handling
- Easy-read labels: large print and simple icons can support seniors or anyone who prefers visual cues
- Shared apartment kitchens: each person or room can have a labeled bin plus shared staples with clear rotation rules
Having a visible, written system reduces misunderstandings and makes it easier to share responsibility for grocery runs and restocking.
Regional and seasonal adjustments
Your pantry zones can adapt slightly to the typical events in your area:
- Cold climates: a small zone for easy soups, hot cereals, and shelf-stable comfort foods for winter storms
- Hurricane or storm-prone areas: a bin labeled “storm kit foods” with no-cook or low-cook items and manual-can-opener-friendly choices
- Heatwaves: lighter meals you can prepare without using the oven, such as canned beans, grains that cook quickly, and ready-to-eat items
- Wildfire smoke days: pantry-friendly ingredients for simple indoor meals when you prefer to stay inside
Labeling these small seasonal zones helps you find appropriate foods quickly when a forecast changes.
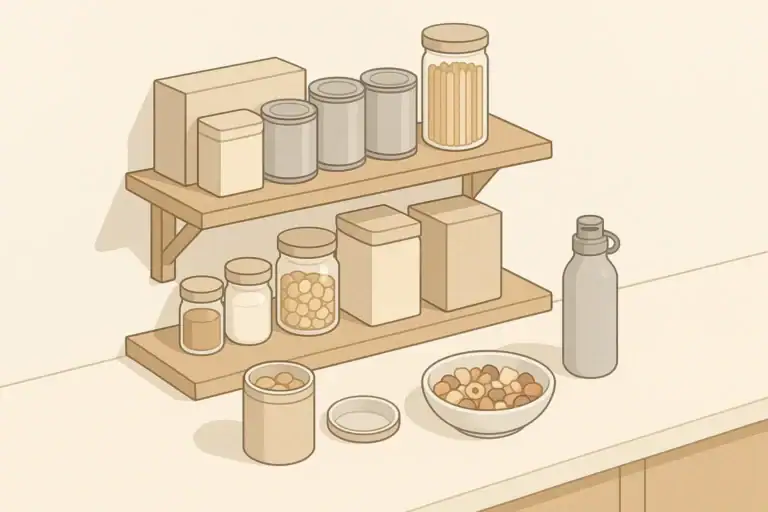
Tracking Pantry Inventory Without Overcomplicating It
A pantry labeling system works even better when paired with light inventory habits. You do not need a complex spreadsheet unless you enjoy that. The goal is simply to know what you have and avoid surprises during outages or busy weeks.
Simple visual inventory checks
One practical method is to decide on a minimum quantity for key items and label the shelf to reflect it. For example, you might write on the shelf label: “Keep at least 4 cans of beans.” When you see fewer than four, you add beans to your shopping list.
Another option is to place a small mark on the bin showing the “refill line.” If the level of pasta boxes or cans drops below that mark, you know it is time to restock.
Using a notepad or digital list
Keep a notepad, whiteboard, or shared digital list near the pantry. The household habit is simple:
- When you take the last or second-to-last of something, write it down or tap it into the list.
- Check your “storm kit” or outage-friendly bin before seasonal weather, and add missing items to the list.
This habit prevents last-minute scrambles and keeps your rotation bins stocked with foods you actually use.
Integrating Pantry Labels with Emergency Plans
A labeled pantry becomes more valuable when it supports your broader home readiness plans for power outages, water disruptions, and staying at home during short-term events.
No-cook and low-cook section
Set aside a clearly marked section for foods that require no cooking or minimal heating. Label this bin for quick recognition. Include items like:
- Canned beans, fish, or vegetables with easy-open tops if you prefer them
- Shelf-stable milk or milk alternatives
- Nut butters and spreads
- Crackers, ready-to-eat cereals, and granola
- Electrolyte or flavored drink mixes if you use them
Use these items occasionally in regular meals so they rotate. When they reach the front of your rotation bins, plan a week that includes a few no-cook lunches or snacks, then replace them with newer purchases.
Water-aware pantry choices
If your water supply is disrupted or limited, you may want foods that do not require much water to prepare. Label or separate:
- Foods that need a lot of water to cook, like some dry beans or pasta
- Foods that can be prepared with minimal water, like instant grains or ready-to-eat canned goods
- Foods that are fully ready-to-eat straight from the package
These labels serve as gentle reminders when you are planning meals during boil-water advisories or low-pressure situations.
Power outage meal cards
Some households like to keep a small set of “meal cards” attached to a pantry door. Each card lists a simple meal idea that uses labeled pantry items and basic tools that do not rely heavily on electricity.
Write down meals that work well for your family, such as:
- “Tuna, crackers, fruit cups”
- “Beans, rice (pre-cooked if power is available), salsa”
- “Oats with shelf-stable milk and dried fruit”
These cards can cut down decision-making during stressful times, especially if you are caring for children, pets, or older adults.
Example values for illustration.
| Food type | Storage tip | Rotation interval idea | No-cook use |
|---|---|---|---|
| Canned beans and vegetables | Store in a cool, dry cabinet with oldest cans in front | Plan to use and replace a few cans each month | Rinse and mix with seasoning for salads or sides |
| Grains (rice, oats, pasta) | Keep in sealed containers with labeled dates | Rotate through regular meals every few weeks | Instant oats can often be soaked instead of cooked |
| Nut butters and spreads | Store upright and note opening dates if you track them | Include in weekly snacks until you reach your refill line | Spread on crackers or bread; add to oats |
| Shelf-stable milk or alternatives | Keep boxes together in one clearly labeled bin | Use in cooking or cereal every month to cycle stock | Drink as-is or pour over ready-to-eat cereals |
| Ready-to-eat soups and chili | Group on a single shelf, oldest at the front | Plan a soup or chili night every few weeks | Some can be eaten at room temperature if needed |
| Crackers and ready-to-eat cereals | Seal opened packages and label with opening date | Rotate with school or work snacks weekly | Serve with nut butter, canned fish, or shelf-stable milk |
Keeping the System Going Over Time
The most effective pantry labeling system is the one you actually maintain. Aim for something simple enough that you can keep using it during busy seasons, moves, or changes in your household.
Set a short, regular check-in
Choose a regular time to review your pantry, such as monthly or at the start of each season. During this check-in, you can:
- Pull forward items with earlier dates and place them in the use-soon section
- Erase or update any shelf labels that no longer fit your habits
- Glance at your outage-friendly and no-cook bin and restock anything low
- Note bulky or heavy items that are hard to reach and consider shifting them lower
These small adjustments keep your system practical as your tastes and routines change.
Involving the household
Show everyone where dates are written and how to use rotation bins. Encourage small, consistent actions:
- Put new groceries behind older ones
- Check the use-soon area when choosing snacks or planning meals
- Add items to the list when taking the last or second-to-last unit
When everyone understands the labeling system, your pantry can support both normal weeks and unexpected disruptions without requiring constant reorganization.
Frequently asked questions
How do I label pantry items for optimal expiration tracking?
Write the purchase or use-by date on items when you put them away and pick a single date format (month/year or full date) to use consistently across the pantry. Place dates where they are easy to see—tops of cans, lids of jars, or the front of boxes—and consider adding a separate “use-first” date a bit earlier than the printed date as a planning cue. This simple practice supports a first-in, first-out rotation and makes quick checks before storms or busy weeks more effective.
What’s the best way to organize rotation bins in a small apartment?
Choose one cabinet or shelf as your primary pantry zone and use stackable bins with front labels so items at the back remain accessible. Assign new purchases to the back and pull from the front, label bins by food type or use, and keep heavier cans on lower shelves. A small, clearly labeled outage-friendly bin in an easy-to-reach spot helps separate emergency supplies from daily snacks.
How often should I check and update pantry labels and inventory?
A short monthly check or seasonal review is usually sufficient for most households: move items with earlier dates into the use-soon section, restock the outage bin, and update shelf labels as needed. During this check-in, note anything falling below your refill line and add it to your shopping list to prevent last-minute shortages. Regular, brief reviews keep the system functioning without adding much extra work.
How can meal-based labels reduce food waste?
Meal-based labels link ingredients to simple, repeatable dishes so anyone can grab items and know how to use them quickly, which increases the chance older items get used in planned meals. As you assemble meal bundles and place related items together, those ingredients are more likely to be included in weekly menus and then replaced after use. This approach turns rotation into routine rather than an occasional chore.
What labels are most helpful during water or power outages?
Clearly mark a no-cook section and a low-cook or minimal-water section so you can find foods that require little to no water or heat, and label easy-open cans and manual-can-opener–friendly items. Keep a set of power-outage meal cards near the pantry listing simple combos that use those labeled items and basic non-electric tools. Rotate these items through regular meals so they stay fresh and ready when needed.
- Simple checklists and realistic planning
- Water, power, lighting, and pantry basics
- Family plans (kids, pets, seniors) and seasonal prep
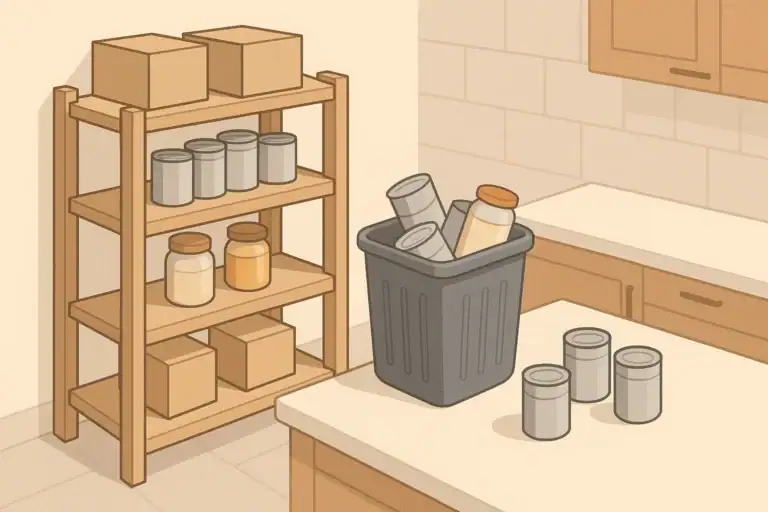
Food Spoilage Cleanup After an Outage: What to Toss and Document
One-Person Emergency Pantry: Simple Quantities Without Overbuying
Emergency Snack Box: No-Prep Foods for Stressful Days
Shelf-Stable Sauces and Flavor Boosters for Emergency Meals
Manual Can Opener Checklist: Small Tools That Keep a Pantry Usable
Freezer-First Meal Plan: What to Eat Before It Spoils