Why Frozen Pipe Readiness Matters Before a Cold Snap
A sudden cold snap can freeze household pipes, especially in older homes, basements, crawl spaces, and exterior walls. Frozen pipes are more than an inconvenience. When water inside a pipe freezes, it expands and can crack the pipe. The real damage often appears later, when temperatures rise and water starts flowing again through a damaged section.
Preparing ahead of a freeze is less about complicated plumbing work and more about a few basic habits: knowing how to shut off water, storing some backup water, and taking simple steps to reduce the chance of pipes freezing. These actions are helpful whether you live in a house or an apartment, and whether you own or rent.
This guide focuses on calm, practical steps families, renters, and seniors can take in the days and hours before a cold snap. It covers water storage, shutoff steps, and simple protections so that even if pipes freeze or water service is interrupted, your home stays as manageable and safe as possible.
Step 1: Know Your Water Shutoff Options
When a pipe bursts, the most important step is stopping the flow of water quickly. Doing this safely requires knowing in advance where to shut water off and who is responsible for each valve.
Main shutoff in a single-family home
In most detached houses, there is a main shutoff valve that controls the water entering the home. Common locations include:
- Where the water line enters from the street (often in a basement or utility room)
- Near a water heater or laundry area
- In a crawl space or on an interior wall facing the street side of the home
Before a cold snap:
- Find the valve: Use a flashlight to locate it and clear clutter around it.
- Test gently: Turn it slightly off and back on to be sure it moves. Do not force a stuck valve; note it and consider professional help.
- Teach household members: Show adults and responsible teens how to operate it and when to use it.
Shutoff options in apartments and condos
In apartments, you may not control the main building water, but you often have unit-level valves. These might be:
- Under bathroom or kitchen sinks
- Behind access panels near toilets, bathtubs, or laundry hookups
- In a utility closet or mechanical room on your floor or in a common area
Before a freeze, renters and condo residents can:
- Ask management: Request a simple explanation of where your unit valve is and who to call in an emergency.
- Label valves: If allowed, use simple tags or a written note nearby so you remember what each valve controls.
- Save contacts: Store after-hours maintenance numbers on paper and in your phone.
Outdoor and fixture shutoffs
Many homes also have smaller shutoff valves for specific lines, such as:
- Outdoor hose bibs
- Refrigerator ice makers
- Water filters or softeners
Before a cold snap, it can be useful to know where these are so you can shut off only the vulnerable areas instead of the whole house.
| Task | Why it matters | Notes |
|---|---|---|
| Locate main water shutoff | Stops all water quickly if a pipe bursts | Check basement, utility room, or crawl space |
| Test valve movement gently | Confirms you can use it under stress | Do not force stuck or corroded valves |
| Identify unit-level valves (apartments) | Lets you limit damage to your apartment | Ask building staff to point them out |
| Clear access around valves | Saves time when every minute counts | Move boxes, storage bins, or furniture away |
| Share shutoff location with household | Someone else can act if you are away | Post a simple note near the valve |
| Store emergency contacts on paper | Helps if phone battery is low or lost | Include landlord, plumber, and utility |
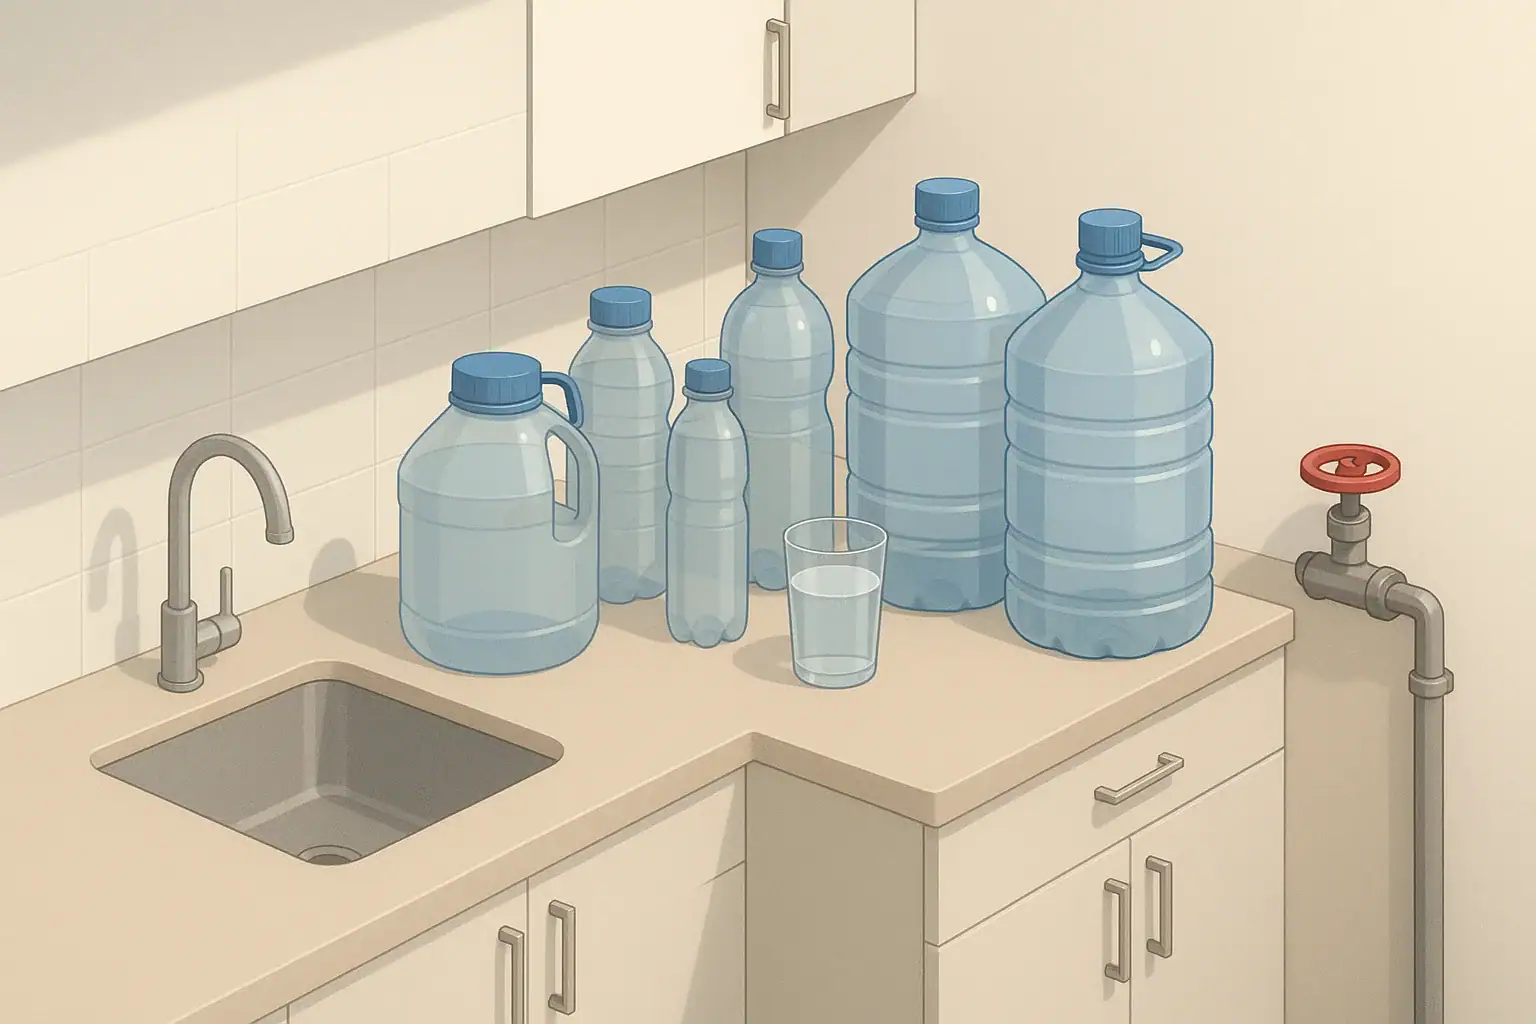
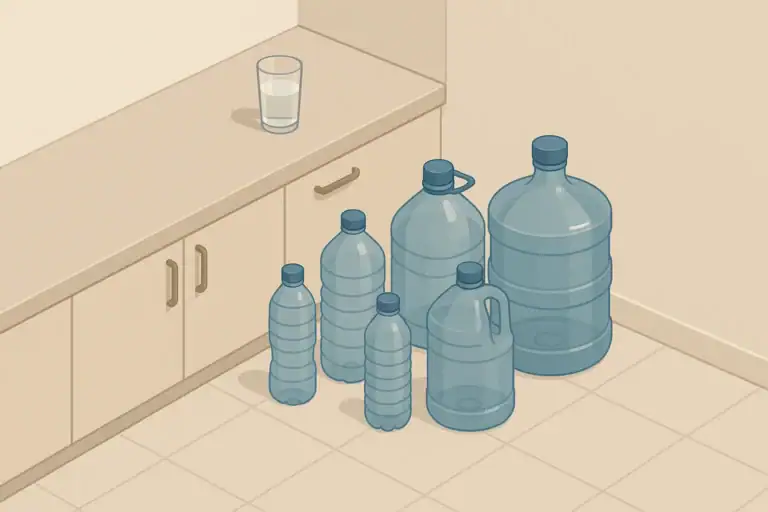
Step 2: Store Enough Water Before a Freeze
Cold snaps can lead to frozen pipes, water main breaks, or precautionary shutoffs by utilities. Having some water stored ahead of time means you can safely turn off the main valve, if needed, without losing access to basic drinking and hygiene water.
How much water to store for a short cold snap
For most short winter events, a simple goal is to have enough water for drinking, basic food preparation, and handwashing for a few days. A common planning example many households use is:
- At least 1 gallon per person per day for drinking and minimal food preparation.
Some families choose to store a bit more for comfort and extra uses like dish rinsing or pet care. Space, budget, and lifting ability all matter, especially for seniors or those in upper-floor apartments.
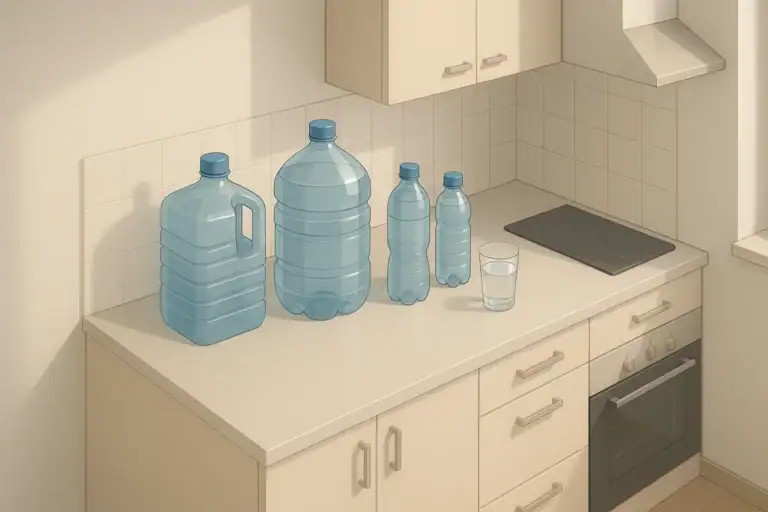
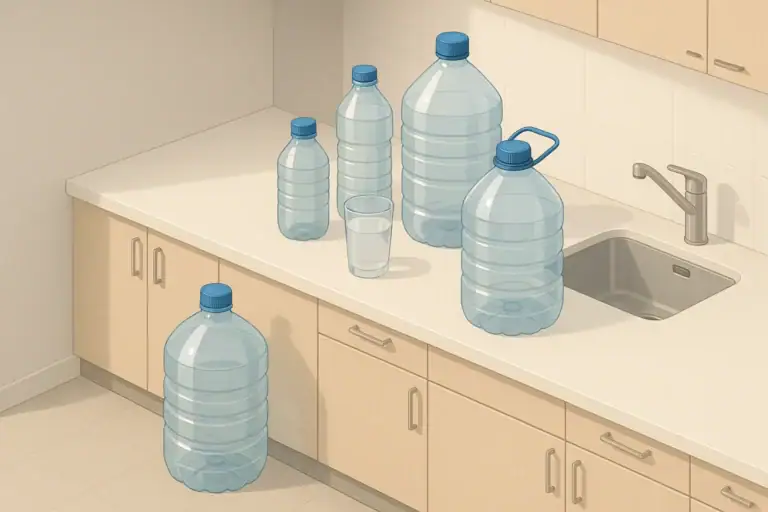
Water storage for small spaces and apartments
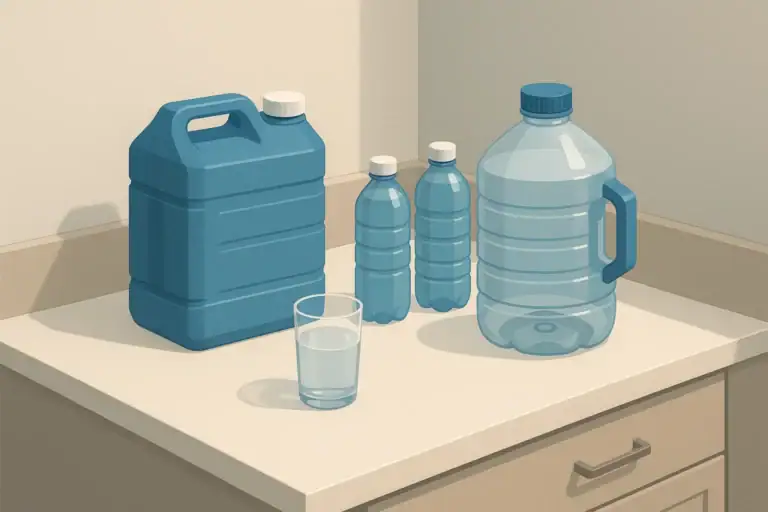
If you do not have a basement or garage, focus on compact and easy-to-handle options:
- Smaller containers: Several small jugs or bottles can be easier to store and carry than a single large container.
- Under-bed storage: Low, sturdy containers may fit under beds or sofas.
- Closet and cabinet space: Use lower shelves for heavier containers to make lifting safer.
Check with property rules before storing large volumes of water on balconies or decks, especially in multi-story buildings.
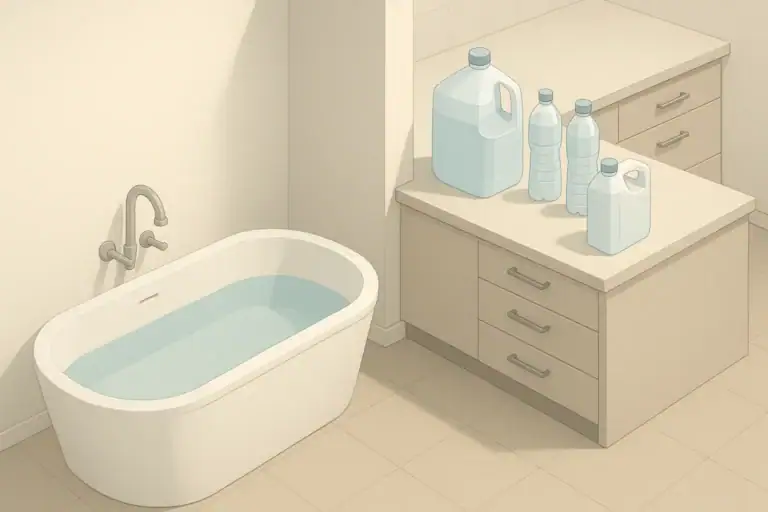
Water storage for houses and larger spaces
If you have more space, you can spread storage around the home so it is accessible even if one area is hard to reach:
- Basements and utility rooms: Keep containers off bare concrete using a shelf or board.
- Garage considerations: In very cold garages, leave some headspace in rigid containers for expansion and avoid thin containers that may crack.
- Bathroom and kitchen: Store a few smaller containers nearby for convenience if you shut off the main water.
Preparing tap water in clean containers
If you fill containers from your tap before a freeze:
- Use containers that are food-safe and thoroughly cleaned.
- Label with the date you filled them.
- Store them away from direct sunlight and potential contaminants, such as strong chemicals.
For cold snap readiness, many people rotate stored tap water periodically as part of general home maintenance. Follow local guidance for water safety, and if water quality is in doubt, consider basic household treatment steps based on reliable public sources.
Step 3: Decide When to Shut Off Water Before a Freeze
Not every cold snap requires shutting off your main water supply. However, there are situations where turning off water in advance can reduce the risk of damage if pipes do freeze. Think through typical scenarios for your home well before winter so you are not making the decision while stressed.
When you might shut off the main valve
Consider turning off the main supply ahead of a hard freeze if:
- You will be away from home overnight or longer during extremely low temperatures.
- Your home has a history of frozen pipes in the same areas.
- There are exposed or poorly insulated pipes you cannot easily protect in time.
Shutting off the main valve does not remove all water from your pipes, but it can limit the amount of water that can flow through a crack if a pipe bursts.
Partial shutoffs: protecting specific problem areas
If your home has known trouble spots, such as an exterior hose line or a sink against a poorly insulated wall, targeted shutoffs can help:
- Turn off dedicated valves to outdoor spigots and drain any water if possible.
- Shut off and disconnect exterior hoses.
- Consider closing valves to unheated parts of the home, like some garages or outbuildings.
These steps allow the rest of the house to remain functional while you reduce risk at the most vulnerable points.
Coordinating with landlords and building managers
In multi-unit buildings, shutting off all water may affect neighbors, so individual residents usually must coordinate with property staff:
- Ask for the building’s winter weather plan and how they handle pipe freezes.
- Clarify what you are allowed to turn off inside your unit.
- Know emergency procedures if you discover water leaking from a wall, ceiling, or shared pipe chase.
Draining fixtures after you shut off the water
Once you turn off the main water in your home:
- Open a faucet on the lowest floor and one on the highest floor to relieve pressure.
- Let water drain until it slows to a trickle, then close the faucets.
- Flush toilets once each to move most of the water out of the tanks; keep stored water handy for later flushing.
This can reduce pressure inside your plumbing system and limit the volume of water released if a pipe cracks.
Step 4: Simple Ways to Protect Pipes Before Temperatures Drop
Reducing the chance of pipes freezing starts with understanding which pipes are most at risk and taking small, targeted steps before temperatures plunge.
Find the most vulnerable pipes
Focus attention on areas that are:
- Along exterior walls, especially under sinks and behind cabinets
- In unheated spaces like garages, crawl spaces, and attics
- Near drafty windows, doors, or foundation vents
Look for pipes that feel cool to the touch or run through areas you would not want to stand in on a very cold night without a coat.
Improve warm air flow inside the home
A few small adjustments can help warmer indoor air reach vulnerable pipes:
- Open cabinet doors under sinks on exterior walls.
- Move items that block vents or radiators near plumbing.
- Keep interior doors open so heat circulates more evenly.
If you lower your thermostat at night, consider keeping it a bit warmer during an extreme cold snap, within your comfort and budget.
Use insulation and covers where practical
In accessible areas, adding basic pipe insulation or foam covers can help moderate temperature changes. Common examples include:
- Slip-on foam sleeves for pipes in basements and crawl spaces.
- Simple covers for outdoor spigots after hoses are disconnected.
- Insulation pads around pipes that pass near foundation vents.
For larger insulation jobs or complex plumbing, consider professional guidance, especially if pipes carry hot water or are near appliances.
Letting faucets drip in extreme cold
In some situations, residents choose to allow a small trickle of water from a faucet during the coldest hours. This can help reduce freezing by keeping water moving and slightly reducing pressure. Consider:
- Using a faucet served by pipes that have frozen before.
- Letting only a thin, steady drip or trickle, not a full stream.
- Placing a bowl or bucket underneath to capture water for flushing or cleaning if you wish to conserve it.
This approach may not be suitable for every household, especially where water conservation is a major concern or where drain lines are also at risk of freezing. Local guidance can help you decide if this is appropriate.
Step 5: Plan for Water Use if Pipes Do Freeze
Even with preparation, a severe cold snap can still lead to frozen pipes or temporary loss of water service. Planning how your household will manage water in that situation can keep the experience uncomfortable but orderly rather than overwhelming.
Prioritizing how you use stored water
When your tap is unavailable or unreliable, rank water uses by importance:
- Top priority: Drinking water for people and pets.
- Next: Basic food preparation (simple meals that use minimal water).
- Then: Handwashing and limited personal hygiene.
- Last: Dishwashing, cleaning floors, and other non-essential tasks.
Use disposable options, simple meals, and fewer dishes to stretch water if needed. Consider no-cook foods and snacks that do not require boiling.
Toilet use during a water interruption
If your plumbing drains are intact but taps are off, you can often still flush toilets manually using stored water:
- Pour stored water directly into the toilet bowl to trigger a flush.
- Use as little water as needed for movement through the drain.
- If water is very limited, some households choose to flush less often for short periods.
For longer outages or if drains are affected, basic hygiene and sanitation planning becomes more important. Keep simple supplies like trash bags, soap, and disposable wipes on hand and follow local guidance on safe disposal practices.
Checking for leaks when pipes thaw
After a hard freeze, do not assume everything is normal as soon as temperatures rise. When water starts flowing again:
- Turn the main valve back on slowly while listening for unusual sounds.
- Inspect visible pipes in basements, under sinks, and along exterior walls for drips or sprays.
- Check ceilings and walls for new damp spots or discoloration.
If you find a leak, turn off water to that area or the entire home, then contact a qualified professional or building maintenance.
| People and pets | Days to cover | Storage approach | Rotation reminder |
|---|---|---|---|
| 1 adult | 3 days (example) | Several small containers in kitchen cabinet | Refill every few months |
| 2 adults | 3–5 days (example) | Mixed small and medium containers under bed | Check at start of each season |
| Family of 4 | 3 days (example) | Stacked containers in closet and basement | Rotate during seasonal clothing change |
| Household with pets | 3 days (example) | Add extra jug labeled for pet use | Refresh when buying pet supplies |
| Senior living alone | 3 days (example) | Lightweight bottles on low shelf | Ask helper to check monthly |
| Shared apartment | 2–3 days (example) | Each person keeps their own small supply | Review before winter storms |
Step 6: Build a Simple Cold Snap Routine
Frozen pipe readiness becomes much easier when it is part of a routine you follow whenever a serious cold snap appears in the forecast. A short checklist, kept on the fridge or in a notes app, can guide you through the same steps every time.
Sample 48-hour countdown before a hard freeze
Here is an example of how you might organize your actions as temperatures start to drop:
- 48 hours before: Check the forecast, locate your shutoff valves, confirm you have some stored water, and move any items blocking access to pipes and valves.
- 24 hours before: Fill extra containers with tap water if needed, disconnect garden hoses, and cover outdoor faucets.
- Evening before: Open cabinet doors under sinks on exterior walls, set the thermostat to a consistent nighttime temperature, and review what to do if a pipe bursts.
- During the coldest night: Consider letting vulnerable faucets drip slightly if appropriate for your area, and keep interior doors open for air flow.
- After temperatures rise: Walk through the home, turn water back to normal if you changed settings, and look and listen for leaks.
Adapting the plan for your household
Every living situation is different. A renter in a small apartment may focus on communication with building staff and compact water storage, while a homeowner may prioritize insulating pipes in a crawl space. Families with young children might simplify tasks into a short, easy list, while seniors may coordinate with nearby relatives or neighbors to help with heavy lifting or valve operation.
The goal is not a perfect system, but a steady, repeatable set of steps that lowers stress during winter weather. A little planning around water storage and shutoff steps can make a frozen pipe incident far more manageable if it ever happens.
Frequently asked questions
How much water should I store for frozen pipe readiness?
For short cold snaps, plan for at least 1 gallon per person per day for drinking and basic food preparation, and add extra for pets and hygiene if possible. Many households keep a 2–3 day supply as a practical target, adjusted for space and lifting ability. Use food-safe containers, label the fill date, and rotate supplies periodically.
When should I shut off the main water valve before a cold snap?
Shutting off the main valve is worth considering if you will be away during the coldest hours, your home has repeated freeze problems, or you cannot protect exposed pipes in time. It’s not necessary for every cold event, so plan ahead and make the decision calmly rather than under stress. If you do shut it off, follow the article’s steps to drain fixtures to reduce pressure in the system.
Can letting faucets drip prevent pipes from freezing and when is it appropriate?
Allowing a thin, steady drip from a vulnerable faucet can reduce the chance of freezing by keeping water moving and relieving pressure, which may help in extreme cold. Use a faucet that serves the most at-risk pipes and capture excess water if you want to conserve it. This tactic is not always suitable—check local water conservation guidance and consider drain-freezing risk before using it.
How do I safely drain fixtures after shutting off the water?
After turning off the main supply, open a faucet on the lowest and another on the highest floor to relieve pressure and let water run until it slows to a trickle. Flush each toilet once to move most water from tanks, and keep stored water available for later flushing. Close faucets once drainage slows and secure any disconnected outdoor lines.
What should I check for after pipes thaw to spot damage early?
When temperatures rise, turn the main valve back on slowly and listen for unusual sounds; then inspect visible pipes under sinks, in basements, and along exterior walls for drips or wet spots. Check ceilings and walls for new staining or bulging that indicate hidden leaks. If you find a leak, shut off the affected water and contact a qualified professional or building maintenance.
- Simple checklists and realistic planning
- Water, power, lighting, and pantry basics
- Family plans (kids, pets, seniors) and seasonal prep
Greywater for Emergencies: What You Can and Shouldn’t Reuse
Bathtub Water Storage: When It Helps and What to Know

Toilet Flushing During a Water Outage: Safe Water Sources and Limits
Apartment Water Outage Plan: Drinking, Toilets, and Hygiene
Water Plan for 14 Days: Storage Targets and Space-Saving Options
Water Plan for 7 Days: Storage Targets and Rotation Tips