Why Your Water Shutoff Valve Belongs on Every Home Checklist
Knowing how to quickly turn off your water is one of the simplest ways to limit damage from a leak or burst pipe. A closed valve can turn a stressful situation into a minor cleanup instead of a major repair. It matters in houses, apartments, condos, and rentals.
This water shutoff valve checklist walks you through how to:
- Find your main water shutoff and key fixture valves
- Label them clearly so anyone in the home can use them
- Test valves safely before an emergency
- Fit water shutoff into your broader home readiness plan
The goal is not to anticipate every disaster, but to be ready for realistic situations: a leaking washing machine, a dripping water heater, a burst pipe in winter, or a toilet that will not stop running.
Step 1: Find Your Main Water Shutoff Valve
Your main water shutoff valve stops most or all water coming into your home. Finding it now, before a problem, is the most important step on the checklist.
Common Places to Look in Different Homes
Where you live shapes where the main valve usually is:
- Detached house with basement: Near the front of the house where the water line enters, often low on a wall or near the floor.
- House on a slab: In a utility closet, near the water heater, in a laundry area, or in a garage wall.
- Warm climates: Outside, near an exterior wall, by a hose bib, or in a ground box along the street-side of the property.
- Townhouse or condo: In a mechanical room, shared utility closet, or inside your unit near the water heater, laundry area, or under a hatch.
- Apartment: Inside the unit near the kitchen or bathroom, in a utility closet, under a sink, or behind an access panel. In some buildings, a building engineer controls a shared main shutoff.
What the Valve Usually Looks Like
Common styles include:
- Ball valve: A lever handle that turns a quarter turn. When the handle is in line with the pipe, the water is on; when it is across the pipe, it is off.
- Gate or stop valve: A round wheel handle that turns several times. Turning clockwise usually closes it, like tightening a jar lid.
Some older installations may look worn or be partially hidden behind insulation or panels. Use a flashlight and take your time. If a valve looks severely corroded or damaged, note its location but avoid forcing it; you can plan to have a professional inspect it later.
Special Situations for Renters
If you rent, you may have less control over the main building shutoff, but you still have options:
- Ask your landlord or property manager where your unit shutoffs are.
- Request written or posted instructions for turning off water in an emergency.
- Locate fixture-level shutoffs (under sinks and toilets) that you can use without accessing building-wide systems.
- Save your maintenance or emergency contact number in your phone and keep it on your fridge or near the main valve.
| Checklist task | Why it matters | Notes |
|---|---|---|
| Find main shutoff | Allows you to stop most water quickly | Take a photo and mark its location on a simple floor sketch |
| Identify fixture valves | Stops water to a single sink, toilet, or appliance | Check under each sink, behind toilets, and near washer |
| Label key valves | Makes it easy for anyone in the home to act | Use simple words like “Main” or “Kitchen sink cold” |
| Practice turning off water | Reduces hesitation during real leaks | Do a quick practice when everyone is home |
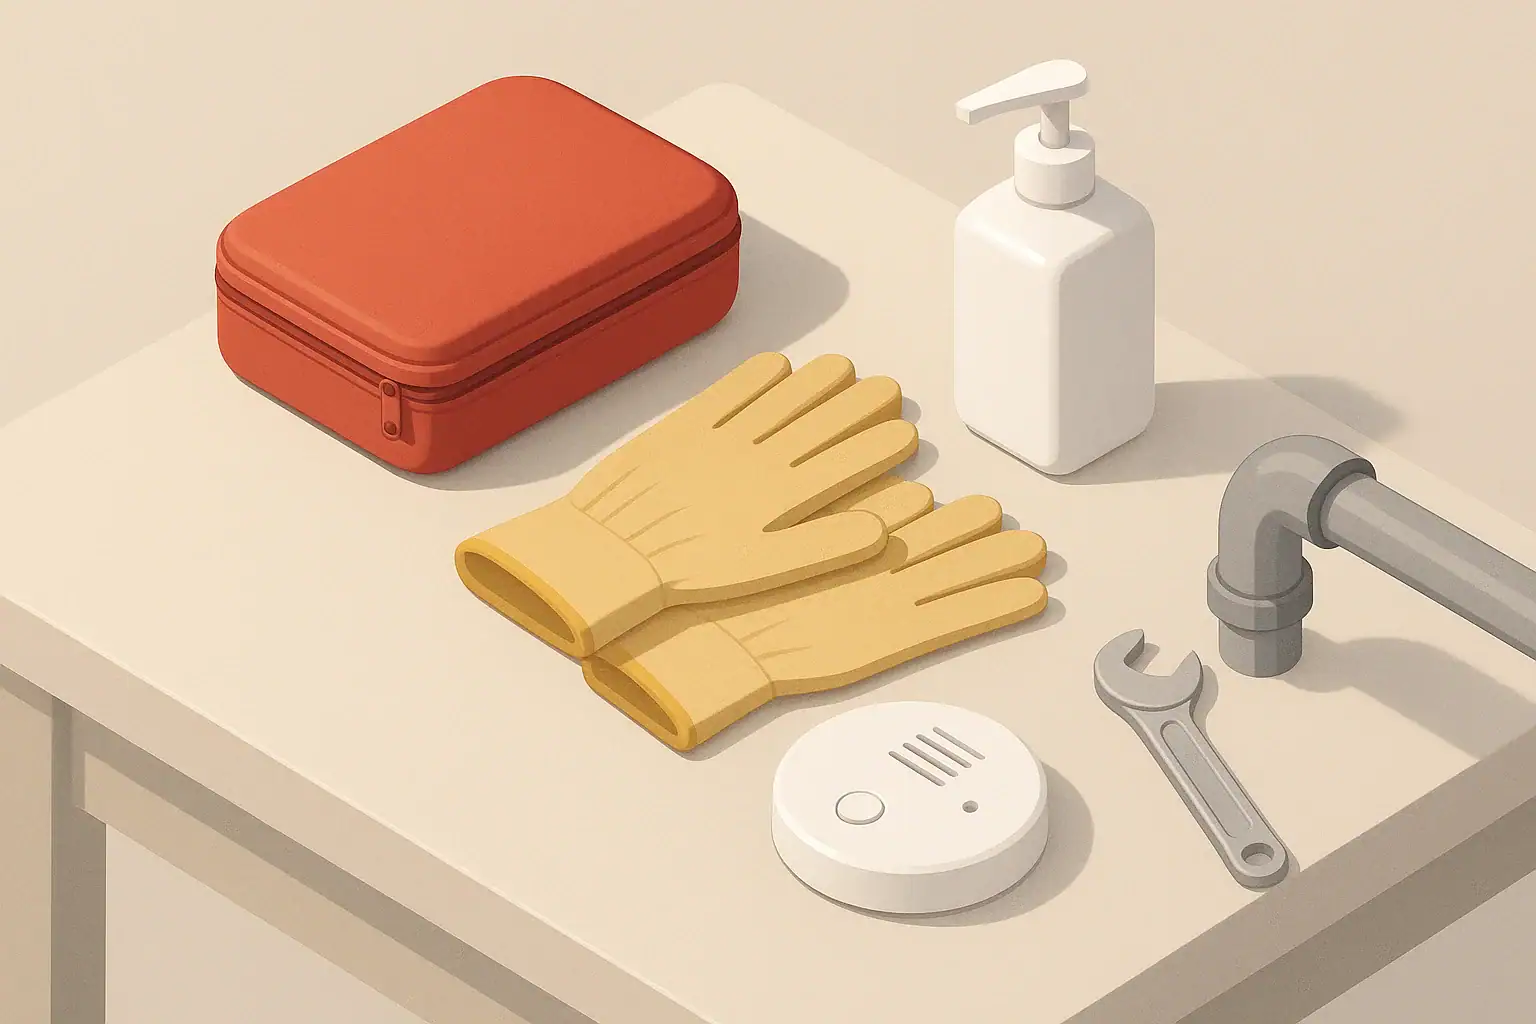
| Keep basic tools nearby | Helps grip stiff valves or box lids | Adjustable wrench and work gloves are often enough |
| Record contact information | Lets you call for help if a valve fails | Post plumber and building contacts near the valve |
| Review yearly | Catches changes after repairs or renovations | Combine with smoke/CO detector battery checks as a routine |
Example values for illustration.
Step 2: Locate Fixture-Level Shutoff Valves
Fixture-level shutoffs control water to a single appliance or fixture. Using them can avoid turning off water to the whole home, which is helpful with kids, seniors, or during cold weather when you still want running water elsewhere.
Valves You Are Likely to Have
- Toilet shutoff: Usually a small valve on the wall or floor behind or beside the toilet, with a flexible supply line going to the tank.
- Sink shutoffs: Under bathroom and kitchen sinks, typically separate hot and cold valves connected to the faucet by flexible lines.
- Washing machine shutoffs: Valves on the wall behind or above the washer, one for hot and one for cold. Some homes have a single lever that controls both.
- Dishwasher shutoff: Sometimes under the kitchen sink on a branch off the hot water line, or in a small cabinet beside the dishwasher.
- Refrigerator with ice maker: Often a small valve behind the fridge, in the basement ceiling below, or in an adjacent cabinet.
- Outdoor hose bib shutoffs: In colder climates, an indoor shutoff valve for each outdoor spigot, often in the basement or inside wall.
How to Map Your Home’s Water Zones
Create a simple map so everyone understands which valves control which areas:
- Walk room by room with a notepad or phone.
- For each sink, toilet, and water-using appliance, find the local shutoff.
- Write down the room name and what the valve controls (for example, “Hall bath sink hot”).
- Note any fixtures that do not seem to have local shutoffs; these may rely on a nearby branch valve or the main.
For multi-story homes, it can be helpful to note which floor each valve serves. This is useful if a leak shows up on a ceiling and you are tracing it back to a fixture above.
Step 3: Label Your Valves So Anyone Can Use Them
Clear labels are just as important as finding the valves. In a stressful moment, a quick glance should tell someone what to do without guessing which handle is which.
Simple Labeling Ideas
You do not need anything complicated or permanent to be effective. Consider:
- Tags or tape: Use durable tags or colored tape on the handle with a short written label.
- Plain language: Write labels that anyone can understand, such as “Main water – off when sideways,” “Kitchen sink hot,” or “Washer hot and cold.”
- Color hints: Some people use one color for hot, another for cold, and a neutral color for main or branch lines.
- Printed card: Keep a simple diagram or list near the main valve, showing the location of important shutoffs and how to turn them.
Include the Whole Household
Labeling is a good time to walk other household members through the system:
- Show older kids, teens, and adults where the main valve is and how it works.
- Point out toilet and sink shutoffs and explain when to use them.
- For seniors or people with limited strength or mobility, identify which valves are easier to operate and who they can call for help.
- If you have roommates, make sure everyone knows the basics and where instructions are posted.
Step 4: Test Valves Safely (Without Creating a New Problem)
Testing valves before you need them helps you learn how they feel and confirms they still work. Valves that never move can stiffen over time.
General Safety Tips Before You Turn Anything
- Tell everyone in the home you are testing water shutoffs so nobody is surprised.
- Plan to test when you are not running a dishwasher, washing machine, or shower.
- Have towels or a small bucket nearby in case a valve drips.
- If a valve looks very corroded, cracked, or leaks already, consider having a professional inspect it instead of forcing it.
How to Test a Main Water Shutoff
A basic test can be done in a few minutes:
- Open a nearby faucet slightly. This lets you see when water stops and starts.
- Turn the main valve slowly.
- For a lever (ball valve), turn it a quarter turn toward the off position.
- For a round wheel valve, turn slowly clockwise until it is snug; do not overtighten.
- Watch the running faucet. It should slow, then stop.
- Wait a brief moment. Check that the valve and surrounding pipe are not leaking.
- Turn the valve back on. Open it fully, then gently back off just a touch on a round valve to keep it from sticking at the very end of its travel.
- Run water for a bit. Let air work out of the lines. Some sputtering is common after shutting off and turning back on.
Testing Fixture-Level Valves
Testing fixture-level shutoffs is similar but more targeted:
- Turn the faucet or fixture on.
- Close the local shutoff valve until water stops.
- Check for drips around the valve and connections.
- Reopen the valve fully, then test the fixture again for normal operation.
If a fixture valve does not fully stop the water or begins to drip after testing, note it for follow-up. In a rental, report it so it can be repaired. In an owned home, you can schedule a repair before it fails during a real leak.
When and How to Use Your Water Shutoff in Real Life
Once you know your valves work, you can use them confidently during everyday issues. This is where the checklist becomes part of your practical home readiness plan.
Common Situations Where Fast Action Helps
- Overflowing or constantly running toilet: Turn the toilet’s local shutoff to stop water while you address the cause.
- Leaky sink supply line: Close the hot and/or cold shutoff under that sink before the cabinet fills with water.
- Washing machine hose leak: Close the washer shutoffs at the wall, then unplug the machine if needed.
- Ceiling drip under a bathroom or laundry: Use your map to identify likely fixtures above and shut off their local valves while you investigate.
- Pipe burst or unknown major leak: Close the main shutoff first, then look for the source after water is stopped.
Special Considerations for Different Households
How you approach shutoffs can vary by living situation:
- Families with small children: Adults and capable older kids should know the main and toilet shutoffs. Store any tools safely out of reach of young children.
- Seniors or people with limited mobility: Make sure the person who is most likely to be home can reach and operate at least the main or key fixture valves. If a valve is low to the floor or behind storage, consider rearranging to improve access.
- Apartment dwellers: Focus on unit-level shutoffs and knowing how to reach building staff if a building-wide shutoff is necessary.
- Shared housing or roommates: Keep posted instructions near the main valve so whoever discovers a leak can act quickly, even if the primary leaseholder is not home.
Integrating Water Shutoff into Your Home Readiness Plan
Water shutoff is one part of broader home preparedness for short-term disruptions. The same mindset that helps you plan for power outages and severe weather can guide how you manage plumbing issues.
Combine Valve Checks with Other Simple Routines
To keep things low-stress, pair shutoff valve checks with tasks you already do once or twice a year, such as:
- Testing smoke and carbon monoxide detectors
- Flipping or checking essential breakers
- Reviewing your contact list and emergency numbers
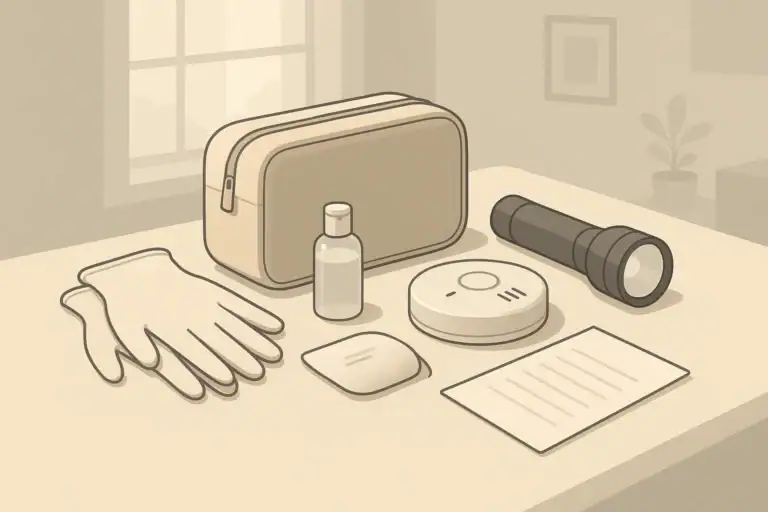
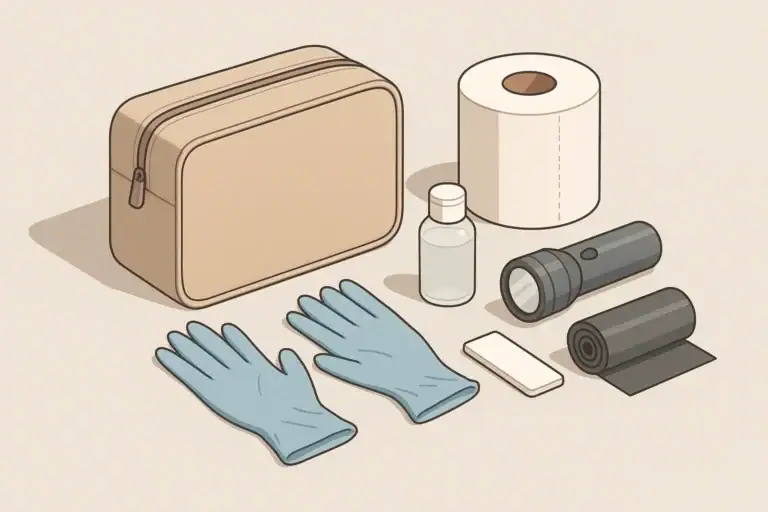
- Looking over your basic home kit (flashlight, batteries, simple tools, and important documents)
This way, you keep valves from seizing, refresh everyone’s memory, and catch small issues early instead of during a leak.
Water Shutoff, Storage, and Short-Term Disruptions
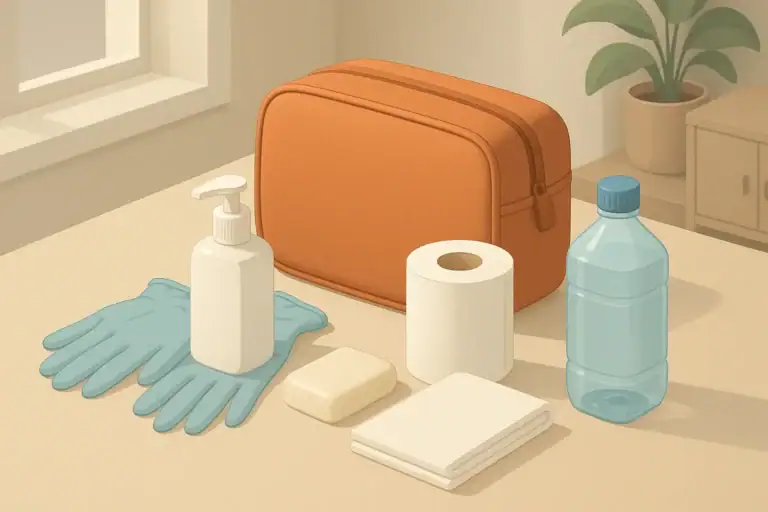
In some situations, you might shut off your main water supply on purpose, such as during a suspected contamination issue in your area (based on local guidance) or when you leave for a winter trip and want to reduce the risk of unnoticed leaks. In these cases, it helps to have a small buffer of safe water stored for essentials like drinking, basic cooking, and hygiene.
The amount and type of storage that makes sense will vary by home size, available space, and the number of people and pets. The table below gives example planning ideas you can adapt.
| People and pets | Days to plan for | Storage approach | Rotation cue |
|---|---|---|---|
| 1 adult in small apartment | 2–3 days | Several filled reusable containers stored in a closet | Refresh when you change smoke detector batteries |
| 2 adults in condo | 3 days | Mix of jugs and smaller bottles for easy carrying | Rotate every season when you adjust clothing storage |
| Family of 4 in a house | 3–5 days | Stackable containers in a cool interior closet or basement | Review at start of school year and mid-winter |
| Family with infant | 3 days | Extra clean water and separate containers for formula prep | Align with pediatric checkup schedule |
| Household with large dog | 3 days | Dedicated container labeled for pet water only | Refresh when buying pet food in bulk |
| Multigenerational home | 3–5 days | Combination of small, easy-to-lift containers on each floor | Check during family gatherings a couple of times a year |
Example values for illustration.
Quick Recap: A Calm, Practical Water Shutoff Routine
A water shutoff valve checklist is a simple, realistic way to protect your home from everyday plumbing problems. By finding, labeling, and testing your valves ahead of time, you give yourself and everyone in your household clear, low-stress steps to follow when a leak happens.
If you discover stuck, corroded, or missing valves while working through this checklist, note them and plan to address them during regular maintenance or with help from a qualified professional. Over time, this steady, practical approach turns your water system from a mystery into something you understand well enough to manage calmly when it matters.
Frequently asked questions
How often should I test my main water shutoff valve?
Test the main shutoff at least once a year, ideally when you perform other home checks like smoke detector tests. Homes with older plumbing, valves that rarely move, or recent repairs may benefit from testing every six months. Also test any time you notice reduced pressure, leaks, or after renovations that affect plumbing.
What are common signs that a shutoff valve is failing or corroded?
Signs include a valve that is hard to turn or stuck, visible rust or corrosion, water dripping when the valve is closed, and wetness around joints or packing nuts. If you see these signs, avoid forcing the valve and schedule a professional inspection or repair. In rentals, report deteriorated valves to the property manager promptly.
Can I shut off water to just one floor or zone in my house?
If your home has branch or zone valves you can isolate specific areas or floors; many homes also rely on fixture-level shutoffs under sinks and behind toilets to limit water to a single appliance. Not every house has floor-specific valves, so map your system ahead of time to know what you can isolate. If you cannot find a branch valve for a zone, use local fixture shutoffs or the main as needed.
What tools should I keep near shutoff valves for emergencies and testing?
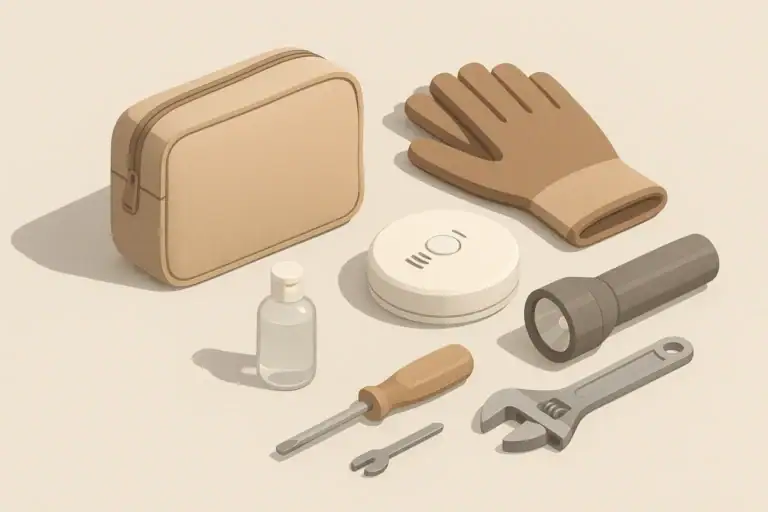
Keep a flashlight, adjustable wrench, valve key (for curb boxes), work gloves, towels or a small bucket, and a screwdriver nearby. These items help you access boxes, turn stiff valves, and manage small drips during testing or an emergency. Store basic contact information for a plumber or building maintenance near the valve as well.
What should I do before shutting off my main water for winterizing or travel?
Before shutting off the main, turn off and drain the water heater according to manufacturer guidance, open faucets to drain the lines, and flush toilets so tanks empty. Insulate or winterize external spigots and consider leaving a small buffer of potable water for essentials. Follow local guidance for winterizing and consult a professional if you are unsure about draining plumbing safely.
- Simple checklists and realistic planning
- Water, power, lighting, and pantry basics
- Family plans (kids, pets, seniors) and seasonal prep
Mold Prevention After Water Damage: First 24–48 Hours Checklist
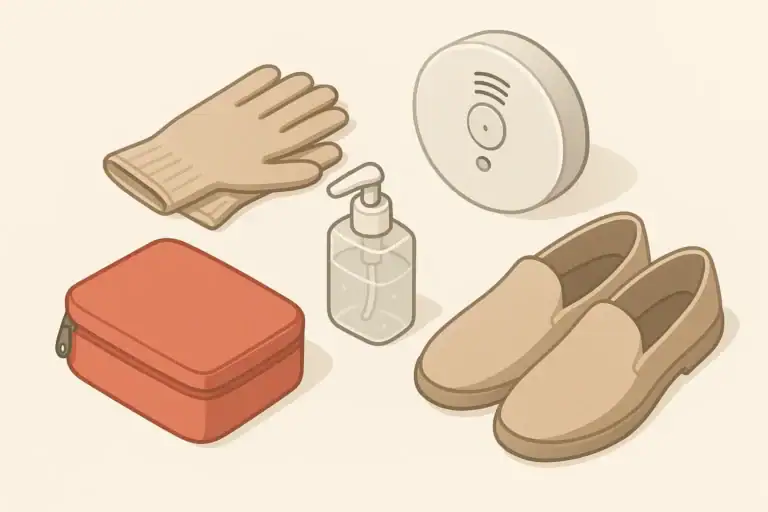
Broken Glass Cleanup Kit: Gloves, Shoes, Bags, and First Steps
Temporary Window Covering After Storm Damage: Safe Short-Term Options
Emergency Toilet Setup: Bags, Buckets, Absorbents, and Hygiene
Utility Shutoff Labels: Gas, Water, and Electric Basics for Homeowners
Emergency Handwashing Station: How to Set One Up at Home