Why Lighting Strategy Matters During Power Outages
When the power goes out, light is about more than convenience. A simple plan for how you will light different parts of your home helps you:
- Prevent trips and falls in the dark
- Avoid unsafe candles or improvising with risky light sources
- Stretch limited batteries or backup power for as long as possible
- Keep kids, older adults, and pets calm and oriented
- Quickly locate essential items and move between rooms
Zoning your home lighting means deciding ahead of time which spaces must stay lit, which can stay dim, and where you can go without light for a while. This approach works in apartments, houses, and small shared spaces.
Basics of Safe Emergency Lighting
Before you divide your home into lighting zones, it helps to understand the main types of safe emergency lighting and how they behave during outages.
Safer alternatives to open flames
Open-flame candles and fuel lanterns raise fire and indoor air quality concerns, especially in small or crowded spaces. Battery-powered options are usually safer and more practical for everyday outages:
- LED flashlights for moving between rooms and outdoor checks
- LED lanterns for general room lighting
- Headlamps for hands-free tasks like cooking or first aid
- Small plug-in emergency lights that turn on automatically when power fails (if you already use them)
LED devices use relatively little power and are widely available in many formats. For longer outages, they are easier to keep running than devices that need constant fuel or high-wattage power.
Battery and backup power basics for lighting
Most home lighting during outages will rely on:
- Disposable batteries (commonly AA, AAA, or larger sizes)
- Rechargeable batteries in specific lights or power banks
- Small power stations or backup systems that can run low-wattage lamps
To plan lighting zones, think about:
- Runtime: how many hours your devices can run on one set of batteries or one charge, based on typical use
- Recharge options: wall charging when power returns, car charging, simple solar panels, or power banks
- Brightness levels: dim settings can often triple or quadruple runtime compared with maximum brightness
With a bit of planning, you can reserve your most efficient lights for the areas that must stay safe and navigable and use brighter options only when necessary.
| Home area | Main lighting type | Why it fits | Planning note |
|---|---|---|---|
| Hallways & stairs | Small LED night-light or lantern | Prevents trips and falls while walking | Keep on lowest useful setting overnight |
| Bathroom | Compact lantern or motion light | Safe navigation without harsh brightness | Place where it will not be knocked over |
| Kitchen | Lantern plus headlamp | Hands-free food prep and dishwashing | Store headlamp with basic cooking tools |
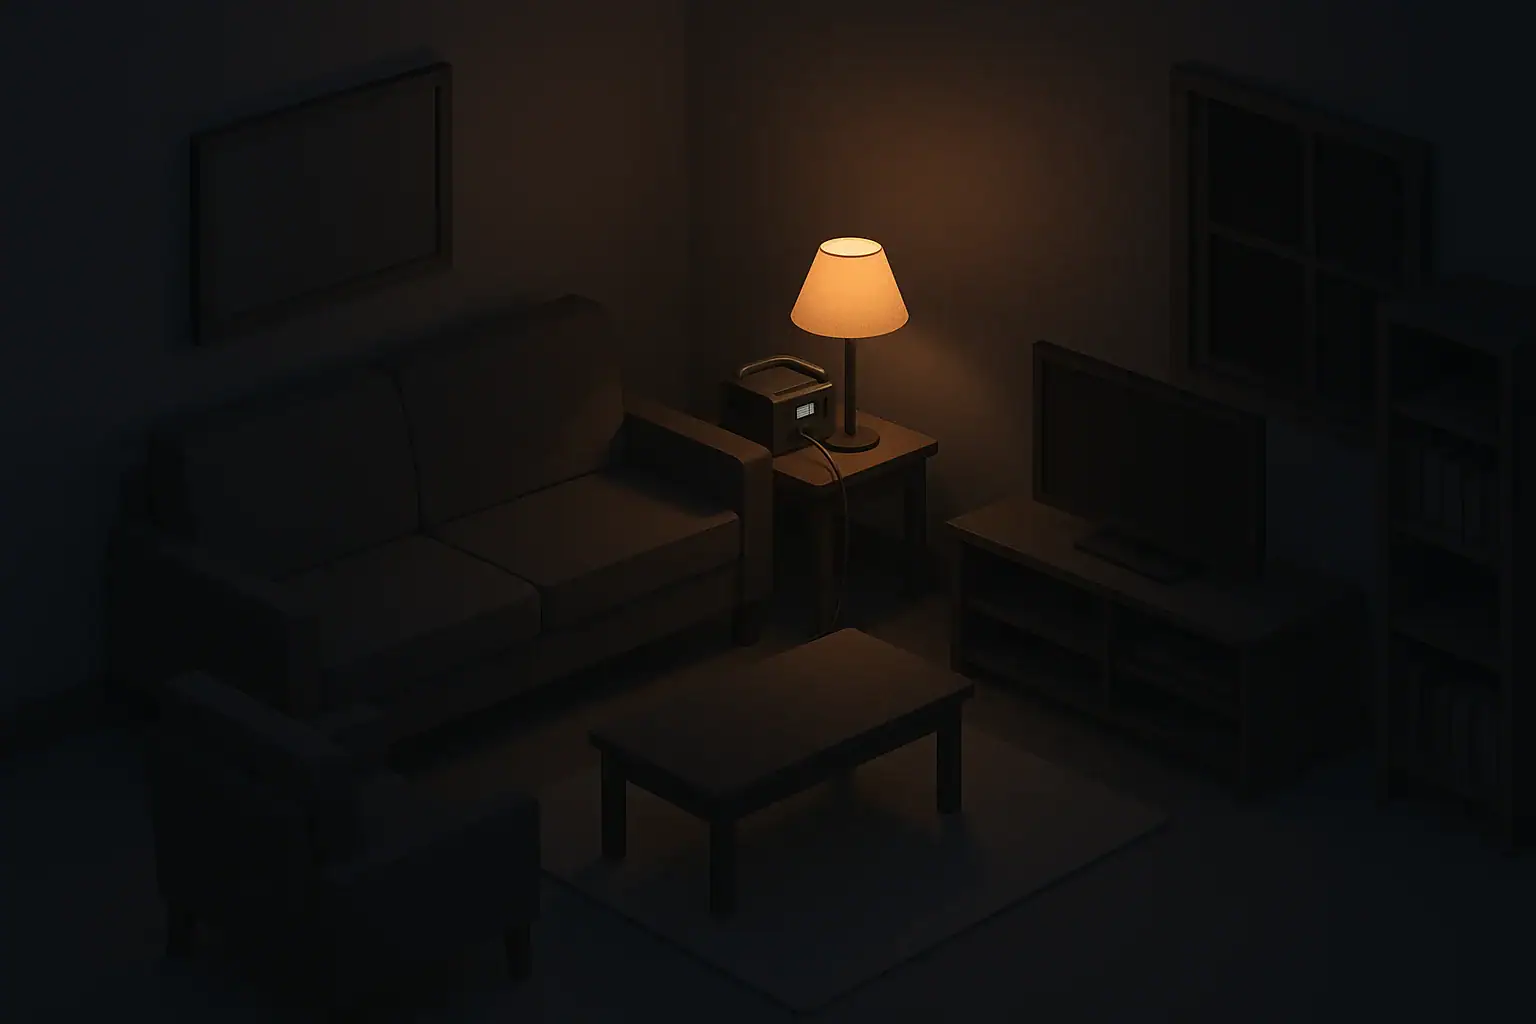
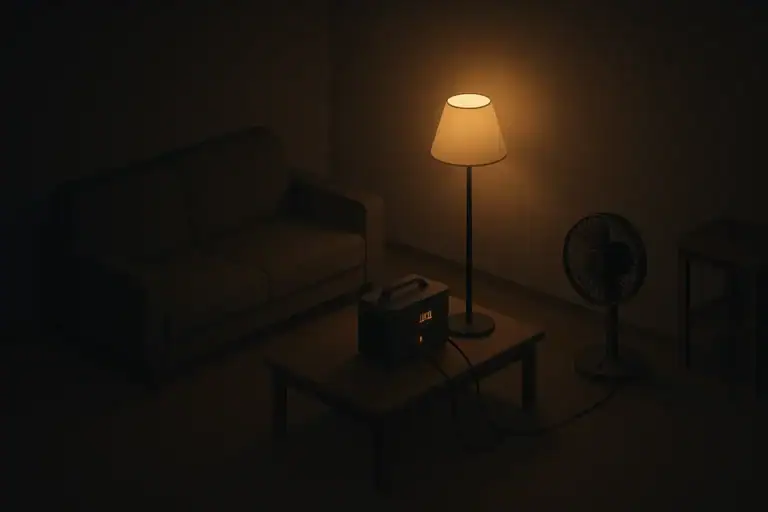
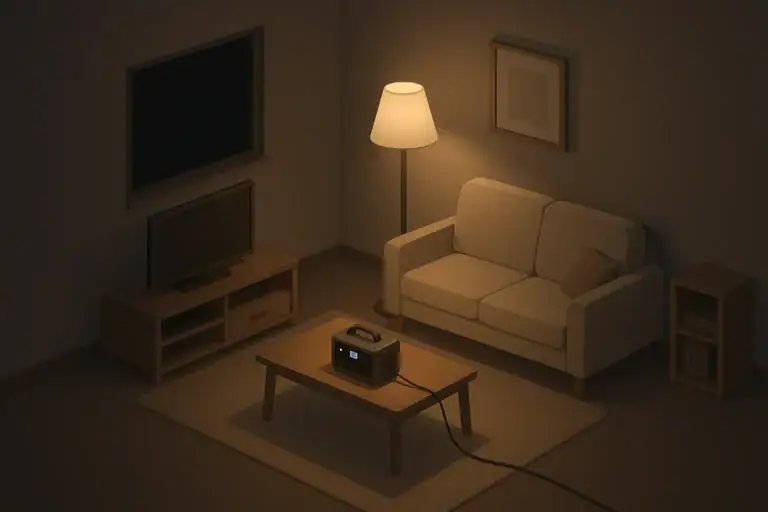
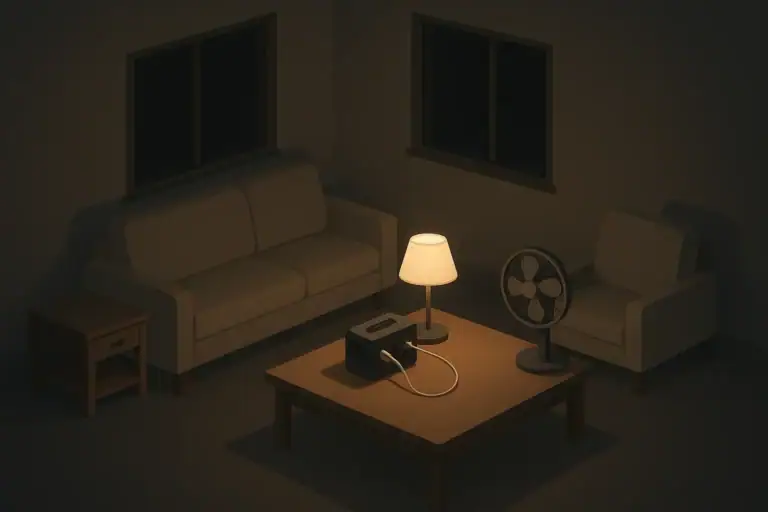
| Living room | Lantern or low-watt lamp on backup power | Comfort and shared family space | Limit to one main light to save power |
| Bedrooms | Individual flashlights | Personal control and quick access at night | Keep within arm’s reach of the bed |
| Entryway | Wall-mounted or shelf lantern | Safe entry/exit in low light | Use only when people are coming and going |
| Outdoor steps or balcony | Portable lantern | Helps avoid missteps after dark | Bring inside when not in use to protect batteries |
Example values for illustration.
How to Zone Your Home for Outage Lighting
Zoning is simply assigning each space in your home a role during an outage and matching it with an appropriate lighting level and tool. This makes it easier to react calmly when the lights go off.
Step 1: Identify critical safety paths
Start by mapping how people move through your home in the dark. Focus on routes that people will use even half-awake or during the night:
- Bedroom to bathroom
- Bedroom to children’s room or nursery
- Bedroom to front door or main exit
- Stairs between levels
These are your primary safety paths. They should have:
- At least one steady, low-level light source
- No extension cords across walking areas
- Clutter kept clear to reduce tripping hazards
If you live in a small apartment, your entire space may function as a single safety zone. You can still choose one or two key locations for lights, such as the entry and the area between bed and bathroom.
Step 2: Designate essential activity zones
Next, choose where you will do the core activities that still need to happen during an outage, such as:
- Preparing simple food and snacks
- Using the bathroom and basic hygiene tasks
- Checking phones or radios for updates
- Administering medications or basic first aid
These essential activity zones typically include the kitchen, at least one bathroom, and one common room. Plan for brighter or more focused light there, such as:
- A lantern on the kitchen counter
- A headlamp stored with cooking utensils
- A small table lamp connected to backup power in the living area
- A compact light in the main bathroom
By concentrating brighter light in a few areas instead of all rooms, you preserve batteries and backup power.
Step 3: Create comfort and calm zones
After safety and essential tasks, consider comfort. Calm, predictable lighting can help children, older adults, and pets settle more easily during a blackout.
Comfort zones might include:
- The living room where everyone gathers
- Children’s bedrooms
- A space where a senior family member feels most stable
In these zones, aim for soft, indirect light rather than bright overhead-style lighting. This can be as simple as:
- A lantern placed against a wall to reflect light
- A flashlight aimed at the ceiling for a gentle glow
- A dim setting on a backup-powered lamp
Having a consistent light source in these areas can make the outage feel more manageable, especially for those who are sensitive to changes in routine.
Step 4: List low-priority or dark zones
Finally, identify spaces that can stay dark most of the time during an outage, such as:
- Closets
- Guest rooms
- Unused storage areas
- Garages or sheds (except for quick visits)
Knowing in advance where you will not spend much lighting energy helps you make clearer choices in the moment. You can carry a flashlight into these areas briefly as needed instead of keeping a light running there.
Room-by-Room Lighting Planning
With your zones in mind, walk through each main room and decide which light source makes sense. Consider the needs of everyone in the household, including kids, older adults, and pets.
Entryway and exits
Even in small homes, the entryway is important for safety and communication with the outside.
- Place a lantern or compact light on a shelf or hook near the door.
- Avoid placing lights where pets can knock them over.
- Store shoes and outerwear neatly so you can move quickly without tripping.
If you live in an apartment building, know how much light comes from hallway emergency lighting, if any, and plan accordingly.
Kitchen and food prep area
The kitchen is often the busiest room during an outage. Plan for layered lighting:
- Area light: A lantern on a central counter to illuminate the room.
- Task light: A headlamp or focused flashlight for cooking and dishwashing.
- Storage light: A small light near the pantry or cabinet where your outage-friendly foods are kept.
Choose simple, no-cook or low-cook foods that are easy to prepare with limited light and water. Keep sharp knives and other hazards stored in predictable places so you are not feeling around blindly.
Living room or main gathering space
This is often your primary comfort zone.
- Use one central light source to conserve power instead of several scattered lights.
- If you have a small backup power source, it can run a single efficient lamp for evening hours.
- Store board games, books, or quiet activities nearby to make the space feel normal.
Keep trip hazards like loose cables to a minimum, especially if multiple people will be sharing the space.
Bedrooms and night-time navigation
Sleeping areas need enough light for safe movement without disturbing rest.
- Place a small flashlight or clip-on light within easy reach of each bed.
- For children, consider a soft, dim light that can stay on all night if battery life allows.
- Mark pathways to the bathroom with one or two low-level lights in the hall.
In shared rooms or small apartments, one central soft light may be enough. In multi-level homes, give extra attention to stairs and landings.
Bathrooms
Bathrooms see frequent use during outages, often in the middle of the night.
- Use a stable light source that will not be knocked into water.
- Store a backup light in a drawer or cabinet in case the main bathroom light fails.
- Keep necessary hygiene items within easy reach to avoid searching in dim light.
If the bathroom has no windows, it may be one of the darkest rooms in the home during the day. A dedicated small light here can be well worth the batteries.
Adapting Lighting Zones for Different Households
Lighting needs vary based on who lives in the home and what the space looks like. A zoning plan should reflect real routines, not an idealized floor plan.
Apartments and small spaces
In a studio or one-bedroom apartment, your entire home may be essentially one large zone. You can still organize lighting by function instead of by room:
- One central lantern for general room light
- A headlamp or small flashlight at your main seating or work area
- One low-level light for the path to the bathroom
- Personal flashlights for each person, even if they share a room
Space is limited, so choose compact lighting devices and store them in predictable locations, such as a single drawer or small bin.
Families with children
For kids, especially younger ones, darkness and sudden changes can be unsettling. Your lighting plan can support routines they already know.
- Use night-light–level brightness in children’s rooms and hallways.
- Keep one spare light in a known place that older children can reach.
- Discuss in advance what happens if the power goes out so the lighting changes are not a surprise.
Simple games or stories can help children practice using a flashlight safely without shining it in others’ eyes or wasting batteries.
Older adults and mobility considerations
For seniors or anyone with mobility or vision challenges, lighting can significantly affect safety.
- Prioritize steady, glare-free light on stairs, near walkers, and in bathrooms.
- Avoid deep shadows that can make obstacles harder to see.
- Place lights at a height where they are easy to reach without bending or climbing.
Consider the route used for medications and water at night and ensure that path has the most reliable lighting in the home.
Pets and shared spaces
Pets may be unsettled by unusual shadows or flashlight beams moving around the room.
- Keep food and water bowls in consistent locations so pets can find them in low light.
- Avoid trailing cords or loose lights where pets might chew or pull them down.
- Provide a calm, dimly lit area where pets can rest away from foot traffic.
In shared homes or roommate situations, agree on who manages shared lighting and where common devices are stored so they are easy for everyone to locate.
Staging and Storing Your Lighting Gear
A lighting strategy is most useful when your gear is easy to find in the dark. Staging means placing lights and batteries where you will naturally look for them.
Create a small, visible lighting hub
Choose one central spot in your home for key lighting items, such as:
- Near the front door
- Next to the main breaker panel
- On a shelf in the living room
In this hub, store:
- At least one lantern or large flashlight
- Spare batteries in their original packaging or a covered case
- A small note or checklist of where other lights are located
Make sure everyone in the household knows this location and can reach it easily.
Bedside and pocket lights
Place at least one light per person at or near their usual sleeping spot.
- Keep flashlights or headlamps in the same spot every night, such as on a nightstand.
- For kids, attach a light to the bed frame or headboard if possible.
- Check periodically that batteries are fresh enough to provide useful light.
During storm seasons or heatwaves, consider placing a small light in your everyday bag or coat pocket for use if the power goes out while you are away from home.
Battery management and rotation
Batteries do not last forever, even when not in use. A simple rotation habit can help ensure your lighting will work when needed.
- Store batteries in a cool, dry place away from direct heat.
- Keep different sizes in separate containers to avoid confusion in the dark.
- Use older batteries in everyday devices first and put newer ones into your outage kit.
If you use rechargeable batteries or power banks, include their charging in your occasional household routines, such as at the start of each season.
| Lighting type | Typical battery type | Pros and cons (general) | Basic storage tip |
|---|---|---|---|
| Handheld flashlight | AA or AAA | Easy to share batteries across devices; may drain faster on highest mode | Store with batteries removed if rarely used |
| Compact lantern | AA, AAA, or built-in rechargeable | Good area light; built-in cells require periodic charging | Keep near main gathering area, charge seasonally |
| Headlamp | AA, AAA, or small rechargeable | Hands-free; small cells may have shorter runtime on high | Store with strap loosened to protect elasticity |
| Plug-in lamp on backup power | Backup battery or power station | Comfortable room light; draws from limited power supply | Reserve for evening hours to stretch runtime |
| Motion-activated night-light | Rechargeable or small cells | Convenient for hallways; may switch on more than needed | Position away from moving curtains or pets |
| Outdoor lantern | AA, AAA, or larger cells | Useful for steps and entryways; may be exposed to weather | Bring indoors when not in use to protect batteries |
Example values for illustration.
Practice and Seasonal Checkups
A bit of practice makes a lighting strategy most effective when everyone in the home is familiar with it. A bit of practice removes guesswork during an actual outage.
Short practice runs
You can test your plan in a low-stress way:
- Choose a calm evening and intentionally turn off main lights for 10–15 minutes.
- Use only your planned emergency lights to move around.
- Notice any dark spots, trip hazards, or confusing layouts.
Adjust light placements, brightness levels, and storage locations based on what you learn.
Seasonal and regional adjustments
Different weather and regional risks may change how long outages last or when they are most likely.
- Winter storms: Darkness comes earlier, so plan for longer evening use and prioritize warm, central rooms.
- Summer heatwaves: Focus on safe movement to cooler rooms and staying hydrated; minimize heat-producing lights.
- Hurricane or wind events: Prepare extra batteries before forecast storms and keep hallway and exit lighting ready for potential evacuations.
- Wildfire smoke impacts: If windows stay closed and shades drawn, interior spaces may be dim even by day, so plan for daytime lighting in key rooms.
A quick review at the start of each season can help you adjust your lighting zones to daylight hours, typical weather, and any changes in your household.
Keeping the plan simple
An effective lighting strategy for outages does not need to be complex or expensive. A few well-placed lights, some spare batteries, and a shared understanding of where to go and what to use can make short-term blackouts safer and more comfortable for everyone in the home.
Frequently asked questions
Which rooms should I keep lit first during a short outage?
Prioritize primary safety paths (bedroom-to-bathroom, stairs, and main exits) first, then essential activity zones like the kitchen and one bathroom. After those, light a comfort area where the household can gather; leave closets and unused rooms dark. This approach saves batteries while keeping movement safe.
What types of battery lights give the best runtime for general room lighting?
Low-power LED lanterns and lights on dim settings provide the best runtime per battery because LEDs are energy-efficient. Headlamps and focused flashlights use less power when you only need task lighting. Built-in rechargeable lanterns can be efficient if you remember to charge them seasonally.
How should I store and rotate batteries so they work when needed?
Store batteries in a cool, dry place and keep different sizes separated to avoid confusion in the dark. Use older batteries in everyday devices first and move fresher ones into your outage kit; for long storage, consider removing batteries from seldom-used devices. Check and replace batteries at least seasonally or before forecasted storm seasons.
Are motion-activated night-lights reliable for stair and hallway safety?
Motion-activated lights can be helpful in hallways and stairs, but they sometimes trigger unnecessarily or fail in cold conditions. For critical safety paths, pair motion lights with at least one steady, low-level light so there is always a predictable source. Test placements to ensure sensors are not blocked by doors, pets, or curtains.
How often should I practice my home’s lighting plan and what should I check?
Do short practice runs every few months and a seasonal review at minimum. During practice, test each light, check battery levels, verify storage locations, and look for trip hazards or dark spots that need adjustment. Update your plan when household routines or room layouts change.
Recommended next:
- Blackout Plan (Apartment / House): Step-by-Step Checklist for the First 24 Hours
- Blackout Plan for Apartments: What to Do When the Power Goes Out
- Blackout Plan for Houses: What to Do When the Power Goes Out
- Backup Power Basics: Watts vs Watt-Hours and Why It Matters
- How to Estimate Runtime for Your Devices (Without Guessing)
- Load Priorities: What to Power First in an Outage
- More in Blackouts & Backup Power →
- Simple checklists and realistic planning
- Water, power, lighting, and pantry basics
- Family plans (kids, pets, seniors) and seasonal prep
Backup Power Costs Explained: One-Time Gear vs Ongoing Fuel and Batteries
Backup Power Maintenance: Monthly Checks and Seasonal Prep
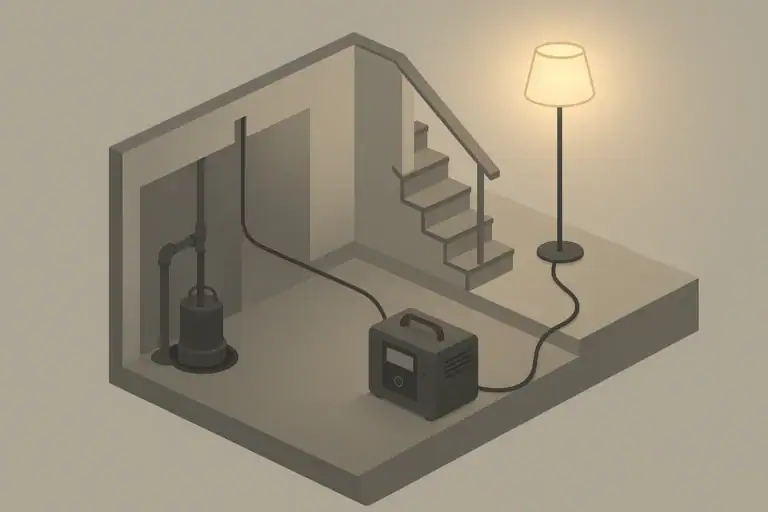
Sump Pump Backup Options: Planning for Basement Flood Risk
Water and Power: What Stops Working in Most Homes During Outages
Can You Run a Microwave, Kettle, or Space Heater on Backup Power? Reality Check
How to Reduce Power Use: Small Changes That Extend Runtime