Why a Home First Aid Kit Matters for Everyday Readiness
A home first aid kit is a basic tool for dealing with minor injuries and discomforts, especially when it is not convenient to leave home or during short disruptions like storms, power outages, or transportation delays. Instead of being a specialized medical setup, think of it as a well-organized box of everyday supplies you are likely to reach for sooner or later. Having a kit ready at home supports calm, practical responses to small problems such as minor cuts, scrapes, bruises, or simple aches. When a child falls, a guest gets a small cut, or a family member has a mild headache, you will know exactly where to find what you need without searching through bathroom cabinets. For many households in apartments or small homes, space is limited. The goal is not to stock a large cabinet but to maintain a thoughtful, compact kit that fits your space and your family’s routines. A basic kit can also help during common short-term emergencies, such as a power outage in winter or a summer heatwave, when stores may close early or be difficult to reach.Core Items to Include in a Home First Aid Kit
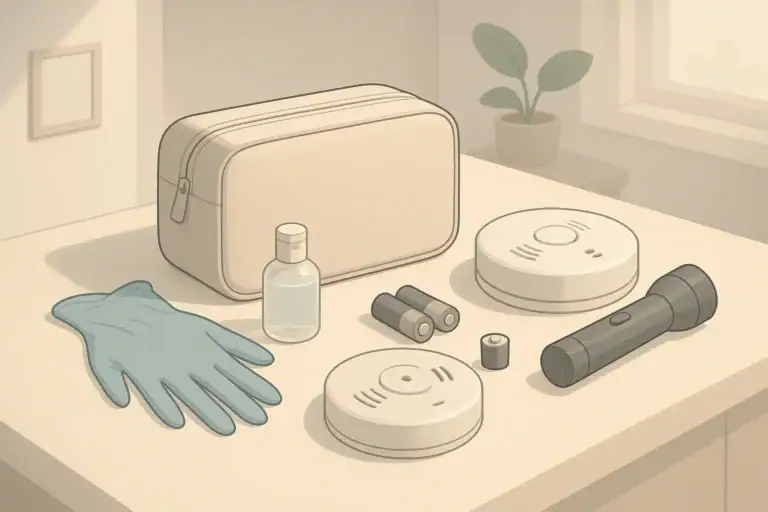
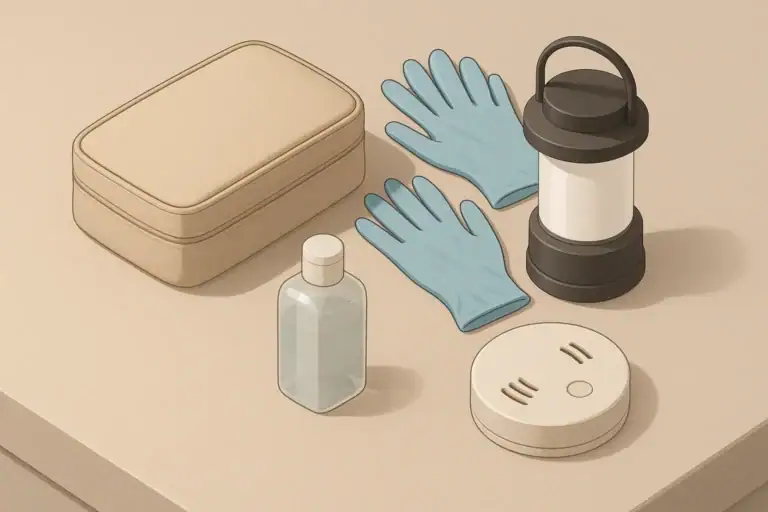
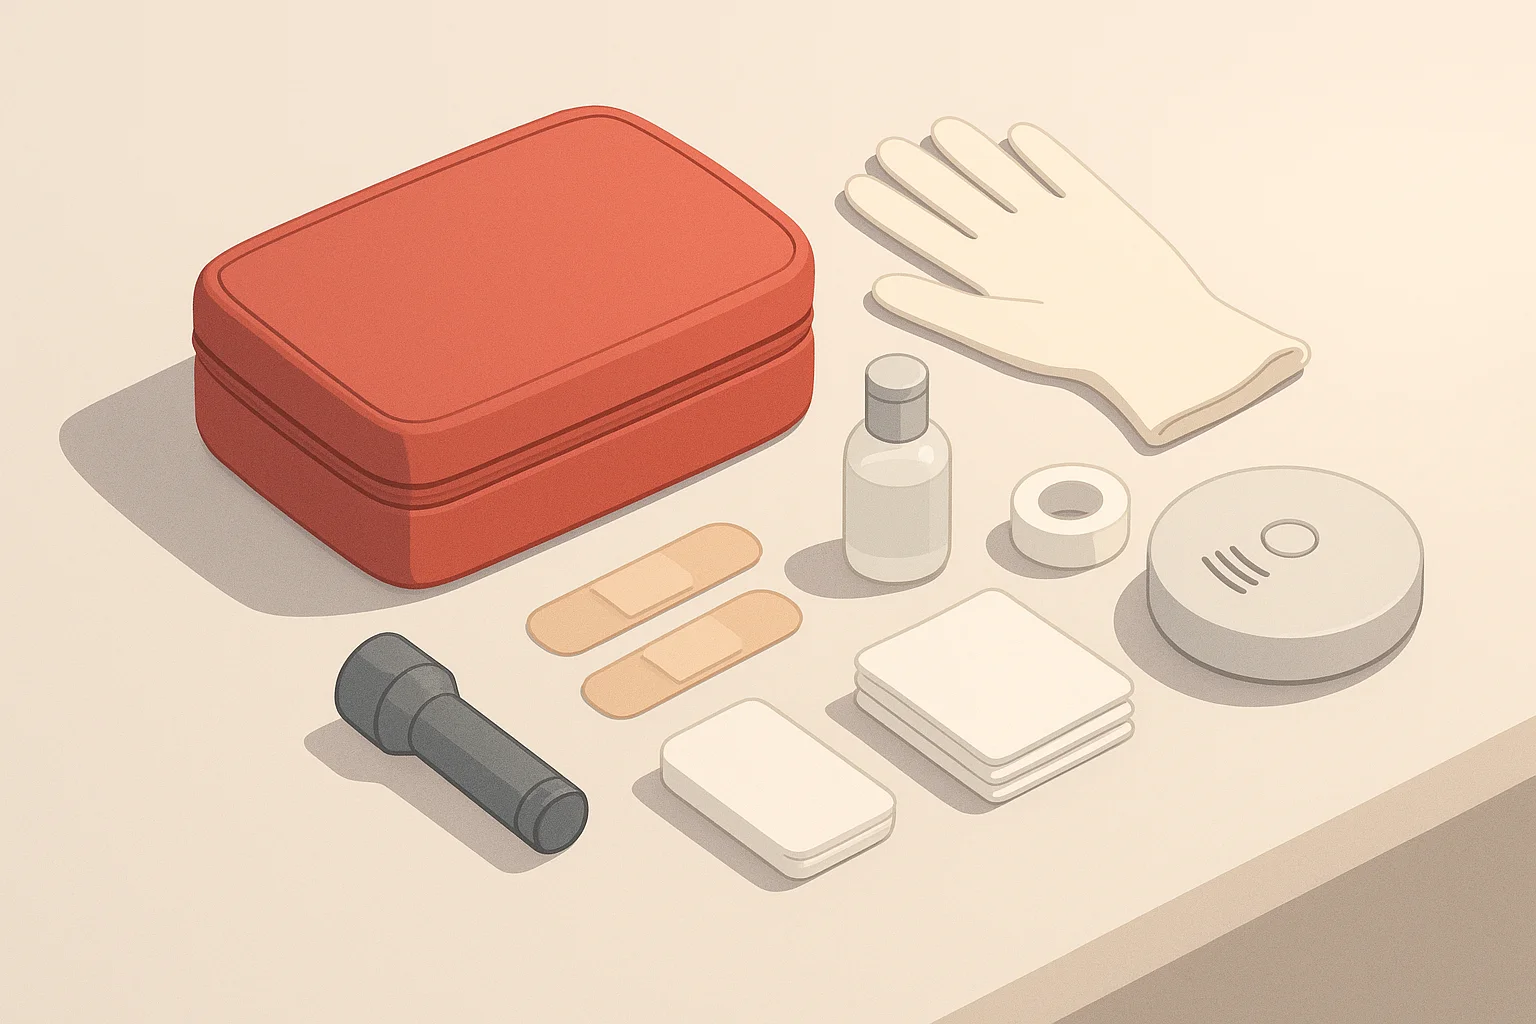
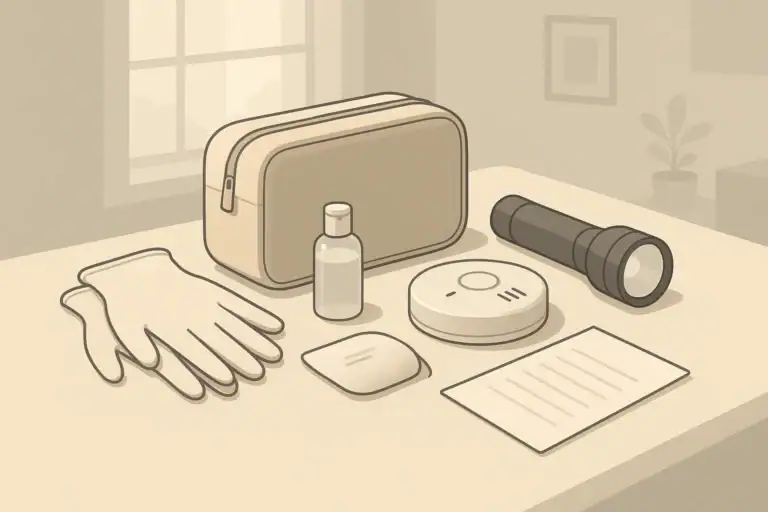
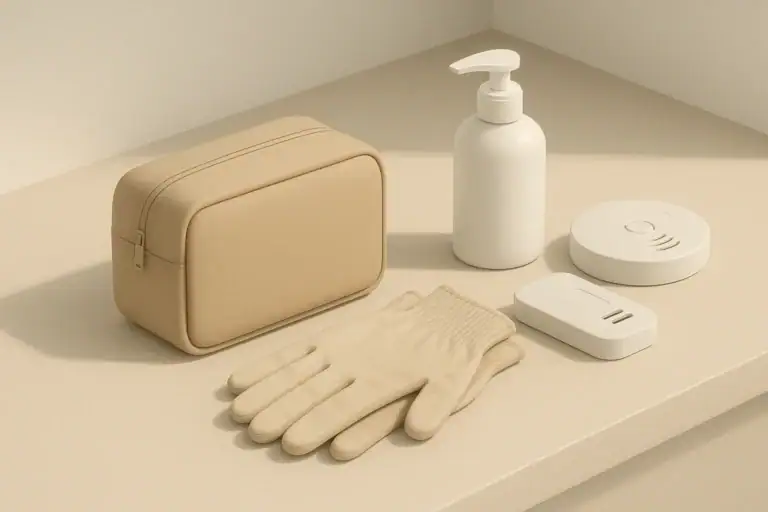
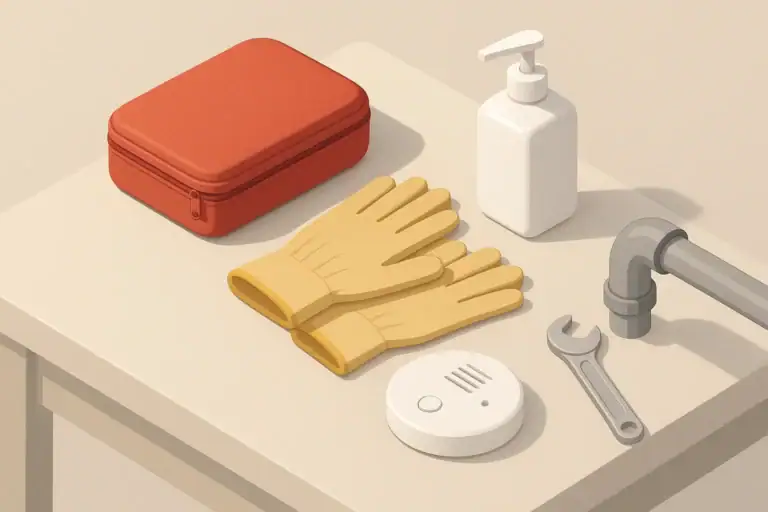
Your home first aid kit does not need to be complicated. Start with a simple container and then add a core set of items, adjusting for your household’s age range, activities, and climate. Use this as a general-purpose list and tailor from there.Basic Wound Care Supplies
These items help you cover and protect small cuts, scrapes, or blisters from dirt and friction.- Adhesive bandages in several sizes
- Sterile gauze pads and rolled gauze
- Adhesive tape for securing gauze or dressings
- Non-stick pads for shallow wounds or sensitive skin
- Antiseptic wipes or solution for gently cleaning skin around minor wounds
- Cotton balls or cotton-tipped swabs for applying solutions
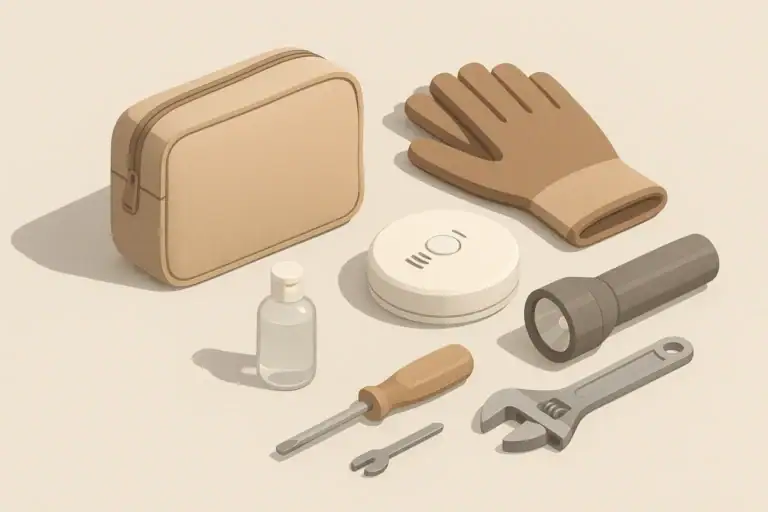
Tools for Safe Handling
Simple tools make it easier to handle small clean-up tasks without using your bare hands or improvised items.- Disposable gloves in appropriate sizes for household members
- Small scissors with blunt tips for cutting tape and gauze
- Tweezers for removing small debris like splinters from unbroken surrounding skin
- Digital thermometer for checking body temperature when needed
- Small flashlight or headlamp with spare batteries, helpful during nighttime or power outages
Everyday Comfort and Support Items
These items can help support comfort in simple, everyday situations. Follow label directions and be aware of age restrictions, ingredients, and potential sensitivities.- Over-the-counter pain reliever options suitable for adults in your home
- Over-the-counter options suitable for children in your home, stored and dosed according to age and weight guidance on labels
- Oral rehydration packets or electrolyte drink mix for use as directed on the label
- Antacid tablets for occasional mild digestive discomfort as directed on the package
- Saline solution and sterile eye wash for gentle eye rinsing when labels allow
- Elastic bandage wrap for light compression and support, used within comfort limits
Skin and Allergy-Related Items
Many households experience occasional rashes, insect bites, or seasonal triggers. Keeping a few focused items on hand can help support comfort.- Soothing skin cream or gel appropriate for minor irritation, such as from insect bites, following label instructions
- Petroleum jelly or similar ointment for helping protect dry or chafed skin
- Over-the-counter allergy relief products suitable for household members as indicated on labels
- Lip balm and simple unscented moisturizer, especially useful in dry or cold climates
Household-Specific Medications and Supplies
Some items are unique to your family’s needs. These should be stored in their original packaging with instructions intact.- Prescribed medications that household members may need quickly, with clear labels
- Personal medical items such as inhalers or epinephrine auto-injectors, stored where the user can access them quickly
- Backup supplies such as contact lens solution, spare glasses, or basic mobility aids like a spare cane tip
- Any special care items for infants, seniors, or household members with ongoing conditions, according to guidance from their healthcare providers
| Household factor | Priority items | Notes |
|---|---|---|
| Young children at home | Child-size bandages, child-appropriate doses | Store dosing tools and follow label instructions |
| Seniors in household | Easy-open containers, large-print notes | List of medications and emergency contacts |
| Active lifestyle or sports | Elastic wraps, blister supplies, cold packs | Include small bag for on-the-go injuries |
| Allergies or asthma | Allergy relief products, inhalers if prescribed | Keep with written usage instructions |
| Pets in home | Gauze, tape, pet-safe restraint item | Contact for veterinarian posted in kit |
| Frequent travel or commuting | Compact first aid pouch for bag or car | Restock from main home kit as used |
Choosing a Container and Organizing Your Kit
The best container for a first aid kit is the one that fits your space, stays dry, and can be opened quickly. Many common household containers work well if they are sturdy and easy to clean.Types of Containers That Work Well
Consider what makes sense for your layout and lifestyle.- Hard plastic boxes with secure lids to protect contents from dust and moisture
- Small toolboxes with compartments for organizing bandages and small items
- Soft pouches for secondary kits (for bags or cars), with clear pockets if possible
- Stackable bins if you are building a larger home safety shelf that includes first aid, lighting, and other supplies
Organizing by Category
Organization helps you find what you need under a little stress, such as during a nighttime power outage or a child’s scraped knee.- Group bandages and dressings together to grab quickly for cuts and scrapes.
- Place tools (scissors, tweezers, thermometer, flashlight) in a small inner container.
- Store medications in their original packaging in a separate section to protect labels.
- Use small resealable bags to group related items, such as travel-size skin care products.
- Add a simple card with emergency contact numbers and relevant health notes for household members.
Labeling and Access
A clearly marked kit saves time for guests, babysitters, and older children who are old enough to help. Avoid overly complicated labeling systems; a few simple steps are enough.- Label the outside of the container with “First Aid” or a simple color code if you prefer not to use words.
- Store in a consistent spot such as a hall closet, pantry shelf, or bathroom cabinet.
- Keep out of reach of young children while still being easy for adults to access quickly.
- If your home has multiple levels, consider a small kit on each floor to reduce time spent searching.
Storing Your First Aid Kit Safely at Home
Where and how you store your first aid kit affects how well supplies last and whether people can find them when needed. Aim for locations that are cool, dry, and consistent.Ideal Storage Locations
Choose a spot that fits your home layout and family routines.- Central hallway closet: easy for everyone to reach and remember.
- Kitchen or pantry shelf: convenient, as long as it is away from heat sources like stoves or ovens.
- Bathroom cabinet: workable if not overly humid; higher shelves can help keep items dry.
- Bedroom closet shelf: often a stable environment and accessible during nighttime.
Conditions to Avoid
Extreme temperatures and moisture can affect packaging and some products.- Avoid storing kits directly above stoves, heaters, or radiators.
- Do not leave the main kit in a car for long-term storage because heat and cold fluctuate widely.
- Limit storage in humid spaces like unfinished basements unless items are in tightly sealed containers.
- Keep away from direct sunlight that can warm and fade packages.
Separate Home, Travel, and Vehicle Kits
Consider using a layered approach so your main kit stays at home, while smaller kits travel with you.- Home kit: your main, most complete kit with the widest variety of supplies.
- Grab-and-go pouch: a small pouch stored near the door or in a work bag for daily commuting.
- Car kit: basic supplies that can handle minor needs while traveling; restock from your main home kit periodically.
Keeping Supplies Fresh: Expiration Dates and Rotation
A first aid kit is most useful when the contents are in good condition. Over time, adhesives can dry out, creams can separate, and medications can reach their labeled expiration dates. Setting up a simple rotation habit keeps your kit dependable without much effort.Creating a Simple Checkup Schedule
You do not need to check your kit constantly. A regular, predictable schedule is usually enough.- Pick one or two times a year (for example, early spring and early fall) to review your kit.
- Check adhesives, tapes, and bandages for dryness or damage.
- Review labels on medications and creams; follow package guidance for expiration.
- Confirm that batteries for flashlights or thermometers are not corroded and replace as needed.
- Update written information such as emergency contacts and medication lists.
Using and Replacing Items Thoughtfully
Your first aid kit is not just for rare events. Using it regularly for everyday scrapes and small issues is fine, as long as you keep track of what you use.- Return unused items to the kit as soon as you are finished with them.
- Keep a small notepad or card inside the kit to jot down items that are running low.
- When you finish a box of bandages or a tube of ointment from the kit, add it to your next shopping list.
- Use colored dots or a simple mark to highlight items that will expire within the next year.
Safe Handling of Expired or Damaged Items
Follow local guidance for disposing of expired medications and sharps, if present. For many households:- Set expired or damaged items aside in a clearly marked bag.
- Use community disposal programs if available for medications.
- Remove and safely discard any items with damaged packaging, visible mold, or moisture inside containers.
- Clean and dry the inside of the kit before restocking, especially if something has leaked.
Adapting Your Kit for Different Homes and Households
Living in a small apartment, renting a room, or sharing a home with extended family may change how much you can store and where. The same is true for living in areas with specific weather patterns, such as winter storms or hurricane seasons. Instead of aiming for a one-size-fits-all kit, adapt the basics to your situation.Small Spaces, Apartments, and Renters
If storage is extremely limited, focus on compact, high-use items and a simple layout.- Choose a flat, lidded box that can slide under a bed or on top of a closet shelf.
- Prioritize bandages, gauze, tape, basic tools, and a few versatile comfort items.
- Keep overflow items such as extra bandages or bulk packages in a separate storage spot if needed.
- If you move frequently, label the kit clearly and keep it near items you always unpack first.
Families with Children
Children change how and how often you use your kit.- Include fun-but-neutral bandages or smaller sizes that fit children’s fingers and knees.
- Store child-appropriate medications separately from adult options to avoid mix-ups.
- Consider adding small comfort items like a soft cloth or simple reusable cold pack that can be wrapped safely.
- Teach older children where the kit is and what they can and cannot access, based on age and guidance from caregivers.
Seniors and Mobility Considerations
For seniors, ease of access can be as important as what is in the kit.- Choose a container that opens easily without a strong grip.
- Use large, legible labels for sections inside the kit.
- Place the kit at waist or chest height to limit bending or reaching.
- Keep a current list of medications and healthcare contacts inside the kit and share location details with trusted family or neighbors.
Pets in the Home
Pets can add a few more considerations to your kit.- Keep your veterinarian’s number on the kit’s contact card.
- Store pet-safe items separately from human medications.
- Include an extra leash, small towel, and basic cleaning supplies nearby.
- Follow your veterinarian’s guidance before adding any pet-specific medications.
Using Your First Aid Kit During Short-Term DisruptIONS
A well-prepared first aid kit becomes especially helpful during short-term disruptions when stores or clinics are harder to reach. These might include winter storms, heatwaves, heavy smoke from distant fires, or minor flooding that affects roads. Your goal is not to handle serious conditions at home, but to stay reasonably comfortable and prepared for small issues.Power Outages and Winter Storms
During storms and outages, combine your first aid kit with other home readiness basics.- Keep your kit near safe lighting such as battery-powered lanterns or flashlights.
- Store extra warm layers and blankets close by to reduce the risk of getting too cold.
- Check that your thermometer, flashlight, and any battery-powered medical devices have fresh batteries before major weather events when possible.
- Use your scheduled kit checkups to also review your lighting and basic power backups.
Heatwaves and Poor Air Quality Days
Hot weather and poor outdoor air quality can make minor discomforts more noticeable.- Keep oral rehydration or electrolyte packets in a cool, dry section of your kit.
- Store simple skin care items like moisturizer or gentle wipes to help with dryness or sweat-related irritation.
- If anyone in the home is sensitive to heat or air quality changes, include any recommended personal items near the first aid kit for easy access.
- Pair your kit with a plan for staying in the coolest, cleanest-air room in your home during extreme days.
Short-Term Shelter-in-Place Situations
Sometimes local guidance may recommend staying indoors for a period, such as during a brief chemical spill response nearby or heavy smoke outside. Your first aid kit can sit alongside other basic supplies to make this easier.- Store your first aid kit near stored water, simple shelf-stable foods, and hygiene supplies.
- Keep masks, tissues, and simple cleaning items close by to support general comfort and cleanliness.
- Make sure everyone in the home knows where these grouped supplies are kept.
| Item type | Storage tip | Rotation interval idea | No-cook use example |
|---|---|---|---|
| Electrolyte drink mix | Keep in cool, dry spot near first aid kit | Check when seasons change | Mix with safe drinking water |
| Plain crackers | Store in airtight container | Use and replace every few months | Light snack with mild stomach upset |
| Unsweetened applesauce cups | Stack on pantry shelf, avoid heat | Rotate during twice-yearly kit checks | Soft food when chewing feels difficult |
| Herbal or mild teas | Keep dry in sealed box or tin | Replace yearly or as flavors fade | Warm drink for general comfort |
| Simple broths in cartons | Store upright in cool cabinet | Check dates two times per year | Easy-to-digest warm liquid meal |
| Plain nut or seed butter | Keep tightly sealed away from heat | Use regularly and restock | Quick, filling snack with crackers |
Simple Steps to Keep Your Kit Ready Over Time
A practical first aid kit is not a one-time project. It is a small household system that you maintain over time with light, regular attention. To keep the process manageable:- Start with the basics and avoid overfilling your container.
- Place your kit where adults can easily reach it and everyone knows its location.
- Check supplies once or twice a year, replacing worn or expired items.
- Adapt contents as your household changes, such as new family members, new pets, or changing health needs.
Frequently asked questions
What are the essential items to include in a basic home first aid kit?
A basic home kit should include wound care (adhesive bandages, sterile gauze, adhesive tape, antiseptic wipes), simple tools (disposable gloves, scissors, tweezers, thermometer, flashlight), over-the-counter pain relievers and rehydration packets, and any household-specific prescriptions or medical devices. Store medications in their original packaging and include a small card with emergency contacts and allergy information.Where is the best place in the home to store a first aid kit?
Store the kit in a cool, dry, and consistent location that adults can access quickly, such as a central hallway closet, pantry shelf away from heat, or a bedroom closet shelf. Avoid very humid spots and locations exposed to direct heat, and keep the kit out of reach of young children while still being easy for adults to reach.How often should I check my first aid kit and rotate supplies?
Check your kit once or twice a year—commonly in early spring and early fall—to inspect adhesives, packaging, medication expiration dates, and batteries. Replace items that are expired, dry, damaged, or used, and update emergency contact information as needed.How should prescribed medications and personal medical devices be stored in the kit?
Keep prescribed medications and personal devices in their original packaging with clear labels and instructions, and store them in a separate section of the kit to prevent mix-ups. Follow any specific storage requirements (for example, room temperature vs. refrigerated), and ensure items like inhalers or epinephrine auto-injectors are kept where the user can access them quickly.How can families with children or pets adapt a basic first aid kit?
Families should include child-sized bandages and child-appropriate medications stored separately from adult options, plus small comfort items for children. For pets, keep a vet contact card, pet-safe supplies separate from human medications, and basics like gauze and a towel; consult your veterinarian before adding pet-specific medications.Recommended next:
About
ReadyHomePlan
ReadyHomePlan publishes practical home readiness guides for outages and short-term emergencies—power, water, food basics, communication, and family planning—without hype.
- Simple checklists and realistic planning
- Water, power, lighting, and pantry basics
- Family plans (kids, pets, seniors) and seasonal prep
Mold Prevention After Water Damage: First 24–48 Hours Checklist
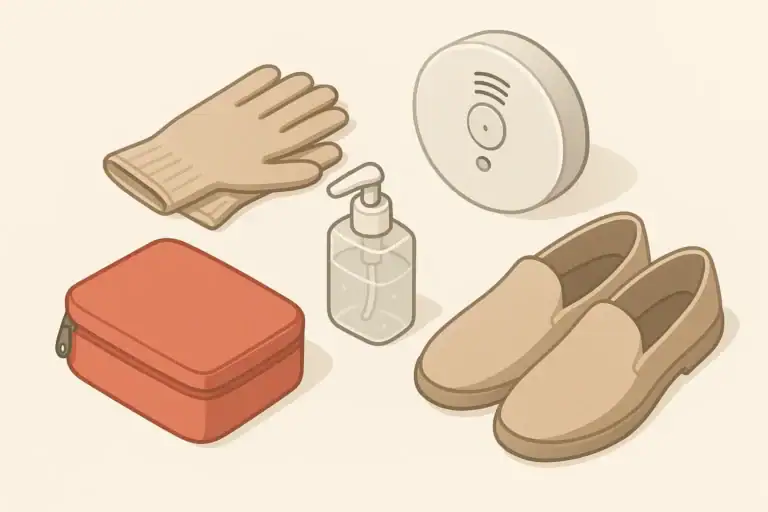
Broken Glass Cleanup Kit: Gloves, Shoes, Bags, and First Steps
Temporary Window Covering After Storm Damage: Safe Short-Term Options
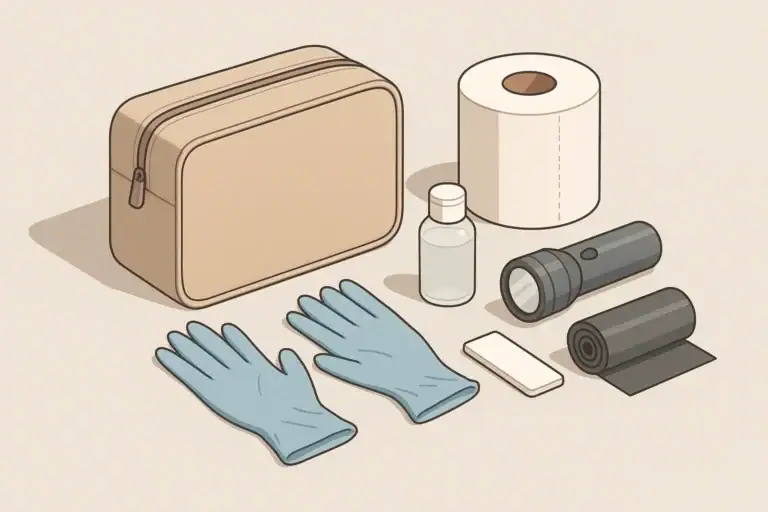
Emergency Toilet Setup: Bags, Buckets, Absorbents, and Hygiene
Utility Shutoff Labels: Gas, Water, and Electric Basics for Homeowners
Water Shutoff Valve Checklist: Find, Label, and Test It Before a Leak
Keep reading