Why Clean Water Containers Matter for Home Readiness
Clean water is one of the most important parts of basic home readiness. Whether you store a few gallons for a storm or keep a larger supply for short-term emergencies, the containers you use can affect how safe that water stays.
Even if a container looks clean, it can still hold residue, soap film, or microorganisms. Over time, this can affect taste, odor, and overall quality. Regular cleaning and occasional sanitizing help you:
- Keep stored water clear and better-tasting
- Reduce the chance of unwanted growth inside containers
- Rotate water supplies more confidently
- Use the same containers safely for everyday and emergency use
This guide focuses on practical, low-stress steps using common household supplies, suitable for apartments, houses, and small spaces.
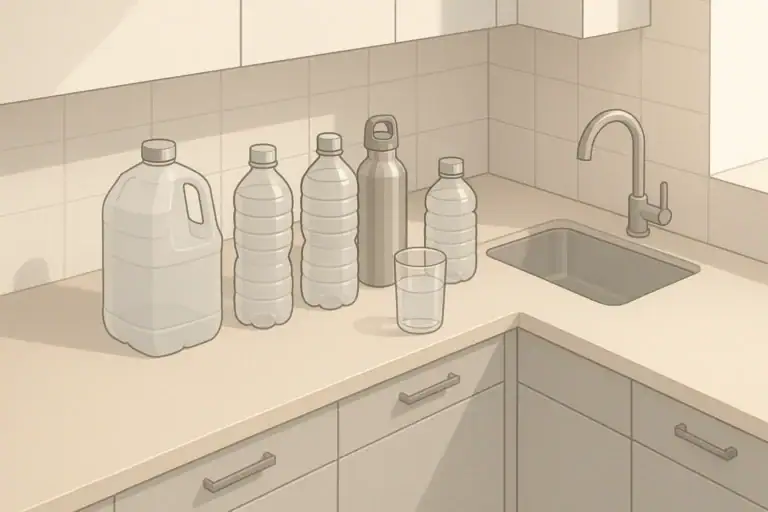
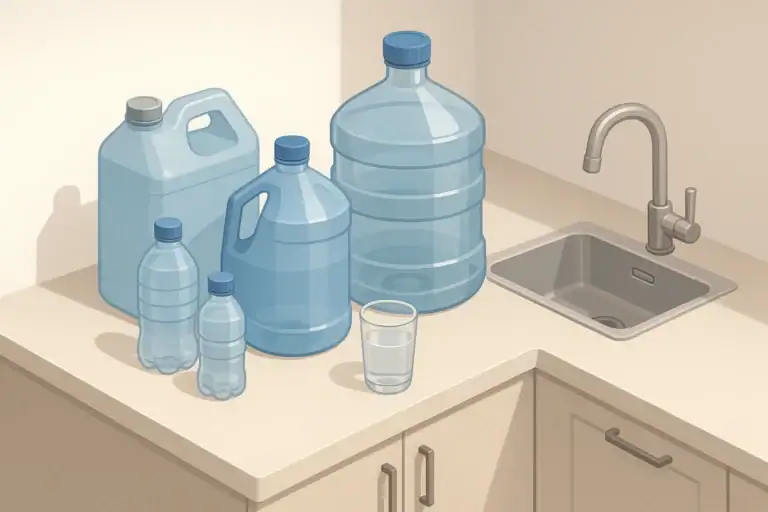
Choosing Safe Containers for Water Storage
Before you clean and sanitize, make sure your containers are appropriate for drinking water. Many household containers can look sturdy but are not intended for repeated water storage.
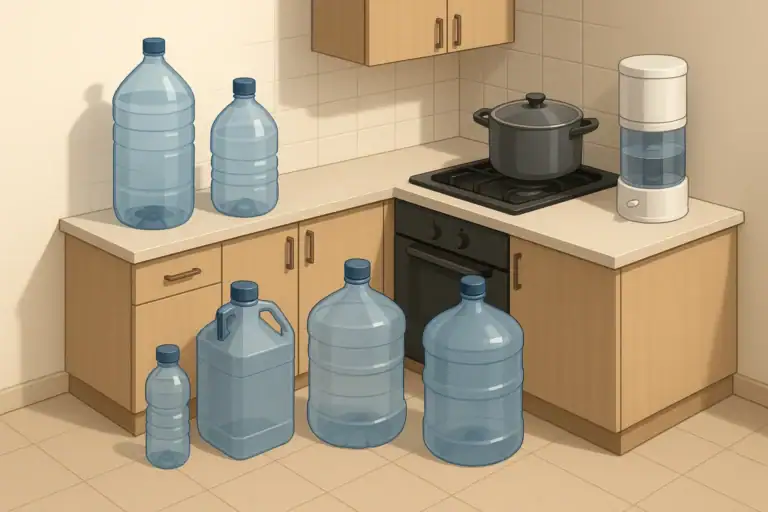
Container materials to prefer
For most homes, these options are practical and widely used:
- Food-grade plastic jugs or barrels – Often lighter and easier to move; useful for families and small spaces.
- Food-grade water storage cubes or bricks – Designed to stack; helpful in apartments and closets.
- Stainless steel bottles or jugs (food-grade) – Durable and suitable for daily refill-and-use.
- Glass jugs or bottles (food-grade) – Good for short-term storage and everyday use; heavier and breakable.
Containers to avoid for drinking water
For safety and practicality, skip the following for stored drinking water:
- Previously used chemical containers (cleaners, automotive fluids, garden products)
- Single-use beverage bottles that were not designed for repeated filling
- Non-food-grade plastics or unidentified plastic containers
- Containers with strong lingering odors that do not wash out fully
When in doubt, use containers clearly sold or labeled as suitable for food or drinking water, and follow any instructions that came with them.
| Task | Why it matters | Notes |
|---|---|---|
| Confirm food-grade material | Helps ensure container is suitable for drinking water | Look for food-safe indications on packaging or container |
| Check for cracks and damage | Reduces risk of leaks and contamination | Inspect handles, seams, and corners |
| Smell inside the container | Strong odors may carry into stored water | A faint plastic smell often fades after airing |
| Match size to lifting ability | Prevents strain when moving full containers | Smaller containers may be easier for kids or seniors |
| Choose containers that fit storage space | Makes it easier to keep water accessible | Measure closets, under-bed, or shelf height |
| Plan separate container for non-drinking use | Protects drinking water from frequent opening | Use for handwashing or toilet flushing water |
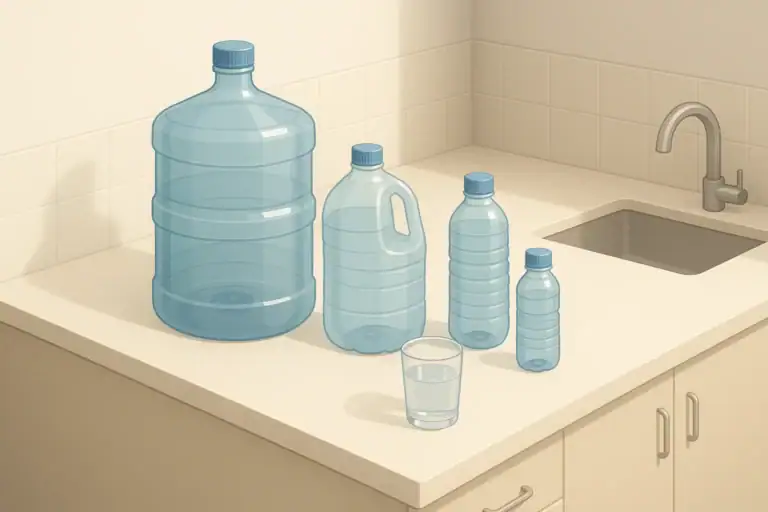
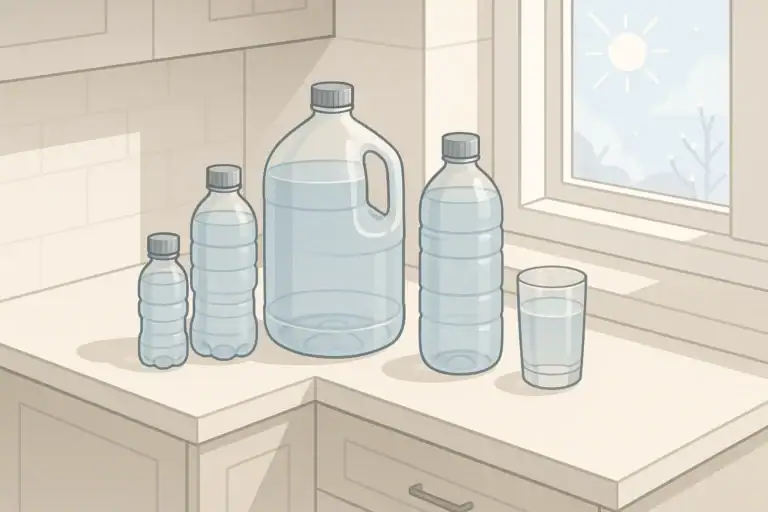
Supplies You Need to Clean and Sanitize
You can clean and sanitize most home water containers with basic supplies you may already have.
For cleaning
- Mild dish soap
- Clean tap water
- Soft bottle brush or long-handled brush that fits inside the container
- Clean sponge or cloth used only for dishes or food-contact items
For sanitizing
To sanitize containers after cleaning, many households use:
- Unscented household bleach with no added cleaners or fragrances
- Clean measuring spoons or a small measuring cup
- Clean tap water to dilute the bleach
Always read the label on any product you use and follow the manufacturer’s general safety directions. Work in a well-ventilated area and protect skin and eyes from splashes.
Step-by-Step: How to Clean Water Containers
Cleaning removes dust, residues, and film from the inside and outside of the container. Do this before you sanitize and before filling with drinking water.
1. Empty and inspect the container
- Pour out any old water.
- Check for cracks, cloudiness, or discoloration that does not wash away.
- If a container is damaged or heavily stained, retire it from drinking water use.
2. Wash with soap and water
Use the same careful approach you would use for washing dishes:
- Add a small amount of mild dish soap to the container.
- Fill partway with warm water.
- Scrub all interior surfaces with a clean bottle brush.
- Pay extra attention to corners, seams, and around the opening.
- Wash lids, caps, spigots, and gaskets separately in soapy water.
3. Rinse thoroughly
Soap residue can affect taste and may form a film over time. Rinse more than once:
- Rinse the inside several times with clean water until no soap bubbles remain.
- Rinse lids and small parts under running water.
- Drain well between rinses by turning the container upside down.
4. Air-dry if not filling immediately
If you are not going to fill the container right away:
- Let the container air-dry completely with the cap off.
- Store with the lid loosely placed on top, not sealed, to prevent trapped moisture.
How to Sanitize Water Containers Safely
Sanitizing lowers the level of microorganisms on the surfaces of your container after it has been cleaned. This step is especially useful before long-term or emergency water storage.
1. Mix a mild sanitizing solution
Many households use a dilute bleach-and-water mix as a simple sanitizing solution. As a general example, a common approach is to:
- Use a small amount of unscented household bleach in a large volume of clean water.
- Prepare only as much solution as you need for that cleaning session.
- Mix the solution in a well-ventilated area.
Always check the product label for any usage guidance and never mix bleach with other cleaners.
2. Sanitize the interior and lid
- Pour the sanitizing solution into the clean container until the inner surfaces are fully wet; you do not always need to fill it completely.
- Close the lid tightly, if possible, and gently turn or roll the container so the solution contacts all interior surfaces.
- Remove the lid and pour some solution over and through the lid, cap threads, and spigot parts.
3. Allow contact time
Sanitizing works best when the solution stays in contact with the surfaces for a short period. As an example, many people allow a contact time of around several minutes. During this time:
- Set the container where it will not be bumped or spilled.
- Keep the solution away from children and pets.
4. Drain and optionally rinse
After the contact time:
- Pour out the sanitizing solution.
- Many households rinse the container with clean water until any noticeable bleach odor is minimal.
- Drain well, including threads and spigots.
If you are preparing containers for emergency storage, fill them with safe drinking water soon after sanitizing instead of leaving them empty for long periods.
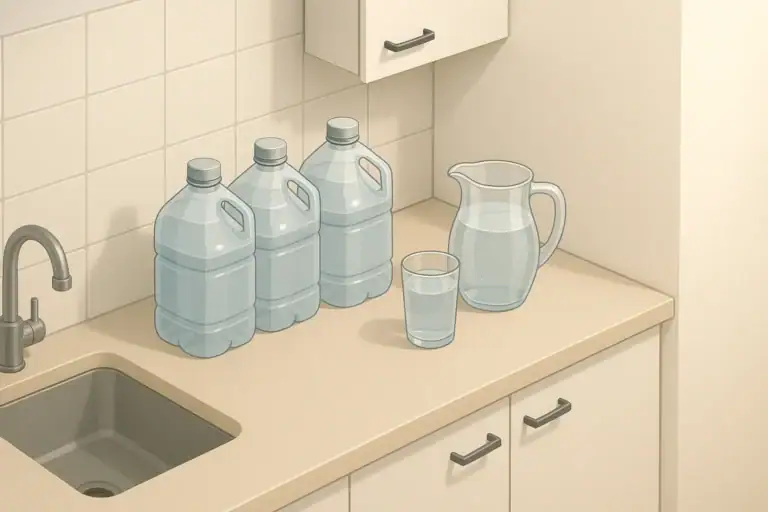
Filling and Storing Clean Water Containers
Once your container is cleaned and sanitized, how you fill and store it also affects water quality over time.
Use a safe water source
Common options include:
- Regular treated tap water that is considered safe to drink
- Water treated at home following instructions for your chosen treatment method
- Commercially bottled water (for sealed containers you do not refill yourself)
Avoid dipping containers directly into natural water sources unless you have a specific treatment process in place afterward.
Reduce contact during filling
- Wash your hands before handling open containers.
- Avoid touching the inside of the lid or the container mouth.
- Use a clean funnel if needed, and wash it after use.
Store in a cool, dark place
For most homes, suitable storage spots include:
- Closets away from heaters or hot pipes
- Under-bed containers in cool rooms
- Interior hallways or pantries with stable temperatures
Aim to keep water away from direct sunlight and extreme heat. Label containers with the fill date using tape or a marker so you know when to rotate.
Cleaning Frequency and Rotation for Different Households
How often you clean, sanitize, and rotate stored water depends on how you use it and how much space you have.
Everyday use containers
For bottles and jugs that you refill daily:
- Rinse with clean water after each use.
- Wash with mild dish soap regularly, such as daily or a few times a week, depending on use.
- Allow them to dry when possible to prevent persistent moisture.
Short-term emergency storage
For containers filled and stored specifically for outages or disruptions:
- Clean and sanitize before first filling.
- Label the date you filled the container.
- Plan to refresh and rotate the stored water from time to time, for example a couple of times per year, using the old water for non-drinking tasks if appropriate.
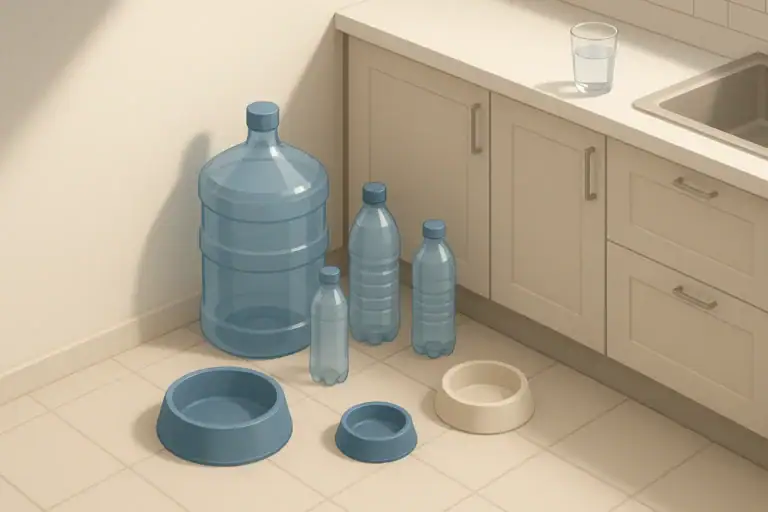
Considerations for families, kids, and seniors
- Choose container sizes that household members can lift safely.
- Keep frequently used containers within easy reach to avoid spills.
- If children help, supervise mixing and using any sanitizing solution.
| People and pets | Days to plan for | Storage approach | Rotation cue |
|---|---|---|---|
| 1 adult in small apartment | 3 | Several mid-size jugs under bed or in closet | Rotate at seasonal time change |
| 2 adults and 1 child | 5 | Mix of larger containers and smaller bottles for easy carrying | Rotate twice a year |
| Family with pets | 3–7 | Separate labeled containers for pet water needs | Refresh when buying bulk pet food |
| Senior living alone | 3 | Smaller, easy-to-lift containers on waist-high shelves | Rotate when reviewing medications |
| Shared household | 3–7 | Central storage area plus one small container per room | Rotate at start of each school term |
| Home with frequent outages | 7+ | Combination of large stationary storage and portable jugs | Rotate after every major outage drill |
Quick Safety Tips and Common Mistakes to Avoid
A few simple habits can make cleaning and sanitizing water containers easier and safer.
Safety tips
- Use unscented bleach that does not list added cleaners or fragrances.
- Ventilate the area when mixing any sanitizing solution.
- Store cleaning and sanitizing supplies out of reach of children and pets.
- Label any temporary solution container clearly and discard when finished.
Common mistakes
- Skipping the cleaning step – Sanitizing works best on already clean surfaces.
- Using too much soap – Extra soap can be hard to rinse and may affect taste.
- Leaving containers sealed while still wet inside – This can trap moisture and odors; allow some drying time when possible.
- Reusing non-food containers – Old chemical or cleaner containers may not be suitable for drinking water.
- Forgetting to label dates – A simple date mark makes rotation and peace of mind easier.
With a short, regular routine, clean and sanitized water containers can fit naturally into your overall home readiness plan, without taking over your space or your schedule.
Frequently asked questions
How strong should a bleach solution be for sanitizing water containers?
Always follow the label on your bleach product for any guidance about dilutions and drinking-water contact. If the label does not provide instructions, people commonly prepare a very dilute solution of unscented household bleach in a large volume of water and allow several minutes of contact time; prepare only what you need and work in a well-ventilated area. Never mix bleach with other cleaners or use scented products for sanitizing.
Do I need to rinse containers after sanitizing with bleach?
After the recommended contact time you can pour out the sanitizing solution and either drain and fill the container with safe drinking water immediately or rinse it until any strong bleach smell is minimal. Both approaches are used; rinsing can improve the taste of stored water while direct filling is acceptable if a proper dilute solution and contact time were used. Always drain threads, spigots, and lids thoroughly.
Can I sanitize spigots, caps, and gaskets the same way as the container interior?
Yes — disassemble removable parts when possible and swab or soak them in the same diluted sanitizing solution so all surfaces are contacted. Use a small brush for threads and spigot openings, then drain and rinse or air-dry before reassembling. Replace seals or gaskets that are cracked, warped, or retain odors.
How often should I clean and sanitize containers used for emergency water storage?
Sanitize containers before their first fill and again whenever you drain and refill them or if you notice cloudiness, odors, or visible growth. For long-term stored water, many households plan to refresh and rotate water a couple of times per year and clean containers during those rotations. Increase frequency if containers are used regularly or after any suspected contamination.
What should I do if a container keeps a plastic or chemical smell after cleaning?
Wash and rinse the container thoroughly, then try airing it with the lid off in indirect sunlight and scrubbing the interior with a baking soda paste before rinsing again. If odors persist or you suspect prior chemical storage, retire that container from drinking-water use and reserve it for non-potable tasks. Persistent chemical smells can indicate absorption that is unsafe for drinking water.
Recommended next:
- Water Storage Guide: How Much You Need, Where to Put It, and How to Rotate
- Water Storage Calculator: People × Days (Plus a Pet Add-On)
- Best Water Containers for Home Storage: Materials, Sizes, and Caps
- Storing Water in Small Spaces: Apartment and Closet-Friendly Options
- Water Rotation Schedule: A Simple FIFO System Anyone Can Follow
- More in Water Readiness →
- Simple checklists and realistic planning
- Water, power, lighting, and pantry basics
- Family plans (kids, pets, seniors) and seasonal prep
How to Transport Water Safely: Car, Stairs, and Heavy Containers
Rainwater for Emergency Use: Practical Limits and Safety Basics
Emergency Household Water Sources: What’s Safe to Use and What’s Not
Storing Water in Heat or Freezing Conditions: What Changes
Emergency Water for Pets: How Much to Store and How to Serve It
Making Tap Water Taste Better in an Emergency: Easy Steps