Storm season often brings power outages, sometimes with little warning. Having working flashlights, lanterns, and headlamps makes it easier to move safely, calm kids and pets, and handle small tasks until the lights come back on. A simple battery testing schedule helps you discover weak or dead batteries before you actually need your lights.
You do not need to become a full-time planner to be ready. A few short checkups each year can keep your emergency lighting reliable, whether you live in an apartment, a single-family house, or a shared home with roommates or extended family. The goal is steady, low-stress preparedness, not panic.
Creating a routine also helps you avoid waste. Untested batteries that sit for years may leak or lose charge, while over-replacing batteries can be expensive. A practical schedule hits a middle ground: you check often enough to stay ready, but not so often that it becomes a chore.
Why a Battery Testing Schedule Matters Before Storm Season
Storm season often brings power outages, sometimes with little warning. Having working flashlights, lanterns, and headlamps makes it easier to move safely, calm kids and pets, and handle small tasks until the lights come back on. A simple battery testing schedule helps you discover weak or dead batteries before you actually need your lights.
You do not need to become a full-time planner to be ready. A few short checkups each year can keep your emergency lighting reliable, whether you live in an apartment, a single-family house, or a shared home with roommates or extended family. The goal is steady, low-stress preparedness, not panic.
Creating a routine also helps you avoid waste. Untested batteries that sit for years may leak or lose charge, while over-replacing batteries can be expensive. A practical schedule hits a middle ground: you check often enough to stay ready, but not so often that it becomes a chore.
Types of Emergency Lights and Battery Basics
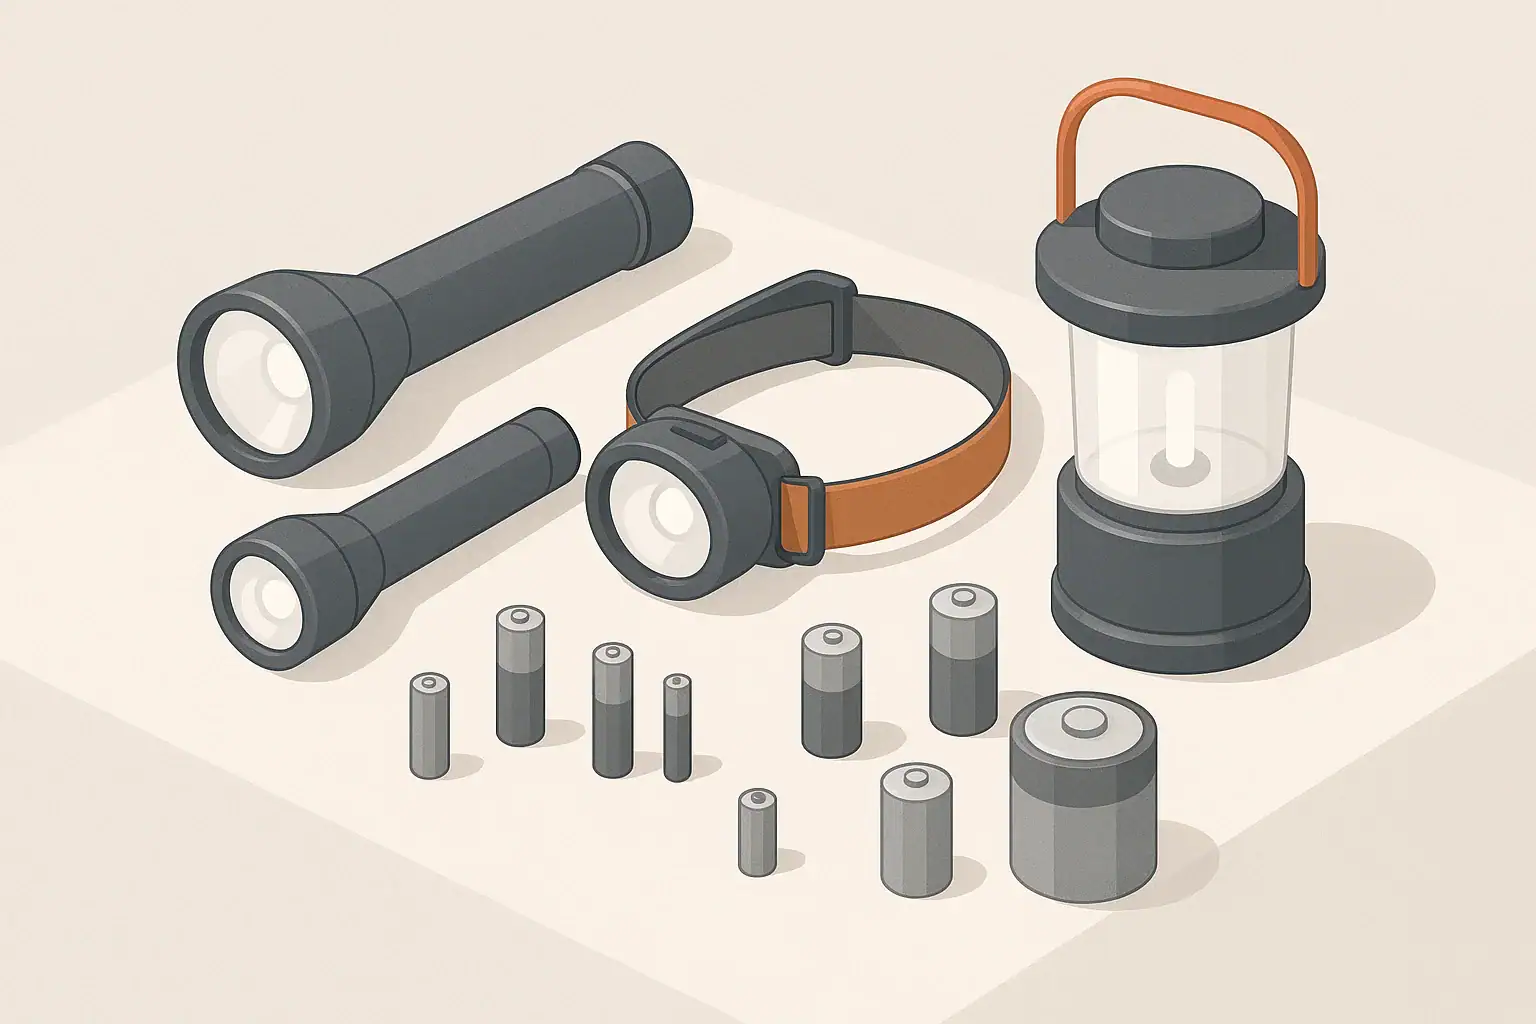
Before you decide how and when to test, list the lights you already have. Different types of lights and batteries behave differently, and that affects how you test and store them.
Common Home Emergency Lights
Most homes use a mix of these lighting options:
- Handheld flashlights: Good for walking around, checking the breaker panel, or lighting a path to the bathroom or kitchen.
- Lanterns: Spread light across a room or dining table; useful for families, shared spaces, or board games during outages.
- Headlamps: Keep your hands free for cooking, pet care, or basic repairs.
- Clip-on or stick-on lights: Helpful in closets, stairways, or hallways where cords would be a tripping hazard.
- Battery-powered candles or puck lights: Create gentle light for bedrooms or for people sensitive to bright beams.
Common Battery Types in Household Lights
Knowing what powers each light makes it easier to test and restock:
- Disposable alkaline batteries: Common sizes are AA, AAA, C, and D. They store well for years if kept cool and dry. They gradually lose capacity over time.
- Rechargeable NiMH batteries: Often used in AA or AAA size. Many hold charge well in storage but still benefit from periodic top-ups and use.
- Built-in rechargeable batteries: Some lanterns and headlamps charge by USB or wall adapter. These need occasional charging, even when not in use.
Check which type each light uses and note any that rely on built-in rechargeable packs. A realistic battery testing schedule will include both checking charge levels and briefly turning the lights on.
Example values for illustration.
| Light type | Typical battery setup | What to check | Notes |
|---|---|---|---|
| Hallway flashlight | 2–3 AA or AAA alkaline | Turn on for 30 seconds, check brightness | Keep near bedroom or main exit |
| Main room lantern | 3–4 D cells or built-in rechargeable | Test at high setting for 1–2 minutes | Store where everyone can find it quickly |
| Headlamp | 2–3 AAA or small rechargeable pack | Check beam pattern and straps | Useful for cooking and pet care |
| Bedroom light or candle | Button cell or AA/AAA | Confirm gentle, steady light | Good for children or light-sensitive adults |
| Stairway / closet light | AA/AAA or built-in rechargeable | Check motion sensor or switch | Prioritize to reduce tripping risk |
| Outdoor or porch light | AA/AAA, C, or rechargeable pack | Verify weather seals and brightness | Useful for checking yard or parking area |
How Often to Test Batteries and Lights
A practical battery testing schedule balances safety with effort. For most households, tying checks to the calendar works well. You can adjust the frequency based on your local storm risks and how often you already use the lights.
Baseline Schedule for Most Homes
Many people find this pattern manageable:
- Every 3 months: Quick check of the most important lights (one per person, plus main room lantern).
- Twice per year: Full check of all emergency lights and spare batteries, often before peak storm seasons.
- After any long outage: Spot-check all lights that were heavily used and replace or recharge as needed.
In practice, that might look like:
- Early spring: Full test before thunderstorm or tornado season in many regions.
- Late summer: Full test before peak hurricane season or fall windstorms.
- Mid-winter: Quick check of key lights if your area sees ice storms or heavy snow.
Adjusting for Your Region and Living Situation
Different homes benefit from slightly different routines:
- Apartments and small spaces: You may have fewer lights overall. A full check twice per year can be enough if you rotate a small set of spare batteries.
- Large homes: Consider dividing the home into zones (upstairs, downstairs, garage) and checking one zone each month until the whole house is covered.
- Families with kids: Give each child a labeled light and check these on a fixed day, such as the first weekend of certain months.
- Homes with seniors: Prioritize bright, easy-to-hold lights near beds, bathrooms, and key walking paths; test these more often, such as every 1–2 months.
- Storm-prone regions: If outages are common, testing every 1–2 months may be worth the extra effort.
Simple Step-by-Step Battery and Light Checks
Testing does not have to be complicated or technical. A short routine for each light can reveal most issues before they matter.
Step 1: Gather All Lights and Batteries
Pick a table or counter and bring over:
- All flashlights, lanterns, and headlamps you consider part of your emergency kit
- Any battery-powered nightlights or stair lights you rely on during outages
- Your container of spare batteries, sorted by size if possible
If you share a home, ask others to bring in any lights stored in bedrooms, cars, or backpacks. This helps you avoid duplicate purchases and notice which items are missing.
Step 2: Quick Function Test for Each Light
For each device, do a short, consistent test:
- Turn the light on and leave it on for about 30–60 seconds.
- Cycle through brightness levels or modes, if it has them.
- Check for flickering, unexpected dimming, or difficulty turning it on.
- Look for any signs of damage, such as cracked lenses or loose switches.
If a light fails to turn on, swap in known-good batteries from your spare supply. If it still fails, label it as needing repair or recycling and do not return it to your emergency kit.
Step 3: Check Battery Condition and Contacts
Battery issues can quietly ruin an otherwise good light:
- Open the battery compartment and look for white, crusty, or rusty deposits, which can indicate leakage.
- Inspect the metal contacts; they should be shiny and free from heavy corrosion.
- If you see minor discoloration, you can gently wipe the contact surface with a dry cloth.
- Never mix old and new batteries in the same device, as this can cause uneven performance.
If you find leaked or damaged batteries, follow local guidance for safe cleanup and disposal. Replace the set with fresh batteries and mark the date on your testing log.
Step 4: Brief Runtime Spot-Check
A full runtime test (running a light until it dies) can be helpful but is not always practical. Instead, consider a short, controlled spot-check for one or two key lights:
- Choose a main lantern and one primary flashlight.
- Turn them on to a normal, usable brightness.
- Leave them on for 10–15 minutes while you do other tasks nearby.
- Check whether the light noticeably dims or stays steady.
This gives you a rough sense of whether the batteries have reasonable life left without fully draining them.
Step 5: Record What You Tested
Keeping a simple record reduces guesswork next season. Your log can be as basic as a piece of paper on the inside of a cabinet door or a note on your phone. Include:
- Date of the test
- Which lights you checked
- Which batteries you replaced or recharged
- Any notes, such as “lantern #1 dim & replaced batteries”
This record helps you notice patterns, like a particular light draining batteries faster than others.
Managing Rechargeable vs Disposable Batteries
Many homes use a mix of disposable and rechargeable batteries. Each type benefits from a slightly different approach to storage and testing.
Disposable Alkaline Batteries
For alkaline batteries stored for emergency use:
- Keep them in original packaging or small containers to prevent short-circuiting.
- Store them in a cool, dry place away from direct sunlight and heat sources.
- Do not store loose batteries in metal tins with keys or coins.
- Rotate older batteries into low-drain household devices when you buy new ones.
Testing schedules for disposables focus on checking the lights themselves. If a set seems weak, replace all the batteries in that device as a group and note the change.
Rechargeable NiMH Batteries
Rechargeable batteries are useful in frequently used lights and can reduce waste, but they need more active management:
- Top up charge every 2–3 months, even if not used.
- Keep sets together and label them so they stay matched.
- Use a basic smart charger that stops or slows charging when full.
- Occasionally, fully charge and then use the batteries in a low-risk device to keep them active.
For emergency-only lights that sit in a drawer, some people prefer disposable batteries because they hold charge well in storage. For everyday lights, rechargeables can be more convenient.
Devices with Built-In Rechargeable Packs
Lanterns and headlamps with built-in rechargeable batteries need scheduled top-ups, especially before storm season:
- Fully charge them at least every 2–3 months.
- Before a predicted storm, confirm that these devices show a full or near-full charge.
- Store their charging cables with the devices, so you are not searching for the right connector in the dark.
Because internal batteries may slowly lose capacity with age, pay attention if a fully charged light seems to run for much less time than it used to. Consider moving it out of your primary emergency kit as it ages.
Storm-Season Readiness Check: Walking Through Your Home
Once your lights and batteries are tested, a short walk-through of your home can reveal gaps in placement and access. This is especially useful for families, people in multi-story homes, and households with pets or mobility challenges.
Room-by-Room Lighting Checks
Walk through your home as if the power were out at night:
- Bedrooms: Place at least one light within easy reach of the bed for each person. Consider small, simple lights for children.
- Hallways and stairs: Ensure there is a light or nightlight alternative that can cover the path from bedrooms to the bathroom and main living area.
- Bathroom: Keep a small light nearby to reduce fall risk at night.
- Kitchen: A lantern or bright flashlight can help with safe food handling and cleanup during an outage.
- Entry points: Store a light near main doors in case you need to check outside conditions or step out with pets.
Considering Kids, Pets, and Seniors
Different household members may need different kinds of lights:
- Kids: Simple, durable flashlights they can switch on by themselves.
- Pets: A headlamp or lantern makes pet care easier during late-night outages.
- Seniors or people with limited mobility: Larger buttons, non-slip grips, and lights stored at waist height instead of on the floor.
Include them in your testing routine when possible, and let them practice turning lights on and off so they feel comfortable using them.
Example values for illustration.
| Lighting type | Battery type | Pros and cons | Simple storage tip |
|---|---|---|---|
| Basic flashlight | AA or AAA alkaline | Common sizes, easy to share; may slowly lose charge | Store near exits with 1 full spare set taped in a bag |
| Room lantern | D cells or built-in rechargeable | Good room coverage; heavier and uses more power | Keep on a central shelf with clearly labeled battery box |
| Headlamp | AAA or small rechargeable pack | Hands-free; small batteries to track | Hang near coat rack with extra set in nearby drawer |
| Stick-on closet light | AA or AAA alkaline | Helps avoid trips; easy to forget to test | Test during seasonal clothing changeover |
| Portable nightlight | Rechargeable or AA | Gentle for sleep; may have shorter runtime | Place in child’s room and charge with weekly routine |
| Outdoor utility light | AA/AAA or C cells | Useful outside; exposed to temperature swings | Store just inside door, not in hot shed if possible |
Keeping the Routine Simple and Sustainable
A battery testing schedule only helps if you actually follow it, so aim for habits that fit your normal life. A few options:
- Pick a date: Use the first weekend of certain months as your test days.
- Connect it to chores: Combine battery checks with changing smoke detector batteries or seasonal cleaning.
- Share the task: Give each household member a small role, such as gathering lights, labeling containers, or updating the log.
- Start small: If a full-house check feels overwhelming, begin with just the bedroom and main living area this season.
Over time, testing and organizing your emergency lights can become a short, routine task—another part of keeping your home calm and functional during storms and short-term power outages.
Related guides: USB Rechargeable Battery Station: Charging Routine Before Storm Season · Extension Cords and Power Strips During Outages: Safe Use Tips.
Authoritative sources
Safety recommendations can change. Confirm critical details with current official guidance and local authorities.
- U.S. CPSC: Battery Safety
- CDC: Guidelines for Cleaning Safely After a Disaster
- Ready.gov: Preparedness Tips for People with Disabilities
Frequently asked questions
How often should I test batteries in flashlights and lanterns before storm season?
For most homes, do a quick check of key lights every three months and a full check of all emergency lights twice a year, with spot-checks after any long outage. Increase testing frequency to every one to two months if you live in a storm-prone area or if you care for seniors who need easier access to lights.
Should rechargeable batteries be left in devices or stored separately for emergencies?
Rechargeable NiMH batteries are best kept topped up and should be charged every two to three months even when not in frequent use; devices with built-in packs should be fully charged on that schedule as well. For long-term emergency storage, disposable alkaline batteries often retain charge longer, so many people use rechargeables for daily use and disposables in emergency kits.
What is a simple runtime spot-check I can do without fully draining batteries?
Pick a primary lantern and a main flashlight, set them to normal brightness, and leave them on for about 10–15 minutes while you observe for noticeable dimming—this gives a quick sense of remaining capacity without fully discharging the batteries. If a light dims quickly, replace or recharge the batteries and note it in your testing log.
How should I store spare disposable batteries to prevent damage and extend life?
Keep disposable batteries in their original packaging or small plastic containers in a cool, dry place away from heat and direct sunlight, and avoid storing them loose with metal objects that could short them. Rotate older batteries into low-drain household devices when you buy new ones so none sit unused for years.
How do I handle leaked or corroded batteries found during testing?
If you find leaked or damaged batteries, avoid direct contact with the residue, place the batteries in a sealed plastic bag, and follow local hazardous-waste or battery-recycling guidance for disposal. Gently clean mildly corroded contacts with a dry cloth; do not return devices with damaged batteries to your emergency kit until cleaned and refitted with fresh batteries.
- Simple checklists and realistic planning
- Water, power, lighting, and pantry basics
- Family plans (kids, pets, seniors) and seasonal prep
Affiliate disclosure
As an Amazon Associate, we earn from qualifying purchases. Some links on this site may be affiliate links. If you buy through these links, we may earn a small commission at no extra cost to you. This helps support our content. Learn more.