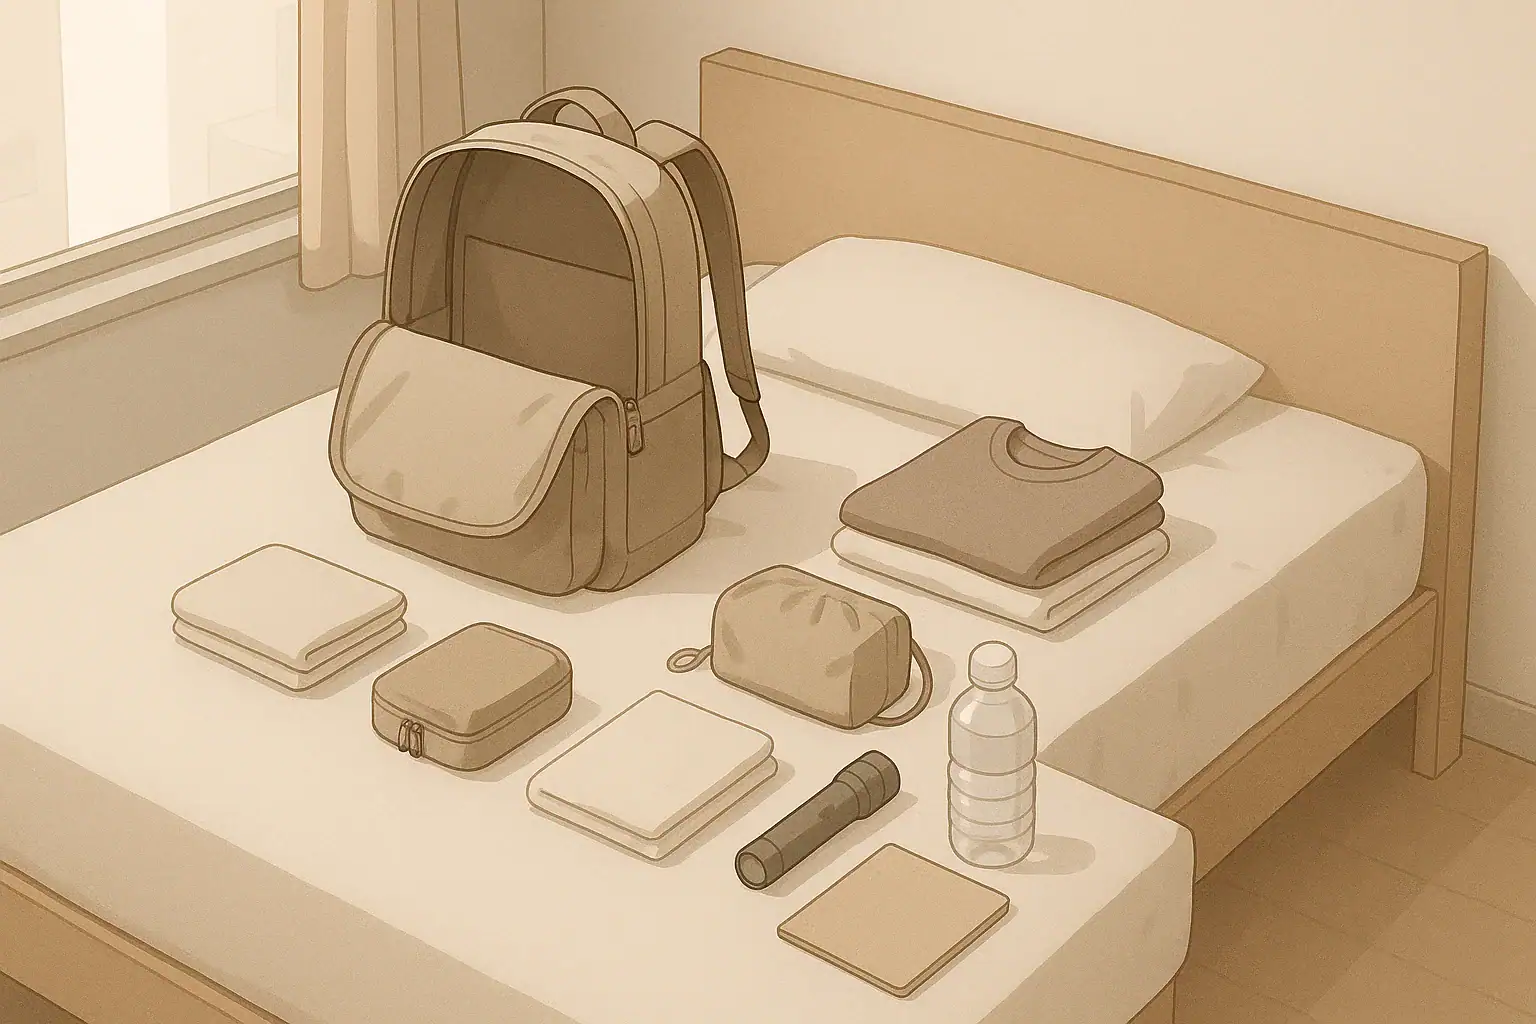
Why an Evacuation Laundry Kit Matters
When you think about emergency evacuation, clothing and laundry supplies are easy to overlook. Yet being able to stay clean, change into dry clothes, and manage dirty laundry can make a big difference in comfort, dignity, and basic hygiene during a short-term displacement.
An evacuation laundry kit is a compact set of clothing, washing tools, and small shelter supplies that fits into your go-bag or car. It is not a full wardrobe or camping setup. Instead, it is a lightweight, realistic way to handle everyday needs if you have to leave home for a few days because of a wildfire, hurricane warning, apartment fire, or power outage that makes your place temporarily unsafe.
This guide focuses on practical, calm planning for typical situations in the United States, including renters, small apartments, families with kids, pets, and older adults.
Core Clothing for an Evacuation Laundry Kit
Your goal is to pack a small, mix-and-match clothing set that dries quickly, layers well, and can be washed and hung to dry without much space or equipment. Plan for at least 2–3 days away from home, assuming you may be able to wash items and rewear them.
How Many Clothing Items to Pack
Adjust quantities based on your space, climate, and how many people you are packing for, but the following is a common starting point per adult:
- 2–3 shirts or tops (lightweight, quick-drying if possible)
- 2 pairs of pants or shorts (one comfortable for sleep if needed)
- 3–4 pairs of underwear
- 3–4 pairs of socks (include at least one thicker pair in cooler climates)
- 1 light sweater or sweatshirt
- 1 compact rain layer or windbreaker
- 1 hat appropriate for your region (sun hat or warm hat)
For children, pack an extra set or two because they may get dirty or wet more often. For infants and toddlers, factor in more frequent changes and add items like onesies, sleepers, and extra socks.
Choosing Fabrics and Colors
The fabrics and colors you pick can help clothes last longer between washes and dry more quickly:
- Quick-drying fabrics: Lightweight synthetics or blended fabrics often dry faster than heavy cotton. This can help when you need to wash items in a sink or bucket.
- Neutral, dark colors: Darker colors show fewer stains and can be mixed and matched more easily.
- Comfort first: Choose items you already wear and know are comfortable for walking, sitting, and sleeping.
Seasonal and Regional Adjustments
Adapt your kit to your climate and expected hazards:
- Cold climates or winter: Add thermal base layers, extra warm socks, gloves, a warm hat, and a compact scarf or neck gaiter. Plan to layer instead of packing heavy coats if space is limited.
- Hot climates or summer: Include breathable fabrics, a sun hat, and a lightweight long-sleeve shirt and long pants for sun and insect protection.
- Rainy or coastal areas: Prioritize a packable rain jacket or poncho and quick-drying socks.
Packing Footwear
In many evacuations you may leave home quickly wearing everyday shoes. Your kit does not always need a second pair, but consider:
- Sturdy closed-toe shoes: For walking on debris, wet ground, or unfamiliar terrain.
- Lightweight sandals or flip-flops: Helpful for shared showers or giving feet a break, if space allows.
If space is tight, prioritize one reliable pair of sturdy shoes and pack only lightweight extras.
Example values for illustration.
| Task | Why it matters | Notes |
|---|---|---|
| Select 2–3 tops | Allows rotation while one shirt dries | Pick quick-drying, neutral colors |
| Pack 3–4 underwear | Supports daily change with handwashing | Roll tightly to save space |
| Add layering piece | Handles changing temperatures | Light sweater or sweatshirt |
| Include rain or wind layer | Helps stay dry and warm outdoors | Choose compact, lightweight option |
| Check footwear | Reduces risk of foot injuries | Sturdy closed-toe shoes preferred |
| Adjust for season | Prevents overpacking or missing essentials | Rotate items twice a year |
Compact Laundry Supplies You Can Actually Carry
A full laundry setup is not practical in a go-bag. Instead, pack a few flexible items that let you rinse or wash essentials in a sink, basin, or small bucket. The goal is to keep undergarments, socks, and one outfit reasonably clean.
Basic Washing Items
Consider including:
- Small packet or bottle of mild detergent: Liquid or powder in a tightly sealed container. Some people prefer unscented detergent to reduce irritation.
- Travel-sized stain-removal option: Optional, but can stretch clothing use.
- Collapsible or lightweight basin: Optional if you expect to have sinks available. Very useful in shelters with limited facilities or outdoor locations.
- Disposable or reusable gloves: Helpful for people with sensitive skin or when water is not very clean.
Drying and Managing Laundry in Small Spaces
Drying is often the hardest part in an evacuation setting. Plan for low-tech ways to hang a few items at a time:
- Thin, strong cord or paracord: A short length can become a clothesline across a car, room, or between trees.
- Lightweight clothespins or clips: A small handful keeps items from sliding or blowing away.
- Microfiber or quick-dry towel: Can help squeeze out extra water by rolling clothing inside and pressing gently.
- Mesh laundry bag: Doubles as storage for dirty clothes and can be used for gentle washing.
Simple Washing Process During Evacuation
In a shared shelter or temporary housing, aim for a low-impact routine:
- Wash small loads: underwear and socks first, then shirts or a pair of pants if you have extra water.
- Use only a small amount of detergent to make rinsing easier.
- Wring items gently, then roll them in a towel to remove more water before hanging.
- Hang items where drips will not create a slip hazard.
Always follow any posted rules for shelters or shared facilities. If sinks are busy, be patient and wash only what you truly need.
Personal Hygiene Essentials That Fit in a Laundry Kit
Clothing and laundry go hand in hand with basic hygiene. A small, organized toiletry kit helps you stay fresher between washes and makes shared bathrooms easier to manage.
Core Hygiene Items
Pack travel-sized versions where possible, and assume a usage window of about three days when deciding amounts:
- Toothbrush with cover or case
- Travel-size toothpaste
- Floss or dental picks
- Small bar of soap or travel body wash
- Travel-size shampoo or combined hair-body wash
- Deodorant
- Comb or small brush
- Razor and small shaving cream if used regularly
Hand and Surface Cleanliness
Access to running water may be limited or crowded. Consider adding:
- Travel-size hand sanitizer
- Small pack of unscented wipes
- A few tissues or a small pack of toilet paper for backup
These do not replace regular handwashing, but they can help when water is not immediately available.
Menstrual and Personal Care Items
Include at least one cycle’s worth of whatever products are normally used. Label and store them in a discreet, waterproof pouch. If you use reusable items, consider how you will wash and dry them with limited facilities and whether a disposable backup makes sense for short-term evacuation.
Family, Kids, and Senior Considerations
- Babies and toddlers: Diapers, wipes, diaper cream, and a compact changing pad. Aim for at least one full day’s supply as a starting point.
- Older children: Familiar soap or toothpaste can be calming. Let them help pack a small personal-care pouch.
- Older adults: Include incontinence products if used, denture care supplies, and any specially preferred toiletries in small containers.
Small Shelter Supplies for Comfort and Cleanliness
Even if you expect to stay with friends, at a hotel, or in a public shelter, a few small shelter items can greatly improve comfort around clothing and laundry routines.
Compact Textiles and Linens
Soft items take space, so focus on multiuse pieces:
- Quick-dry towel: Use for bathing, drying hands, or rolling laundry to remove water.
- Small washcloth or face cloth: Useful for quick cleanups if showers are limited.
- Lightweight scarf or wrap: Can add warmth, act as a privacy cover, or provide shade.
Organization and Privacy
Staying organized helps in crowded settings and when you are tired:
- Packing cubes or zip-top bags: Separate clean clothes, worn items, and laundry supplies.
- Small drawstring or mesh bag: Dedicated to dirty laundry to keep it contained.
- Compact cloth or bandana: Can be used as a small curtain over a shelf area or as a simple cover during quick clothing changes.
Lighting for Nighttime Clothing Changes
Being able to see inside your bag, change clothes, or hang laundry after dark is important:
- Small flashlight or headlamp: Helps navigate hallways and shared spaces.
- Extra batteries: Store separately in a small pouch and check them periodically.
Use lights respectfully in shared shelters, pointing beams downward and away from others’ faces.
Adapting Your Kit to Your Living Situation
An evacuation laundry kit looks different for a studio apartment than for a large house. Think about where you live, how you would likely evacuate, and what storage you actually have.
Apartment and Small-Space Renters
For renters in smaller spaces, every inch of storage counts. Aim for a single, clearly labeled laundry and hygiene pouch that fits inside your main go-bag. Ideas:
- Use vacuum or compression bags for spare clothing to reduce bulk.
- Hang your go-bag in a closet near the door so it is easy to grab.
- Store detergent and liquids inside sealed bags to prevent leaks on shared belongings.
Families with Children
Children can help carry a small portion of their clothing and hygiene kit, depending on age:
- Color-code bags so each child knows which pouch is theirs.
- Include at least one comfort item (like a small toy or familiar pillowcase) if space allows.
- Review the kit with kids so they know what is inside and where to find it.
Car Evacuation vs. On-Foot Evacuation
If you expect to evacuate by car, you can keep a slightly larger laundry and shelter kit in a small bin in the trunk, including an extra towel, more detergent, and a small basin. For on-foot evacuation, keep the kit as compact as possible and prioritize:
- One full change of clothes
- Minimal detergent
- Thin cord and a few clips
- Basic toiletries
| Need | Simple supplies | Safe use note | Disposal idea |
|---|---|---|---|
| Hand cleaning | Soap, hand sanitizer | Wash with water when available | Use regular trash bins for empty containers |
| Face and body wipe-down | Unscented wipes, small towel | Avoid using wipes near eyes | Seal used wipes in a bag, then trash |
| Toothbrushing | Toothbrush, toothpaste, cup | Spit into sink or drain area | Rinse cup and store dry |
| Menstrual care | Preferred products, spare bag | Change on a regular schedule | Wrap used items and place in trash |
| Laundry washing | Small detergent, basin, cord | Use limited soap to ease rinsing | Dispose of graywater where allowed |
| Surface wipe-down | Disinfecting wipes or spray | Follow label directions if available | Use trash cans for used wipes |
Maintaining and Rotating Your Evacuation Laundry Kit
A kit you pack once and never check may not fit, may be out of season, or may contain leaking items. Build a simple rotation habit so your evacuation laundry kit stays ready without much effort.
Seasonal Clothing Updates
Set reminders to review your kit at least twice a year, such as when clocks change or at the start of summer and winter. During each review:
- Swap warm layers for cooler ones or vice versa.
- Check that children’s clothing still fits.
- Replace any items that are worn out or uncomfortable.
Checking Toiletries and Detergent
Toiletries and detergents can dry out or leak over time. Every few months:
- Inspect bottles and caps for cracks or leaks.
- Top up or replace low travel-size items.
- Wipe down the inside of pouches or bags if any residue is present.
Practice Using the Kit
A simple way to test your setup is to use your evacuation laundry kit during a planned overnight trip or a weekend at home:
- Try washing a few clothing items using only the supplies in your kit.
- Test whether your cord and clips work well for drying in a small space.
- Note anything you did not use or anything you wished you had.
These small practice runs help you adjust your kit to your preferences and make evacuation days less stressful if they ever occur.
Storing the Kit for Quick Access
Finally, keep the laundry, clothing, and hygiene components together so they are easy to grab quickly:
- Store clothing and textiles in one compression bag inside your go-bag.
- Place toiletries and laundry supplies in a clearly marked pouch.
- Keep the entire go-bag in a consistent, easy-to-reach location.
With a compact, well-thought-out evacuation laundry kit, you gain comfort and flexibility for a wide range of short-term emergencies, without needing to store or carry more than you can realistically manage.
Authoritative sources
Safety recommendations can change. Confirm critical details with current official guidance and local authorities.
- US EPA: Emergency Disinfection of Drinking Water
- U.S. CPSC: Battery Safety
- CDC: Guidelines for Cleaning Safely After a Disaster
Frequently asked questions
How much detergent should I include in an evacuation laundry kit?
Pack a small travel-sized amount that covers about 2–3 days of minimal washing. Use concentrated or multifunctional detergent to save space; a teaspoon or two per small load is usually enough. Store detergent in a tightly sealed container or single-use sachets to prevent leaks and make rationing easy.
What’s the best way to dry clothes in a cramped shelter or car?
Wring garments and roll them inside a microfiber towel to remove as much water as possible, then hang items on a short cord or paracord across available space. Use clothespins to keep items secure and position them so drips won’t create slip hazards; rotate items to improve airflow when sunlight is limited. Avoid drying near open flames or unsafe heat sources.
How should I handle reusable menstrual or incontinence products during evacuation?
Bring a waterproof pouch to store soiled reusable items and include disposable backups for situations where washing or drying isn’t possible. Wash reusables with mild detergent, rinse thoroughly, and hang to dry in privacy when feasible; if drying isn’t possible, keep used items sealed until you can launder them properly. Follow shelter rules and local disposal guidance for any single-use products.
Can I safely dispose of graywater from laundry while evacuating?
Follow facility rules at shelters or designated disposal points; many locations provide guidance for graywater. If you must disperse graywater outdoors, do so away from streams, wells, and trails on permeable ground, and use minimal biodegradable soap to reduce environmental impact. Never pour soapy water into storm drains or sensitive areas.
How often should I check and rotate items in my evacuation laundry kit?
Inspect your kit at least twice a year and after any use, checking for leaks, expired toiletries, and worn clothing. Replace or top up travel-sized liquids, test cords and clips, and swap seasonal clothing so the kit matches current temperatures. Practice using the kit on a short trip to confirm it meets your needs and to identify any missing items.
- Simple checklists and realistic planning
- Water, power, lighting, and pantry basics
- Family plans (kids, pets, seniors) and seasonal prep
Affiliate disclosure
As an Amazon Associate, we earn from qualifying purchases. Some links on this site may be affiliate links. If you buy through these links, we may earn a small commission at no extra cost to you. This helps support our content. Learn more.