Why Garage and Basement Lighting Matters During Outages
Garages and basements become very different spaces when the power goes out. Stairs that feel simple in daylight can become trip hazards. Tools, storage bins, and low ceilings turn into obstacles in the dark, especially for kids, older adults, and anyone carrying pets or supplies.
A basic garage and basement lighting plan makes it possible to:
- Reach breaker panels and shutoff valves safely
- Access stored water, tools, and emergency supplies
- Move up and down stairs without tripping
- Avoid bumping into vehicles, bikes, or storage boxes
- Work briefly on urgent tasks without dragging cords everywhere
You do not need a complex system. A few well-placed battery lights, a small backup power option, and a simple routine for keeping them ready go a long way.
Step 1: Map Your Safe Paths and Critical Spots
Before choosing any lights, decide where you actually need them. The goal is not to light the entire garage or basement like daytime. You just need safe, clear paths and a few key work zones.
Identify the minimum safe paths
Walk your garage and basement while the power is on and list the routes you are most likely to use during an outage:
- From exterior door to interior door
- From basement stairs to breaker panel
- From door to water shutoff, gas shutoff, or sump pump
- From stairs to freezer, pantry shelves, or storage bins
- From garage entry to vehicle doors
These are your “priority paths.” Each one needs enough light to see stair edges, clutter on the floor, and low obstacles.
Mark critical task areas
Next, mark the places where you may need to stand and do something briefly during an outage:
- Breaker panel and main electrical disconnect
- Water and gas shutoff valves
- Sump pump or drainage area
- Workbench or tool wall
- Freezer or second refrigerator
- Shelving with emergency supplies or water
Each task area needs one reliable light source that can run long enough for basic work, not all night. Often a focused task light or lantern is enough.
Example values for illustration.
| Location | What to check | Why it matters |
|---|---|---|
| Basement stairs | Top and bottom landings, each step visible | Reduces fall risk, especially for kids and seniors |
| Breaker panel | Panel door, labels, floor space in front | Allows safe reset of breakers or main shutoff |
| Water shutoff | Valve handle and surrounding floor area | Quick shutoff for leaks without tripping |
| Garage vehicle path | Path from entry door to driver’s door | Prevents bumping into vehicles and bikes |
| Freezer or pantry shelves | Shelf fronts and floor in front of unit | Allows careful access to food without spills |
| Workbench or tool wall | Work surface and main tools | Safer handling of basic tools during outages |
Step 2: Choose Safe, Off-Grid Lighting Types
Once you know where you need light, choose types that are safe for indoor use and can run without household power. Avoid open flames in garages and basements where fumes, paints, and stored fuels are often present.
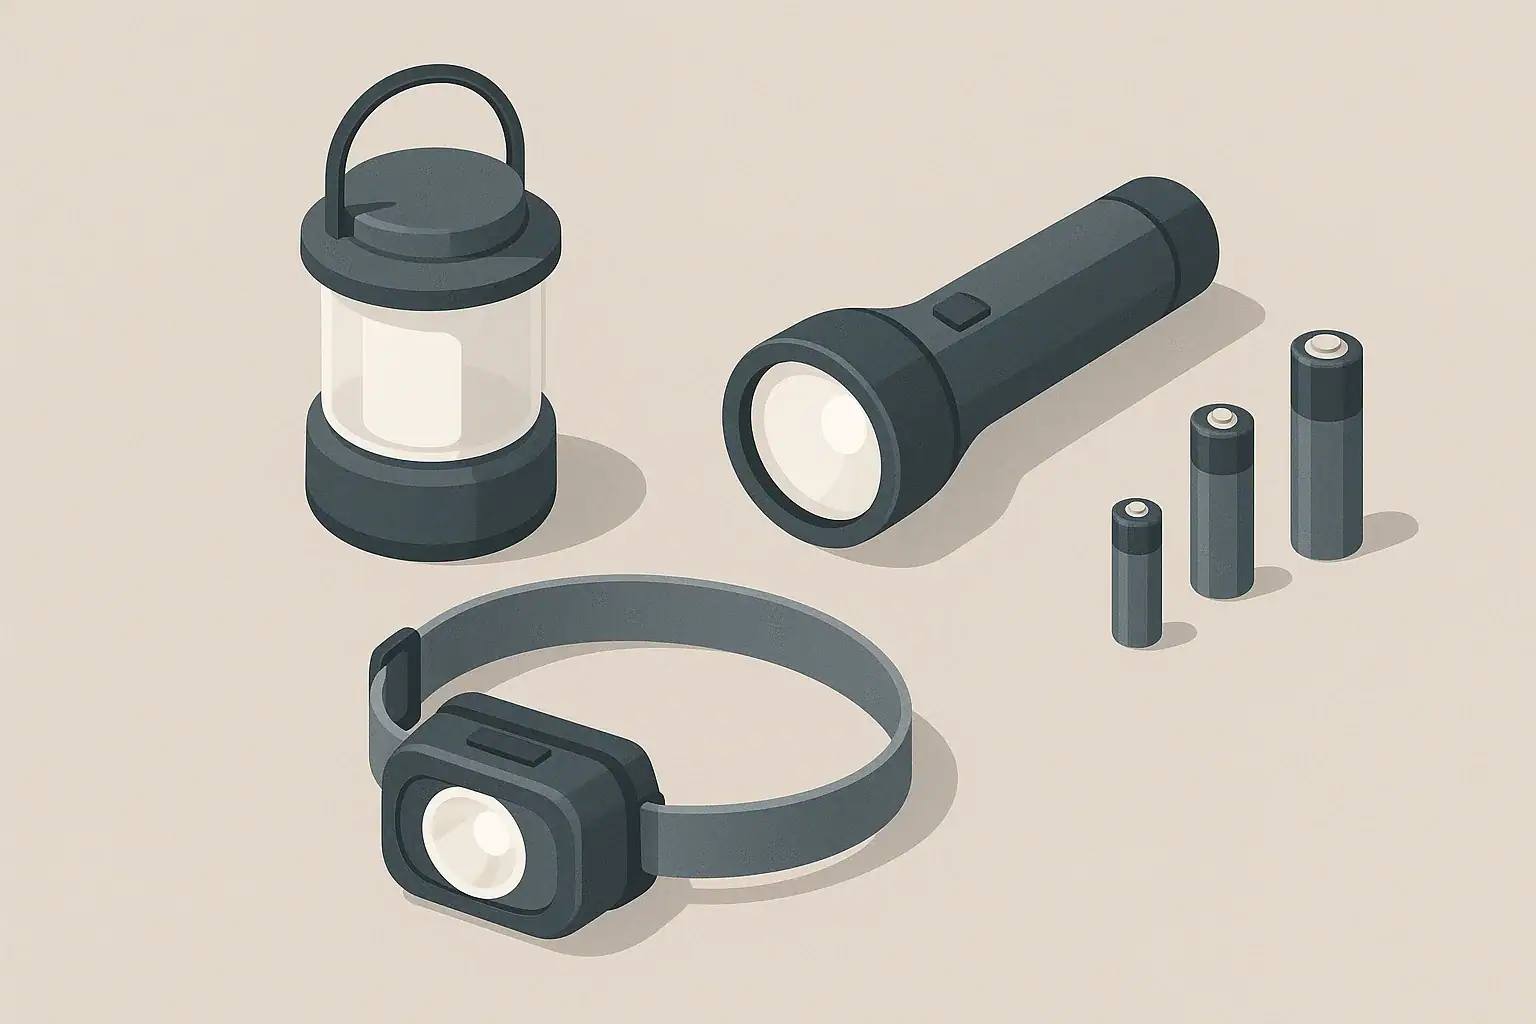
Portable LED lanterns
Lanterns are useful for general area light:
- Provide 360-degree light for small rooms or corners
- Work well on shelves, steps, or hanging from a hook
- Often have lower brightness settings that extend runtime
Plan on at least one lantern for the basement and one for the garage, plus a spare if your home has multiple levels or family members.
Headlamps and clip-on lights
Hands-free lighting is especially helpful for stairs and breaker panels:
- Keeps both hands free for doors, handrails, and tools
- Follows your line of sight automatically
- Lightweight enough for older kids and many seniors
Store at least one headlamp near the main entry to the garage or basement, and another in your main household emergency kit.
Compact flashlights
Flashlights are good for quick tasks and checking dark corners:
- Easy to keep in wall-mounted holsters or small storage bins
- Useful as backups for lanterns and headlamps
- Can reach into tight spaces, such as behind appliances
Think of flashlights as your “grab and go” options, while lanterns and headlamps handle ongoing lighting.
Battery puck lights and strip lights
For stair edges and narrow walkways, small mounted battery lights are helpful:
- Stick-on puck lights can mark top and bottom of stairs
- Motion-activated lights conserve battery life
- LED strip lights can outline a path along a wall or ceiling
Keep these at low brightness; the goal is to define edges and obstacles, not to flood the whole room with light.
Small backup power and solar options
If you use rechargeable lights, consider how you will recharge them without grid power:
- Small battery stations can recharge lanterns, headlamps, or USB lights
- Portable solar panels can top up power during daylight in multi-day outages
- 12-volt car outlets (used safely outdoors or with ventilation) can also recharge some devices
For most homes, a simple setup that charges a few lights and a phone is enough for garage and basement needs.
Step 3: Design a Simple Lighting Layout
With your paths mapped and light types chosen, sketch or mentally map where each light will live. The layout should be easy to remember, even when you are tired or stressed during a storm or outage.
Lighting the stairs
Stair safety is a top priority. A practical layout may include:
- One mounted puck or strip light at the top of the stairs
- One at the bottom landing
- A lantern or wall-mounted flashlight stored within reach of the stair entrance
If possible, place a low-glare light source so you see stair edges and railing clearly without shining bright light directly into people’s eyes.
Securing the breaker panel and shutoffs
Place a dedicated light near your breaker panel and shutoff valves:
- Mount a hook for a lantern at eye level beside the panel
- Keep a headlamp in a labeled container or pocket near the panel area
- Use a stick-on light directly above or beside the shutoff valve
Practice walking to the panel and shutoffs from your usual entry point with your main lights off, using only your planned backup lighting, to see if anything needs adjustment.
Creating safe garage and basement walkways
Focus on “light islands” that connect safely rather than trying to brighten every corner:
- Place lanterns or wall lights along one side of the path at regular intervals
- Clear clutter from walkways so dim light is still enough
- Keep bikes, tools, and storage bins pushed out of the walkway zone
In garages, consider a small light near the interior door and another near the path to the vehicle doors.
Task lighting for short, focused work
For quick tasks, you usually need a narrower, brighter light:
- Store a focused lantern or bright flashlight at the workbench
- Use headlamps when handling tools or checking equipment
- Limit tasks to essential, low-risk work during outages
Remember that garages may contain fumes from fuel, paint, or solvents. Avoid overheating devices and ensure any powered tools are used cautiously, or postponed if possible.
Step 4: Match Your Lighting Plan to Your Living Situation
Different homes and households have different needs. Adjust your garage and basement lighting plan so it stays realistic and maintainable for you.
Apartments and townhomes with shared garages
If you use a shared or underground garage, you may have limited control over fixed lighting:
- Rely more on personal lanterns, headlamps, and compact lights
- Keep one light in your vehicle and one in your go-bag or everyday carry items
- Know alternate exits and stairs in case fixed emergency lights fail
For basement storage units, keep a small lantern or flashlight clipped to your storage shelf or inside a labeled container so you can find it quickly.
Single-family homes with attached garages
Attached garages often connect directly to living spaces:
- Place a lantern or flashlight near the door between house and garage
- Light the path from that door to the vehicle and any freezers or shelves
- Make sure children know not to play with tools or vehicles during outages
If your main electrical panel is in the garage, treat that area like a mini control center with a dedicated headlamp and lantern.
Older adults, kids, and pets
Make the plan friendly for everyone in the household:
- Choose simple on/off switches rather than complex modes where possible
- Place lights at reachable heights for shorter adults and older kids
- Consider night-light level illumination near pet feeding areas or litter boxes
- Teach children not to shine bright lights directly into eyes, especially on stairs
If anyone in the household has mobility challenges, give extra attention to stair and ramp lighting, and keep paths wide and uncluttered.
Step 5: Battery, Charging, and Runtime Planning
Even the best lighting layout fails if batteries are dead. A light battery plan keeps your garage and basement usable through typical short-term outages.
Standardize battery types where possible
Using fewer battery sizes simplifies storage and replacement:
- Choose lights that mostly use one or two common sizes (for example, AA or AAA)
- Keep a small reserve of any specialty batteries separate and clearly labeled
- Note which lights are rechargeable and which use disposable batteries
Label containers or shelves for each battery size so you can grab the right ones quickly in low light.
Estimate basic runtime needs
For many households, planning for one to three days of outages is a practical starting point. To estimate:
- Assume a few hours of light in the garage and basement each evening
- Use low or medium brightness most of the time to stretch runtime
- Reserve highest brightness for brief, focused tasks
For example, if you expect to use a lantern for about 3 hours per night on a low setting, planning for roughly 10–15 total hours of runtime per lantern gives you a buffer.
Charging routines for rechargeable lights
Include your rechargeable lights in your regular household routines:
- Top up rechargeable lanterns and headlamps every one to three months
- After any extended outage, fully recharge devices as soon as power returns
- If you use solar panels, test them on a clear day once or twice a year
Keep charging cables stored near the devices they belong to, so you are not searching for the right connector in the dark.
Example values for illustration.
| Lighting type | Battery type | Pros and cons | Storage tip |
|---|---|---|---|
| Lantern | AA or built-in rechargeable | Good area light; heavier; higher draw on high settings | Store with batteries removed or lockout enabled |
| Headlamp | AAA or small rechargeable cell | Hands-free; smaller batteries mean shorter runtime on high | Keep in a small pouch near stairs or main entry |
| Compact flashlight | AA, AAA, or small rechargeable | Easy to carry; narrow beam may miss trip hazards | Mount in a wall clip at eye level |
| Puck or strip light | Coin cell, AA, AAA, or rechargeable | Good for marking paths; some use uncommon batteries | Label battery type on nearby shelf or container |
| USB task light | Built-in rechargeable | Flexible positioning; depends on USB power source | Store with a dedicated power bank in a marked box |
| Solar-charged light | Built-in rechargeable | Can recharge off-grid; depends on sun and placement | Test outdoors periodically and wipe panels clean |
Step 6: Safety, Maintenance, and Simple Drills
A lighting plan works best if everyone in the home knows how to use it and you keep it in basic working order.
Safe use in garages and basements
Because these spaces often store fuels and chemicals, add a few safety habits:
- Avoid candles, oil lamps, or any open flame in these areas
- Do not place lights directly on top of combustible materials
- Keep cords and hanging lights away from walkways and vehicle paths
- Use only indoor-rated lights in damp basements unless specified otherwise
Ventilation can be limited in basements. Avoid using combustion-based generators or heaters indoors, and follow safety guidance for any fuel-powered equipment outdoors.
Maintenance schedule you can stick with
A light, repeatable schedule keeps everything ready without much effort:
- Every 3–6 months: test all garage and basement lights, check battery levels, and replace or recharge as needed
- Before major storm seasons in your region: confirm your lights are where you expect them, and paths are clear
- After any power outage: note which lights were most useful and adjust placement if needed
Keep a small notepad or digital note listing where each light is stored, battery type, and the last time you checked it. This can be brief and still very useful.
Practice quick, calm walk-throughs
Short practice sessions help everyone feel more confident:
- Choose a time in the evening to turn off main lights
- Use only your backup lights to walk from the main living area to the garage and basement
- Locate the breaker panel, shutoffs, and key storage shelves
- Adjust any lights that cause glare or leave dark patches on the floor
These simple drills do not have to be dramatic. Treat them like a household routine, similar to checking smoke alarms or organizing closets, focused on making everyday spaces safer and easier to use during short-term power interruptions.
Authoritative sources
Safety recommendations can change. Confirm critical details with current official guidance and local authorities.
- CDC: Carbon Monoxide Poisoning Basics
- USDA FSIS: Keep Food Safe During Emergencies
- U.S. CPSC: Battery Safety
Frequently asked questions
What specific lights should I use to make basement and garage stairs safe during an outage?
Use low-glare LED puck or strip lights at the top and bottom landings to define step edges, combined with a wall-mounted lantern or a headlamp for hands-free use. Motion-activated puck lights help conserve batteries, while a lantern stored near the stair entrance provides a reliable area light for multiple people.
How do I organize batteries so my garage and basement lighting plan stays reliable?
Standardize on one or two common battery sizes where possible and keep a labeled reserve in a dry, accessible container. Test lights and rotate or recharge batteries every 3–6 months, and record where each light is stored plus its battery type so you can grab the right replacement quickly in low light.
Can portable solar panels recharge lighting for a garage and basement lighting plan during multi-day outages?
Yes, small portable solar panels paired with a battery station or power bank can top up rechargeable lanterns and USB lights during daylight, but they depend on sun availability and panel capacity. Test the system periodically and size the panel and battery to match your expected daily usage to avoid surprises in cloudy weather.
Is it safe to use rechargeable lights and small battery stations inside an attached garage?
Rechargeable lights and indoor-rated battery stations are safe when used according to manufacturer guidance and kept away from flammable liquids and fumes. Do not run combustion generators indoors; if you must recharge from a vehicle outlet, do so outdoors or with proper ventilation and safety precautions.
Where should I place a dedicated light for the breaker panel and shutoff valves?
Mount a hook at eye level beside the breaker panel for a lantern, keep a headlamp in a labeled container nearby, and install a stick-on light directly above or next to shutoff valves. This combination ensures quick, hands-free access and clear visibility for short tasks.
- Simple checklists and realistic planning
- Water, power, lighting, and pantry basics
- Family plans (kids, pets, seniors) and seasonal prep
Affiliate disclosure
As an Amazon Associate, we earn from qualifying purchases. Some links on this site may be affiliate links. If you buy through these links, we may earn a small commission at no extra cost to you. This helps support our content. Learn more.