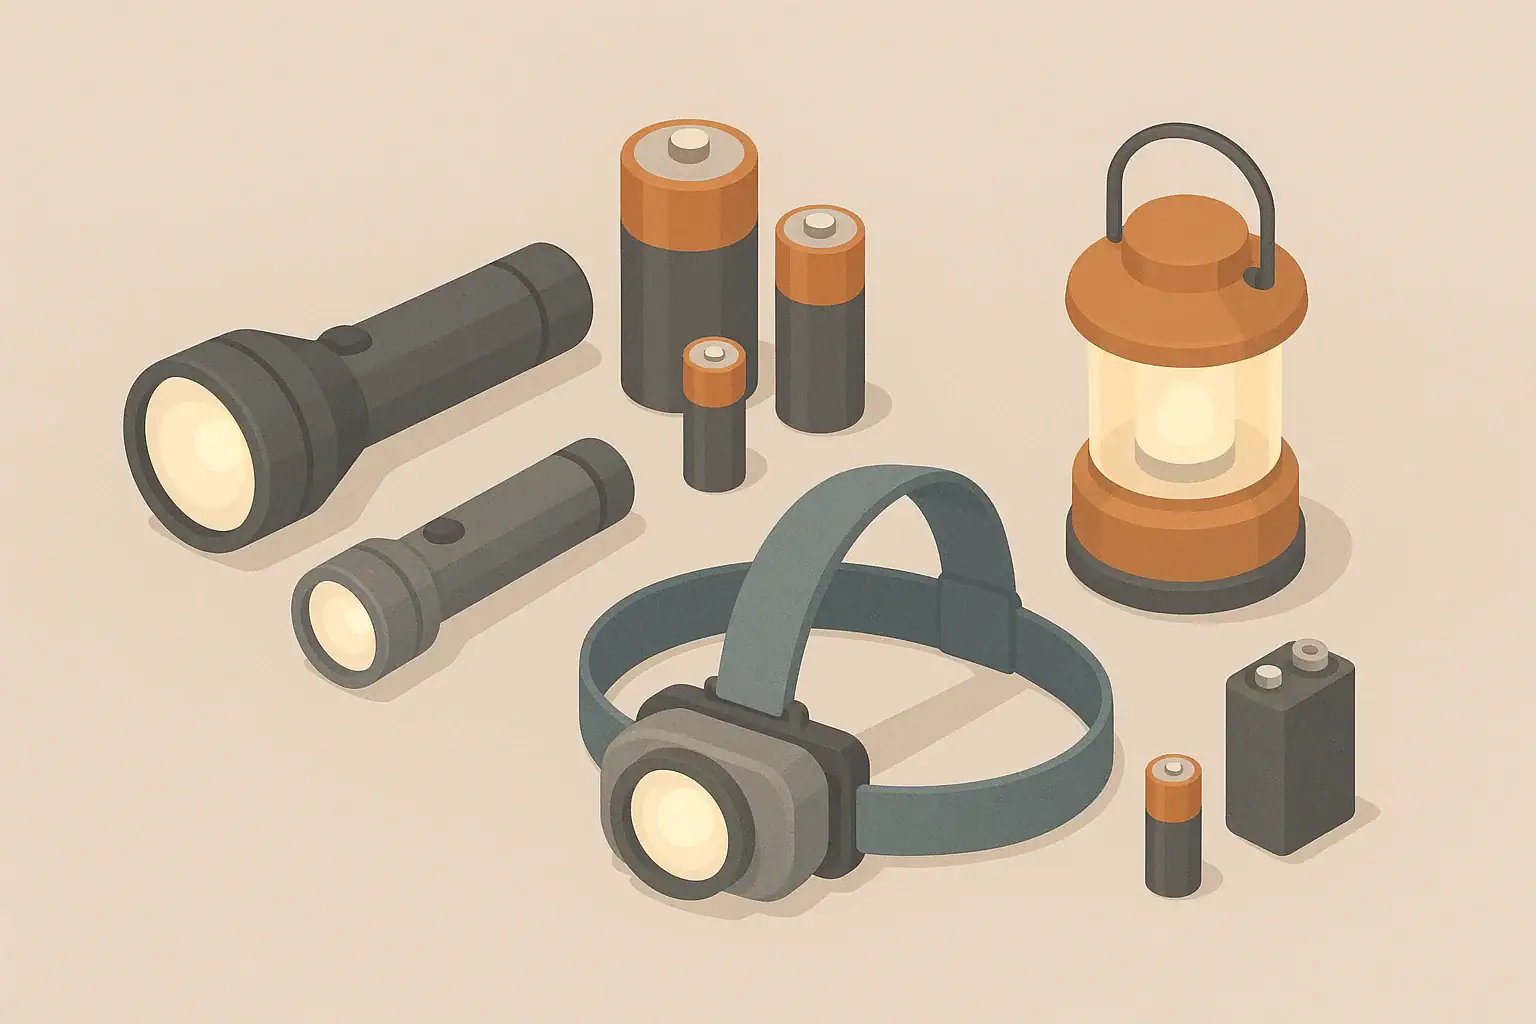
When the power goes out, the first challenge is often just getting through the door safely. A dark entryway can make it hard to unlock doors, manage keys, and navigate stairs or thresholds. During storms or neighborhood outages, this is a realistic everyday scenario, not a disaster movie situation.
An entryway lighting kit is a small, focused set of tools stored near your main doors. Its job is simple: give you enough light to see locks, steps, and obstacles, without having to dig through closets or walk through a dark home to find a flashlight.
This kind of kit is useful in many situations:
- Coming home after dark during a neighborhood blackout
- Walking pets when streetlights are out
- Helping kids or visitors find the lock and doorbell safely
- Assisting older adults with balance or vision challenges at the doorway
Focusing on entryways is a practical way to improve safety for apartments, single-family homes, and shared housing. It is especially helpful in buildings with interior hallways, outdoor stairs, or uneven walkways.
Why Entryway Lighting Matters During a Blackout
When the power goes out, the first challenge is often just getting through the door safely. A dark entryway can make it hard to unlock doors, manage keys, and navigate stairs or thresholds. During storms or neighborhood outages, this is a realistic everyday scenario, not a disaster movie situation.
An entryway lighting kit is a small, focused set of tools stored near your main doors. Its job is simple: give you enough light to see locks, steps, and obstacles, without having to dig through closets or walk through a dark home to find a flashlight.
This kind of kit is useful in many situations:
- Coming home after dark during a neighborhood blackout
- Walking pets when streetlights are out
- Helping kids or visitors find the lock and doorbell safely
- Assisting older adults with balance or vision challenges at the doorway
Focusing on entryways is a practical way to improve safety for apartments, single-family homes, and shared housing. It is especially helpful in buildings with interior hallways, outdoor stairs, or uneven walkways.
Core Pieces of an Entryway Lighting Kit
An effective entryway lighting kit does not need to be complicated or expensive. The goal is reliability and ease of use, not high-tech gear. Most households can assemble a simple kit from items they already own, plus a few additions.
1. Hands-Free Light for Unlocking Doors
Hands-free lighting makes it easier to juggle keys, bags, and door handles without dropping anything in the dark.
- Headlamp: Useful for renters and homeowners. It points where you look and leaves both hands free.
- Clip-on or small wearable light: Can attach to a jacket, bag strap, or hat for quick use.
Choose lights with simple on/off controls that can be used with cold or gloved hands.
2. Small Flashlight for Detail Work
A compact flashlight lives in the entryway kit for precise tasks such as:
- Finding dropped keys
- Reading small labels or notes near the door
- Checking outside steps, mats, or puddles
For entryway use, a basic, durable flashlight that uses common household batteries is usually enough.
3. Area Light for the Door Zone
Area lighting makes the whole doorway safer, not just the lock. This helps families, older adults, and visitors who may need extra visibility.
- Small lantern: Can stand on a shelf or floor to light shoes, bags, and the doorframe.
- Battery-powered puck or tap light: Can be kept in the kit or mounted near the door for backup.
Consider a light that can stand upright or hang from a hook or doorknob for more flexibility.
4. Spare Batteries Stored Separately
Lights are only useful if they turn on during a blackout. Keep fresh batteries next to your lights, but not installed in long-term storage to reduce the chance of leaks.
- Store in a small, labeled container or zipper bag.
- Use common sizes (for example, AA or AAA) when possible so devices can share spares.
- Note a simple check date (for example, every 6 or 12 months) on a small card.
5. Simple Organization for Fast Access
The best kit is one everyone can find in the dark. Keep items together in a consistent place:
- Small bin, basket, or box in a closet by the front door
- Wall hook for a headlamp near the door frame (high enough to avoid bumps)
- Shallow drawer in an entryway table with lights at the front
Walk family members through where the kit is and how to use it. A 30-second conversation now can prevent confusion later.
Example values for illustration.
| Home type | Key lighting items | Why it matters | Extra notes |
|---|---|---|---|
| Small apartment | 1 headlamp, 1 small flashlight | Covers hallway and lock without taking space | Store on a hook or in a narrow drawer |
| Large apartment building | Headlamp, small lantern | Helps navigate dark internal hallways or stairs | Consider one lantern for entry and one for main room |
| Single-family home | 2 headlamps, 1–2 lanterns | Supports multiple doors and outdoor steps | Keep one set by main door, another by garage door |
| Townhouse with stairs | Headlamp, flashlight, stair area light | Reduces trip risk on interior or exterior stairs | Plan a light at top and bottom of stairs |
| Home with seniors | Lantern, motion-style tap light | Makes threshold and rugs more visible | Prioritize large, easy-to-use switches |
| Home with kids | Extra child-friendly flashlight | Gives children their own light to reduce anxiety | Show kids where it lives and how to turn it on |
Positioning Lights for Safer Doorways and Keys
Where you place your entryway lighting matters as much as what you buy. Strategic placement helps you avoid fumbling in the dark and reduces the chance of slips or falls.
Lighting the Lock and Handle
The first task during a blackout is often unlocking the door. Make that step simple:
- Store a headlamp or small flashlight within arm's reach of the main door.
- Practice turning it on while standing in the usual spot where you unlock.
- If there is a secondary entrance (such as a back or side door), add a backup light nearby.
For homes with deadbolts or multiple locks, a hands-free light can make it much easier to see keyholes and align keys correctly.
Illuminating Steps, Thresholds, and Rugs
Many entryways include changes in height that can be hard to see in the dark:
- Single steps into the home
- Sunken living rooms or raised entry platforms
- Thick welcome mats or runner rugs that may curl at the edges
Place a small lantern or area light so it shines along the floor near these transitions. Aim to reduce shadows and highlight potential tripping points.
Supporting Outdoor and Shared Entryways
For apartments and condos with shared halls or exterior stairs:
- Keep a light you are comfortable carrying between your unit and the building entrance.
- If allowed, place a small, removable light just inside your door to shine outward when you open it.
- Consider how you will manage packages or deliveries waiting outside in the dark.
For single-family homes, think about walkways, driveways, and porches. A dedicated flashlight or lantern near the door can help you check for ice, puddles, or objects left on the path.
Adapting an Entryway Lighting Kit for Different Households
Every household has different needs. A studio apartment with one resident will plan differently than a multi-story home with kids, seniors, or pets. Adjust your entryway lighting kit so it fits how you actually live.
Renters and Small Spaces
Renters often have limited control over permanent fixtures. Removable, portable lights are a flexible option.
- Use adhesive hooks for hanging headlamps or small lights.
- Choose compact lanterns that can double as general room lighting.
- Keep kits non-permanent so they are easy to pack during a move.
In studio and one-bedroom units, a single well-placed kit near the main door may cover both entry and living space needs.
Families with Kids
Power outages can be unsettling for children. Giving them their own light and a simple role can make the experience calmer.
- Assign one child to retrieve the entryway kit when the power goes out.
- Keep at least one child-friendly flashlight in the kit.
- Practice “lights-out drills” in a low-key way so kids know what to do.
Explain that lights in the kit are for shared use and should be returned to the same spot after practice.
Older Adults and Limited Mobility
For seniors or anyone with balance or vision challenges, entryway lighting is especially important.
- Prioritize standing lanterns or tap-style lights with large switches.
- Avoid requiring bending or reaching too high to access lights.
- Ensure there is a stable surface (such as a table or shelf) for placing lights near the door.
If a cane, walker, or mobility aid is used, consider how a small light might attach or be carried safely without interfering with grip.
Pets and Nighttime Routines
Pets still need to go outside during a blackout. Entryway lighting supports safe leashing and yard checks.
- Store a small flashlight in the kit specifically for pet trips.
- Check that the light angle covers doorways, fences, and common pet paths.
- For apartment dwellers, plan lighting for common areas and stairs used during late-night walks.
Keep leashes, waste bags, and a light in the same entry area so you can gather everything quickly in low light.
Power Sources and Battery Planning for Entryway Lights
Entryway lighting works best when you know how long it can run and how you will keep it powered during extended outages. For most everyday blackouts lasting a few hours to a day, thoughtful battery planning is usually enough.
Choosing Battery Types
There is no single best battery type, but consistency makes planning easier.
- Common disposable sizes (AA, AAA, C, D): Widely available and easy to rotate.
- Rechargeable batteries: Useful if you already maintain a charger and backup power source.
- Built-in rechargeable lights: Convenient but depend on charging before the outage.
You can mix types, but try to limit the number of unique batteries needed for your entryway kit so spares can be shared.
Estimating Runtime for Planning
Manufacturers often list approximate runtimes at various brightness levels. For planning purposes, you can think in simple terms, such as:
- Small flashlight: several hours of useful light on fresh batteries
- Lantern on low: enough for an evening of entryway and nearby area lighting
During outages, dimming lights to the lowest effective level can stretch battery life significantly.
Charging Options During Longer Outages
For regions that experience frequent or seasonal blackouts, it may be helpful to pair your entryway kit with basic charging options.
- Small power bank for rechargeable headlamps or lanterns
- Wall charger kept near the entryway for easy pre-storm charging
- Optional connection to a larger home backup power solution, if you have one
Keep charging cables in the same bin or drawer as the lights so they are not misplaced when needed.
Example values for illustration.
| Lighting type | Common battery type | Pros and cons | Storage tip |
|---|---|---|---|
| Small flashlight | AA or AAA cells | Easy to stock; may be misplaced if too small | Keep by the door in a shallow tray |
| Headlamp | AAA cells or built-in rechargeable | Hands-free; requires strap adjustment | Hang on a hook near the entryway |
| Compact lantern | AA, AAA, or larger cells | Good area light; slightly bulkier | Store on a low shelf for easy reach |
| Tap or puck light | AA, AAA, or coin cell | Simple to use; some models dim over time | Check brightness during regular rotations |
| Rechargeable lantern | Built-in battery pack | No loose cells; must be charged in advance | Top up charge before forecast storms |
| Keychain light | Coin cell or tiny rechargeable | Always with you; limited brightness | Pair with a primary entryway light source |
Maintaining and Practicing With Your Entryway Lighting Kit
Even the best kit needs occasional attention. Simple maintenance ensures your lights will work the moment the power goes out.
Seasonal Checks and Battery Rotation
Link your entryway kit checks to predictable times, such as the start of each season or time changes.
- Turn on each light and confirm it works.
- Replace or recharge batteries that seem weak.
- Wipe dust from lenses and switches.
For disposable batteries, use a “first in, first out” approach. Place newer batteries at the back of your storage container and use older ones first.
Quick Practice for the Whole Household
Brief, calm practice helps everyone feel more confident.
- Pick one evening to turn off the main lights for a few minutes.
- Have each household member find and use the entryway kit.
- Notice any awkward placements or hard-to-reach items and adjust.
This kind of short, low-stress run-through is especially helpful for kids and visitors who may be at your home during an outage.
Keeping the Kit Ready but Out of the Way
Your entryway lighting kit should be visible enough to find quickly but not a tripping hazard itself.
- A low, stable shelf is usually better than the floor.
- A small label or colored bin can make it easier to identify in low light.
- Remind guests, babysitters, and neighbors where it is if they may need to use it.
By keeping the kit simple, organized, and maintained, you make it much easier to move safely through your doorway, manage keys, and support family members during the next blackout, whether it lasts minutes or several hours.
Authoritative sources
Safety recommendations can change. Confirm critical details with current official guidance and local authorities.
- U.S. CPSC: Battery Safety
- CDC: Guidelines for Cleaning Safely After a Disaster
- Ready.gov: Preparedness Tips for People with Disabilities
Frequently asked questions
What items should I include in a basic entryway lighting kit?
A basic entryway lighting kit should include a hands-free light (like a headlamp or clip-on), a small handheld flashlight for detail work, an area light or small lantern, and a supply of spare batteries stored separately. Adding a shallow bin or hook for organization and a short charging cable or power bank if you use rechargeable lights is also helpful.
Where is the best place to store an entryway lighting kit for fastest access?
Store the kit within arm’s reach of your main door on a low, stable shelf, a shallow drawer, or a hook near the door frame so it is easy to grab without bending or searching. Keep the location consistent and visible in low light, and label the container or use a colored bin to make it easier to identify.
How often should I check lights and rotate batteries in an entryway lighting kit?
Link checks to predictable events such as the start of each season or daylight saving time; this typically means testing lights and rotating batteries every 6 to 12 months. Quick monthly visual checks are also useful if your household experiences frequent outages or if lights are used often.
Can I rely on rechargeable lights in an entryway lighting kit during extended outages?
Rechargeable lights are convenient but depend on being charged before an outage, so include a small power bank or keep a wall charger near the entryway for topping up ahead of storms. For long outages, pair rechargeable devices with some disposable spare batteries or a separate battery-powered light as backup.
How can I make an entryway lighting kit more accessible for older adults or people with limited mobility?
Prioritize lights with large, easy-to-use switches, standing lanterns that don’t require bending, and mounting options that place lights within easy reach. Keep the kit on a low stable surface near the door and avoid high hooks or deep bins that require stretching or kneeling.
- Simple checklists and realistic planning
- Water, power, lighting, and pantry basics
- Family plans (kids, pets, seniors) and seasonal prep
Affiliate disclosure
As an Amazon Associate, we earn from qualifying purchases. Some links on this site may be affiliate links. If you buy through these links, we may earn a small commission at no extra cost to you. This helps support our content. Learn more.