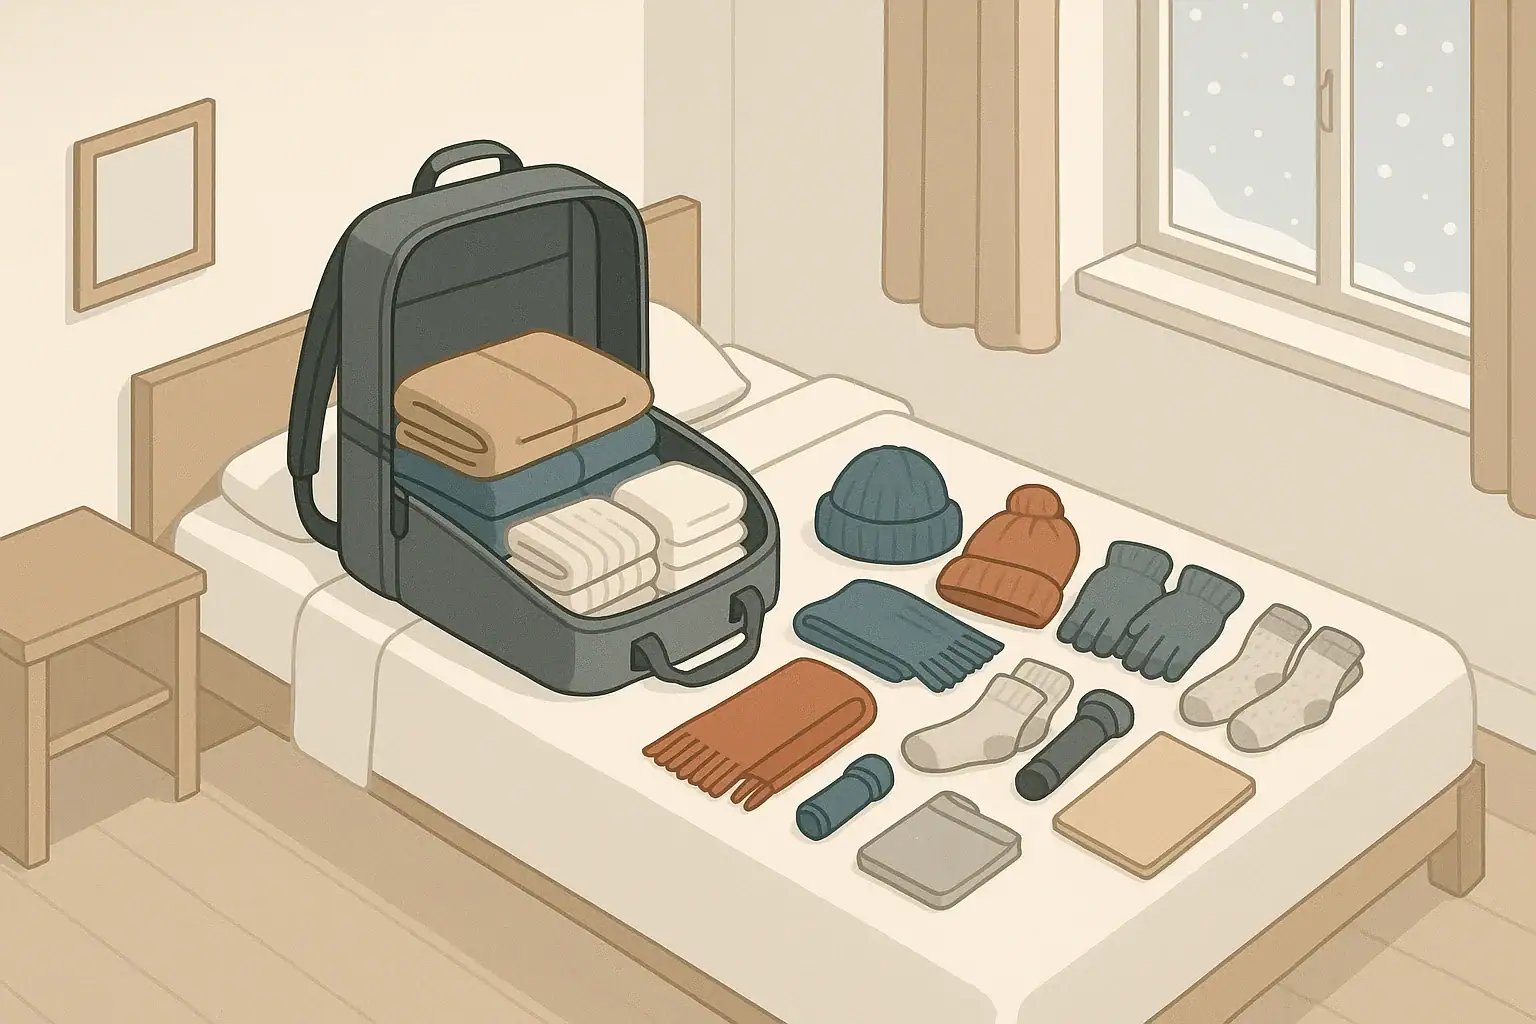
A winter evacuation clothing bag is a focused part of a go-bag that deals only with staying warm and dry if you have to leave home quickly during cold weather. Instead of trying to grab items from multiple drawers during a stressful moment, you have a pre-packed set of layers, gloves, hats, and dry socks ready to go.
This kind of planning is especially helpful for common winter situations in the United States, such as short-notice evacuations due to a building issue, heating failure in an apartment, or leaving home during a winter storm or power outage. The goal is comfort and safety, not extreme survival. You want enough clothing to:
- Stay reasonably warm if you are waiting in a car, bus, or shelter
- Change into dry items if what you are wearing gets wet
- Manage temperature changes when moving between indoors and outdoors
- Support different ages and needs in your household, from kids to seniors
You do not need specialty gear to get started. Most people can assemble a winter evacuation clothing bag using items they already own, plus a few low-cost additions over time.
Why a Winter Evacuation Clothing Bag Matters
A winter evacuation clothing bag is a focused part of a go-bag that deals only with staying warm and dry if you have to leave home quickly during cold weather. Instead of trying to grab items from multiple drawers during a stressful moment, you have a pre-packed set of layers, gloves, hats, and dry socks ready to go.
This kind of planning is especially helpful for common winter situations in the United States, such as short-notice evacuations due to a building issue, heating failure in an apartment, or leaving home during a winter storm or power outage. The goal is comfort and safety, not extreme survival. You want enough clothing to:
- Stay reasonably warm if you are waiting in a car, bus, or shelter
- Change into dry items if what you are wearing gets wet
- Manage temperature changes when moving between indoors and outdoors
- Support different ages and needs in your household, from kids to seniors
You do not need specialty gear to get started. Most people can assemble a winter evacuation clothing bag using items they already own, plus a few low-cost additions over time.
Core Clothing Principles for Winter Evacuation
Instead of packing your warmest single outfit, it helps to think in terms of a system. A clothing system for winter uses several light-to-medium layers that you can add or remove. This works better than one heavy item because it:
- Makes it easier to adjust to changing temperatures
- Dries faster when pieces get damp
- Allows sharing or swapping layers between family members
Three basic principles guide a useful winter clothing bag:
- Layering: Thin layers trap air and keep warmth close to your body. Aim for base, middle, and outer layers.
- Dryness: Staying dry is as important as staying warm. Pack backups for socks, gloves, and base layers.
- Coverage: Protect hands, feet, head, neck, and face from cold and wind as much as reasonably possible.
Plan around what makes sense where you live. A mild winter climate may only need lighter layers, while colder regions benefit from thicker mid-layers and more backup socks and gloves.
| Task | Why it matters | Notes |
|---|---|---|
| Set a clothing goal for 24–48 hours | Prevents overpacking or missing basics | Plan for 1–2 outfit changes per person |
| Choose base, mid, and outer layers | Makes it easier to adapt to temperature shifts | Focus on thin, flexible pieces you already own |
| Add backup socks and underwear | Dry feet and clean underlayers improve comfort | Pack at least one spare set per person |
| Include hat, gloves, and neck cover | Extremities lose warmth quickly | Simple knit items are usually enough |
| Pack for your local winter conditions | Reduces unnecessary bulk | Heavier items for snowy regions, lighter for mild areas |
| Check fit and comfort yearly | Kids outgrow clothing quickly | Try on items before winter each year |
Example values for illustration.
Building a Layering System: Top to Bottom
Layering starts with what touches your skin and builds outward. For a basic winter evacuation clothing bag, think in three layers for your upper body and two to three for your legs.
Base Layers: The Dry Foundation
Base layers are the thin items worn closest to your skin. Their main job is to help move sweat and moisture away so you feel drier and warmer. In many homes, this can simply be:
- Long-sleeve t-shirts
- Long underwear bottoms or leggings
- Regular underwear and sports bras
For your bag, aim for at least one full extra base layer set per person:
- 1–2 spare long-sleeve tops
- 1–2 spare long underwear bottoms or leggings
- 1–2 spare pairs of underwear
In warmer regions, you may downsize this to lighter shirts and skip the long underwear, especially if winter temperatures rarely go near freezing.
Mid-Layers: The Insulation
Mid-layers provide most of your warmth. These go over the base layers and can be adjusted as you move between indoors and outdoors. Common mid-layers include:
- Light to medium sweaters or pullovers
- Fleece jackets or hoodies
- Heavier flannel shirts
Try to keep mid-layers relatively thin so they pack easily. A flexible plan could be:
- 1 warm sweater or fleece per person in the bag
- 1 lighter long-sleeve shirt that can be worn alone indoors
If you have a very cold climate, consider two mid-layers per person so you can double up if needed.
Outer Layers: Wind and Moisture Protection
Outer layers shield you from wind, rain, and snow. In many everyday evacuations, you may go from a heated building to a vehicle to another building, but a reliable outer layer is still important. Look for:
- A reasonably warm coat or jacket per person
- Rain-resistant shell or windbreaker if your main coat is not water-resistant
Most people will keep their main winter coat by the door, not in the bag. For your clothing bag, consider:
- A lighter, packable jacket as a backup, especially if you rely on one heavy coat daily
- A compact rain shell that can go over existing layers
If space is limited, prioritize items that compress easily and can work over different outfits.
Leg Layers: Pants and Extras
Legs often get overlooked in winter packing. For a winter evacuation clothing bag, aim to cover:
- One extra pair of long pants per person (comfortable enough for sleeping if needed)
- Optional thin leggings or long underwear to wear under regular pants in colder regions
Choose pants that are easy to move in and dry relatively quickly. Sweatpants, thicker leggings, or simple woven pants all work. Avoid packing only heavy denim if your climate is very wet, since it can take longer to dry.
Hands, Feet, and Head: Gloves, Dry Socks, and Hats
Hands, feet, and head can become cold quickly, especially if you are outside waiting for transportation, clearing snow, or walking between locations. Including extras for these areas adds a lot of comfort for relatively little space in your bag.
Gloves and Hand Protection
Every person in your household should have at least one pair of warm gloves or mittens available for evacuation. Consider the following when choosing what to pack:
- Fit: Gloves should allow enough movement to handle zippers, doorknobs, and basic tasks.
- Warmth: Choose items that are comfortable in the coldest typical weather in your area.
- Backup pair: If space allows, add one additional pair per family in the bag, especially for children, since gloves are easy to lose or get wet.
If you live in a wet winter climate, packing a simple waterproof or water-resistant outer glove layer (even basic work-style gloves) can help if you need to handle wet items or snow.
Dry Socks: One of the Highest-Value Items
Dry socks are among the most useful and compact items you can pack. They help keep feet warm, reduce blisters during walking, and make it easier to sleep comfortably in a shelter or unfamiliar location.
A practical winter evacuation sock plan might include per person:
- 1 pair worn at all times (your regular socks)
- 2 extra pairs packed in the bag for colder regions
- 1 extra pair packed for milder climates
Consider storing each extra pair in a small sealable plastic bag or dry sack to keep them protected from spills or damp items in your go-bag. For kids, extra socks are especially helpful because their shoes and socks tend to get wet more quickly in snow and slush.
Hats, Neck Warmth, and Simple Face Coverings
A basic winter head and neck kit is small but makes a noticeable difference. Aim for each person to have:
- 1 knit hat or beanie that covers the ears
- 1 simple neck gaiter, scarf, or similar item
These pieces can be layered with a hooded jacket for more warmth. In wind or blowing snow, a neck gaiter pulled higher can shield the lower part of the face. In milder climates, you might downsize to a lighter hat and a thinner scarf.
Packing for Different Households and Living Spaces
Every household has different needs. The way you pack a winter evacuation clothing bag will depend on whether you live in a small apartment, have children or seniors in the home, or share space with pets.
Apartment and Small-Space Considerations
In smaller homes, storage space is limited, so focus on compact, versatile pieces. Some approaches include:
- Using soft packing cubes or bags to compress clothing by person
- Storing the winter clothing bag under a bed, in a closet, or on a high shelf
- Rotating everyday clothing into the bag at the start of winter and back out in spring
If you rely heavily on public transit or walking, prioritize comfortable, broken-in shoes or boots near your go-bag. You can place them beside your main exit rather than inside the bag to save room.
Families with Children
Children feel cold differently than adults and outgrow clothing quickly, so their winter clothing planning needs more frequent review. Helpful strategies include:
- Labeling each child’s clothing bundle with their name and size
- Including at least one favorite comfortable item (like a familiar sweater) if possible
- Packing extra socks and gloves, since kids are more likely to end up wet
For babies and toddlers, consider:
- One-piece warm outfits or sleepwear that are easy to layer
- Soft hats that stay on securely but are not too tight
- Extra blankets or sleep sacks in the main go-bag, even if the clothing bag is smaller
Older Adults and Mobility Needs
Seniors may need clothing that is easier to put on, remove, and adjust. When packing for older adults:
- Choose layers with wide openings and simple fasteners.
- Consider elastic waist pants instead of complicated closures.
- Include warm house shoes or thick socks with non-slip soles if possible.
If cold tends to be uncomfortable or painful, an extra mid-layer or a light blanket in the main go-bag can improve comfort during transport or while waiting in a shelter.
Pets and Winter Evacuation Clothing
Most pets do not need a separate “clothing bag,” but some may benefit from simple protection in cold weather. For pets that regularly go outside:
- Have a basic coat or sweater that fits properly.
- Consider simple paw protection in icy or salted areas.
- Keep a small towel with pet supplies to dry wet fur or paws.
Store pet items with your overall evacuation supplies so you are not searching for them while trying to leave.
Organizing, Protecting, and Maintaining Your Clothing Bag
A winter evacuation clothing bag is only helpful if items are dry, reachable, and still fit. A little organization makes it much easier to use under stress.
Simple Ways to Organize by Person and Type
Many households find it easiest to group clothing by person. You can do this by:
- Using separate labeled fabric bags or pillowcases inside one larger go-bag
- Color-coding packing cubes or rubber bands (for example, one color for each person)
- Placing a brief content list on top of the bag so you know what is inside at a glance
Inside each person’s bundle, consider rolling outfits together: one pair of socks, underwear, base layer, and shirt rolled into a compact bundle. This makes it easy to hand someone a complete clean set when needed.
Keeping Clothing Dry and Fresh
Moisture is the main enemy of winter clothing bags. To protect items:
- Store the entire bag in a dry location away from plumbing leaks if possible.
- Use simple plastic bags or dry sacks for socks, underwear, and gloves.
- Avoid packing damp or freshly washed but not fully dry clothing.
If your home is very humid, you can occasionally take items out on a dry day, air them briefly, and repack. This also gives you a chance to confirm that everything is still in good condition.
Reviewing and Updating Each Season
Plan to check your winter evacuation clothing bag at least once a year, ideally before cold weather starts. During this review:
- Make sure sizes still fit, especially for children.
- Replace worn-out socks, gloves, or items with holes.
- Adjust for any changes in your household or local climate conditions.
Some people tie this review to another annual task, such as testing smoke alarms or reviewing family emergency plans, so it becomes a routine rather than a big project.
| Food type | Storage tip | Rotation interval idea | No-cook use |
|---|---|---|---|
| Nut butters | Keep in a cool, dark cabinet | Use and replace every few months | Spread on crackers for quick calories |
| Crackers and dry snacks | Store in airtight containers or bags | Rotate monthly into regular snacks | Pair with shelf-stable spreads |
| Shelf-stable milk or alternatives | Keep in a box or bin away from heat | Use before date during everyday meals | Drink plain or with cereal |
| Canned beans | Organize by date, older upfront | Use older cans in weekly meals | Eat cold if needed with simple seasoning |
| Instant oats | Seal in dry container | Rotate into breakfasts regularly | Soften with room-temperature liquid |
| Dried fruit | Keep sealed, away from direct light | Use in snacks every month or two | Eat as-is for quick energy |
Example values for illustration.
Putting It All Together Without Overpacking
A winter evacuation clothing bag does not need to be complicated. Most households can start with a simple setup and refine it over time. One practical approach is:
- Decide how many days you are planning for (commonly 1–2 days).
- Gather extra base layers, a mid-layer, and outer protection for each person.
- Add at least one extra set of socks and underwear per person.
- Include gloves, hat, and neck covering for each person.
- Pack items in an organized way so you can reach what you need quickly.
Even a modest clothing bag can make an evacuation during winter feel more manageable. You will be better prepared to stay reasonably warm, dry, and comfortable while you handle the rest of your short-term plans.
Authoritative sources
Safety recommendations can change. Confirm critical details with current official guidance and local authorities.
- USDA FSIS: Keep Food Safe During Emergencies
- CDC: Guidelines for Cleaning Safely After a Disaster
- Ready.gov: Preparedness Tips for People with Disabilities
Frequently asked questions
What should I include in a basic winter evacuation clothing bag for one adult?
A basic bag should include one full extra base layer set (top and bottom) and underwear, a mid-layer such as a fleece or sweater, a packable outer jacket or rain shell, a hat, gloves, a neck gaiter, and 1–2 extra pairs of dry socks stored in a sealable bag. Choose items that compress well and match your local winter conditions so the bag remains useful without excessive bulk.
How many days of clothing should a winter evacuation clothing bag be packed for?
Most people plan a winter evacuation clothing bag for 24–48 hours, which usually means one to two outfit changes per person. This timeframe balances readiness and space; if you expect longer displacement, add more base layers, socks, and underwear accordingly.
What is the best way to keep dry socks and layers dry inside the bag?
Store socks, underwear, and other critical dry items in small sealable plastic bags or lightweight dry sacks to protect them from spills and damp clothing. Also keep the entire bag in a dry location in your home and avoid packing items that are not fully dry.
How should I adjust a winter evacuation clothing bag for children or older adults?
For children, include extra socks and gloves, label each child’s bundle with their name and size, and consider one-piece outfits for easy layering. For older adults, choose layers with simple fasteners, elastic-waist pants, and non-slip thick socks or warm house shoes to make dressing and mobility easier.
Can I assemble a winter evacuation clothing bag using items I already own?
Yes. Start with existing base layers, a mid-layer, and any packable outerwear you already have, then add inexpensive extras like sealable bags for dry socks and a spare pair of gloves. Over time you can replace or upgrade items as needed to better match your local winter risks.
- Simple checklists and realistic planning
- Water, power, lighting, and pantry basics
- Family plans (kids, pets, seniors) and seasonal prep
Affiliate disclosure
As an Amazon Associate, we earn from qualifying purchases. Some links on this site may be affiliate links. If you buy through these links, we may earn a small commission at no extra cost to you. This helps support our content. Learn more.