Water is one of the easiest parts of home readiness to overlook, especially for large families. Daily life already uses a lot of water, and the idea of storing extra can feel overwhelming if you are thinking in terms of giant barrels or complicated systems.
A practical water storage plan does not need to be extreme. The goal is to cover realistic disruptions such as:
- Short municipal water outages or boil notices
- Power loss that affects well pumps
- Seasonal storms or freezes that interrupt service for a few days
- Temporary contamination concerns where tap water should not be drunk
For large families, the challenge is multiplying basic needs across many people and often in limited space. A good plan focuses on:
- Clear, realistic quantity goals
- Space-efficient containers and storage locations
- Easy rotation so stored water does not sit forgotten for years
- Separate water for drinking, cooking, and basic hygiene
Why Large Families Need a Simple Water Storage Plan
Water is one of the easiest parts of home readiness to overlook, especially for large families. Daily life already uses a lot of water, and the idea of storing extra can feel overwhelming if you are thinking in terms of giant barrels or complicated systems.
A practical water storage plan does not need to be extreme. The goal is to cover realistic disruptions such as:
- Short municipal water outages or boil notices
- Power loss that affects well pumps
- Seasonal storms or freezes that interrupt service for a few days
- Temporary contamination concerns where tap water should not be drunk
For large families, the challenge is multiplying basic needs across many people and often in limited space. A good plan focuses on:
- Clear, realistic quantity goals
- Space-efficient containers and storage locations
- Easy rotation so stored water does not sit forgotten for years
- Separate water for drinking, cooking, and basic hygiene
How Much Water to Store for a Large Family
Emergency planning guidance commonly suggests starting with about 1 gallon of water per person per day for drinking and basic food preparation. Large families often benefit from thinking in layers of coverage instead of trying to reach a very large number all at once.
Step 1: Set a Practical Starter Goal
For many households, aiming for 3 days of water is a realistic first step. As an example, a family of six might plan approximately:
- 1 gallon per person per day for drinking and cooking
- Plus some extra for handwashing and cleaning up spills
That could look like a starter target around 20–25 gallons in total for three days for a larger household, depending on ages, climate, and comfort level. This is only an example; you can adjust up or down based on your situation.
Step 2: Adjust for Your Household
Consider factors that may change your needs:
- Age and health: Young children and older adults may need more frequent small drinks.
- Climate: Hotter regions may require more drinking water, especially in summer.
- Home type: Apartment vs. house, and whether you rely on a private well.
- Pets: Dogs, cats, and small animals also need stored water.
Step 3: Think in Containers, Not Just Gallons
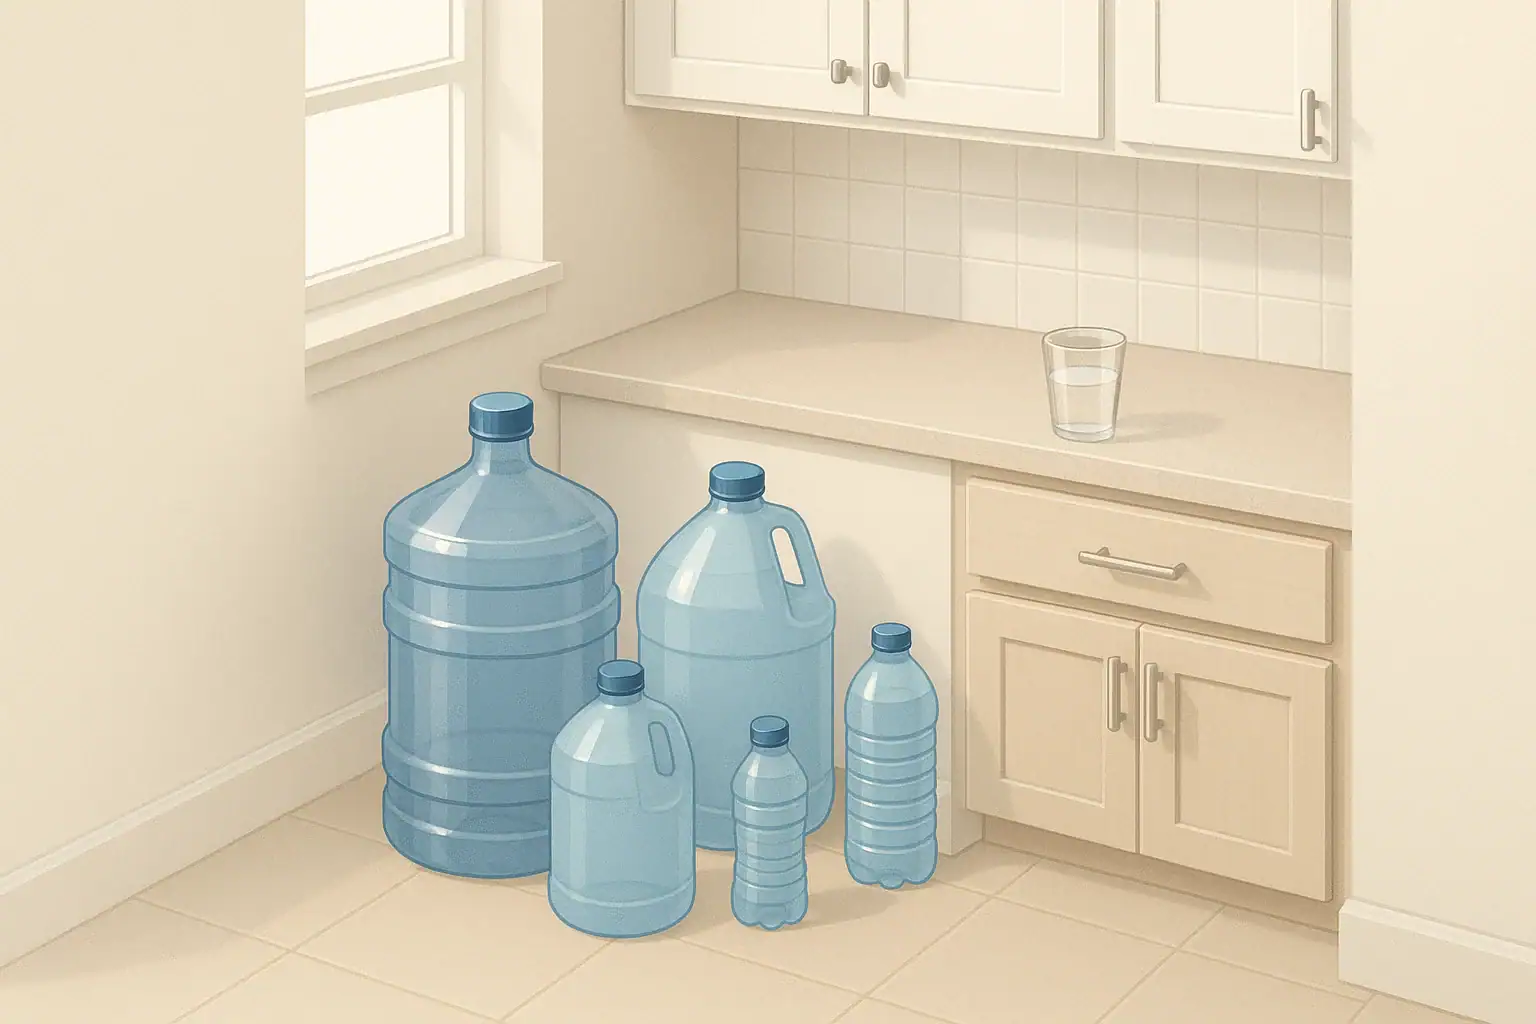
Once you know your example goal, convert it into specific containers. Instead of thinking “we need 30 gallons,” think in terms like:
- Several 3–5 gallon jugs for easy carrying and pouring
- A few smaller bottles for grab-and-go or keeping by beds
- Possibly one larger container if you have space and can move it safely
This makes the plan easier to visualize and build over time, one container at a time.
Example values for illustration.
| Task | Why it matters | Notes |
|---|---|---|
| Decide your target days of coverage | Gives a clear gallon goal to work toward | Common example: 3–7 days per person |
| Count people and pets in the home | Prevents underestimating total water needs | Include regular visitors who stay often |
| Choose container sizes you can lift | Improves safety and actual usability | Many prefer 3–5 gallon containers |
| Assign where each container will live | Helps find space without clutter | Under beds, closets, low shelves |
| Label containers with fill dates | Makes rotation predictable and simple | Use painter's tape and a marker |
| Set a recurring rotation reminder | Prevents water from sitting too long | Use a calendar or phone alert |
| Plan how to use water during an outage | Reduces stress and waste in emergencies | Prioritize drinking and basic cooking |
Space-Saving Storage Ideas for Large Families
Many large families live in smaller homes or apartments where every square foot counts. The key is to break your storage into manageable pieces and tuck them into spaces that are usually underused.
Choose Practical Container Sizes
Large drums can hold a lot but are heavy and hard to move when full. More flexible options include:
- 1–2 gallon jugs: Good for kids to carry and for keeping in closets or on shelves.
- 3–5 gallon containers: A common balance between capacity and liftability for adults.
- Smaller bottles: Useful for bedside tables, backpacks, or quick evacuations.
Choose containers designed for potable (drinkable) water. Avoid reusing old containers that once held chemicals or strong-tasting foods.
Use Hidden and Vertical Spaces
Look for storage locations that do not interfere with daily life:
- Under beds: Several low-profile containers can fit side by side.
- Bottom of closets: Slide jugs along back walls behind shoes or storage bins.
- Under crib or bunk beds: Good for families with multiple children.
- Laundry room floor: Along a wall where they do not block appliances.
- Behind furniture: Along the back of a sofa or dresser if there is a gap.
Label each area so everyone in the family knows where water is stored.
Apartment vs House Considerations
Your home type can shape your strategy:
- Apartments: Focus on smaller containers under beds, in closets, and on low shelves. Balance water with other essentials so the space stays livable.
- Houses: You may have room for a combination of smaller containers plus one or two larger storage options in a cool, dark area such as a basement corner or interior utility space.
In either case, avoid placing heavy containers on high shelves where they could fall or be hard to reach.
Separating Drinking, Cooking, and Hygiene Water
In a short-term disruption, most large families find it useful to divide stored water into three rough categories: drinking, cooking, and basic hygiene. This mental division makes it easier to ration and prioritize when taps are off or not trusted.
Drinking and Food Preparation
Keep your cleanest and most accessible water for:
- Plain drinking water
- Mixing with simple shelf-stable foods that need water
- Preparing formula or toddler-safe drinks, if needed
Store this water in containers that are easy to pour from and that you open less often, to reduce the chance of contamination.
Handwashing and Quick Cleanup
Some families set aside a small portion of water for:
- Rinsing hands after using the restroom (paired with soap or hand sanitizer)
- Quickly wiping down food prep surfaces
- Cleaning up small spills to reduce slip hazards
In a short outage, a simple setup with a container and a small basin near the bathroom or kitchen can work well. Consider using hand sanitizer to stretch your water supply.
Toilet Flushing and Non-Essential Uses
Flushing uses a surprising amount of water. In a brief outage, some families use:
- Leftover water from dishpans or handwashing for flushing
- Snow melt or rainwater collected carefully for non-drinking purposes, if available and safe to access
Reserve your best stored water for drinking and essential cooking first. Plan ahead for how you will handle toilets if water service is interrupted, so your drinking supply is not used up too quickly.
Building a Rotation Routine That Actually Works
Stored water is easiest to manage when it becomes part of your normal home routine instead of a separate project. Large families already go through a lot of water, which can make rotation easier if you plan for it.
Label and Date Every Container
When you fill or purchase a container for storage, clearly mark:
- The fill or purchase date
- Any simple notes, such as which tap it came from or which treatment you used, if any
Painter’s tape and a permanent marker work well because the tape can be replaced during each rotation.
Set a Rotation Interval
There is no single official rotation schedule that fits every home. Many families choose a simple pattern such as:
- Refreshing tap-filled containers every 6–12 months as a routine household task
- Using stored bottled water before its labeled date as part of normal drinking, then replacing it
Pick a schedule that is realistic for your family. Fewer, larger rotation days may be easier than frequent small tasks for busy households.
Use It, Do Not Waste It
When rotation time comes, do not pour water down the drain unless you have no other use for it. Older stored water can often be used for:
- Watering outdoor plants, if appropriate for your area’s watering rules
- Cleaning floors, patios, or outdoor items
- Flushing toilets during routine maintenance
Then refill containers with fresh water and update the date labels.
Automate Reminders
To ensure rotation happens even in a busy household, you can:
- Add a note to your family wall calendar
- Set recurring reminders on phones or shared digital calendars
- Align water rotation with other seasonal tasks, such as testing smoke alarms or changing air filters
Choose a system that everyone in the home understands and can help with.
Safe Handling, Treatment, and Storage Basics
You do not need to be an expert to store water safely, but a few basic habits make a big difference in quality and peace of mind.
Preparing Containers
Before filling containers with tap water:
- Clean and rinse containers according to manufacturer instructions.
- Ensure they are meant for drinkable water, not chemicals.
- Avoid containers that previously held strong-tasting food or beverages.
Fill containers from a cold water tap, which usually comes from the main water line, rather than a hot water tap.
Storage Conditions
Where you place containers affects how well the water keeps over time. Aim for:
- Cool temperatures: Away from heaters or hot attics, if possible.
- Darkness: Inside closets, under beds, or in opaque containers to limit light exposure.
- Stable placement: On the floor or sturdy low shelves so containers cannot fall.
Avoid storing water directly on concrete where temperature changes can be more severe; placing containers on a small board or mat can help.
Reducing Contamination Risk
Basic hygiene while handling containers helps keep water quality more consistent:
- Wash hands before filling or opening containers.
- Avoid touching the inside of caps or spouts.
- Do not dip cups or hands into containers used for drinking water.
If you are ever unsure about the quality of stored water, you can keep it for non-drinking uses such as cleaning, and use fresher or treated water for drinking and cooking.
Treatment Tools as a Backup
Some families choose to keep simple treatment tools on hand, such as basic filters or other commonly available options, for situations where stored water runs low or tap water quality is uncertain. These tools do not replace stored water but can extend your options if an outage lasts longer than expected. Follow all instructions that come with any treatment device or product you use.
Example values for illustration.
| People and pets | Days of coverage (example) | Storage approach | Rotation cue |
|---|---|---|---|
| Family of 4 plus 1 pet | 3 days | Several 3–5 gallon jugs under beds | Refresh every 6 months when clocks change |
| Family of 6 plus 2 pets | 5 days | Mix of medium jugs in closets and small bottles | Rotate once a year at start of school |
| Multigenerational household of 8 | 7 days | Smaller containers for seniors, larger for general use | Assign rotation as a shared family task |
| Apartment family of 5 | 3 days | Low-profile containers under beds and sofa | Rotate during seasonal deep cleaning |
| Household of 4 on a private well | 7 days | Combination of jugs and one larger container | Check and refresh before storm season |
| Family of 3 with infant | 5 days | Extra smaller bottles set aside for mixing formula | Rotate with baby supply inventory checks |
Making Water Readiness a Routine Family Skill
A large family water storage plan works best when everyone understands it. Consider:
- Showing older children where stored water is kept and how to use it carefully.
- Explaining that stored water is for special situations, not everyday use, unless it is rotation time.
- Practicing a “water-only day” occasionally during a planned drill, using only stored water, to see if your quantities and locations make sense.
Over time, water storage, labeling, and rotation can become as routine as checking batteries in flashlights or restocking basic pantry items. The goal is calm readiness: having enough water in convenient containers so that a short-term outage is an inconvenience, not a crisis.
Authoritative sources
Safety recommendations can change. Confirm critical details with current official guidance and local authorities.
- US EPA: Emergency Disinfection of Drinking Water
- USDA FSIS: Keep Food Safe During Emergencies
- U.S. CPSC: Battery Safety
Frequently asked questions
How much water should a large family store for short-term outages?
Start with about 1 gallon per person per day for drinking and basic food preparation, then add extra for handwashing, cleaning, and pets. Many large families set a practical starter target of 3 days (for example, a family of six might aim around 20–25 gallons) and expand coverage over time as space permits.
Which container sizes save space and make rotation easier?
A mix of 1–2 gallon jugs, 3–5 gallon containers, and smaller bottles works well for space-saving and liftability. Choose containers intended for potable water and avoid reusing containers that once held chemicals or strong-flavored products.
How often should I rotate stored water and what is a simple routine?
Many households refresh tap-filled containers every 6–12 months; label fill dates and set calendar reminders to keep rotation predictable. Use older water for non-drinking tasks (watering plants, cleaning) when rotating, then refill and relabel containers promptly.
Can collected rainwater or melted snow be used for non-drinking needs?
Yes, collected rainwater or snowmelt can be used for toilet flushing and cleaning if collected carefully and allowed by local regulations, but it should not be relied on for drinking without proper treatment. Reserve the cleanest stored water for drinking and keep basic treatment tools as a backup.
How should I separate drinking water from hygiene and toilet-flushing supplies?
Designate the cleanest, most accessible containers for drinking and cooking and keep them sealed and opened less often, while setting aside separate containers for handwashing and flushing. Prioritize drinking water during outages and plan non-drinking uses from less-protected supplies to avoid depleting your best water.
- Simple checklists and realistic planning
- Water, power, lighting, and pantry basics
- Family plans (kids, pets, seniors) and seasonal prep
Affiliate disclosure
As an Amazon Associate, we earn from qualifying purchases. Some links on this site may be affiliate links. If you buy through these links, we may earn a small commission at no extra cost to you. This helps support our content. Learn more.