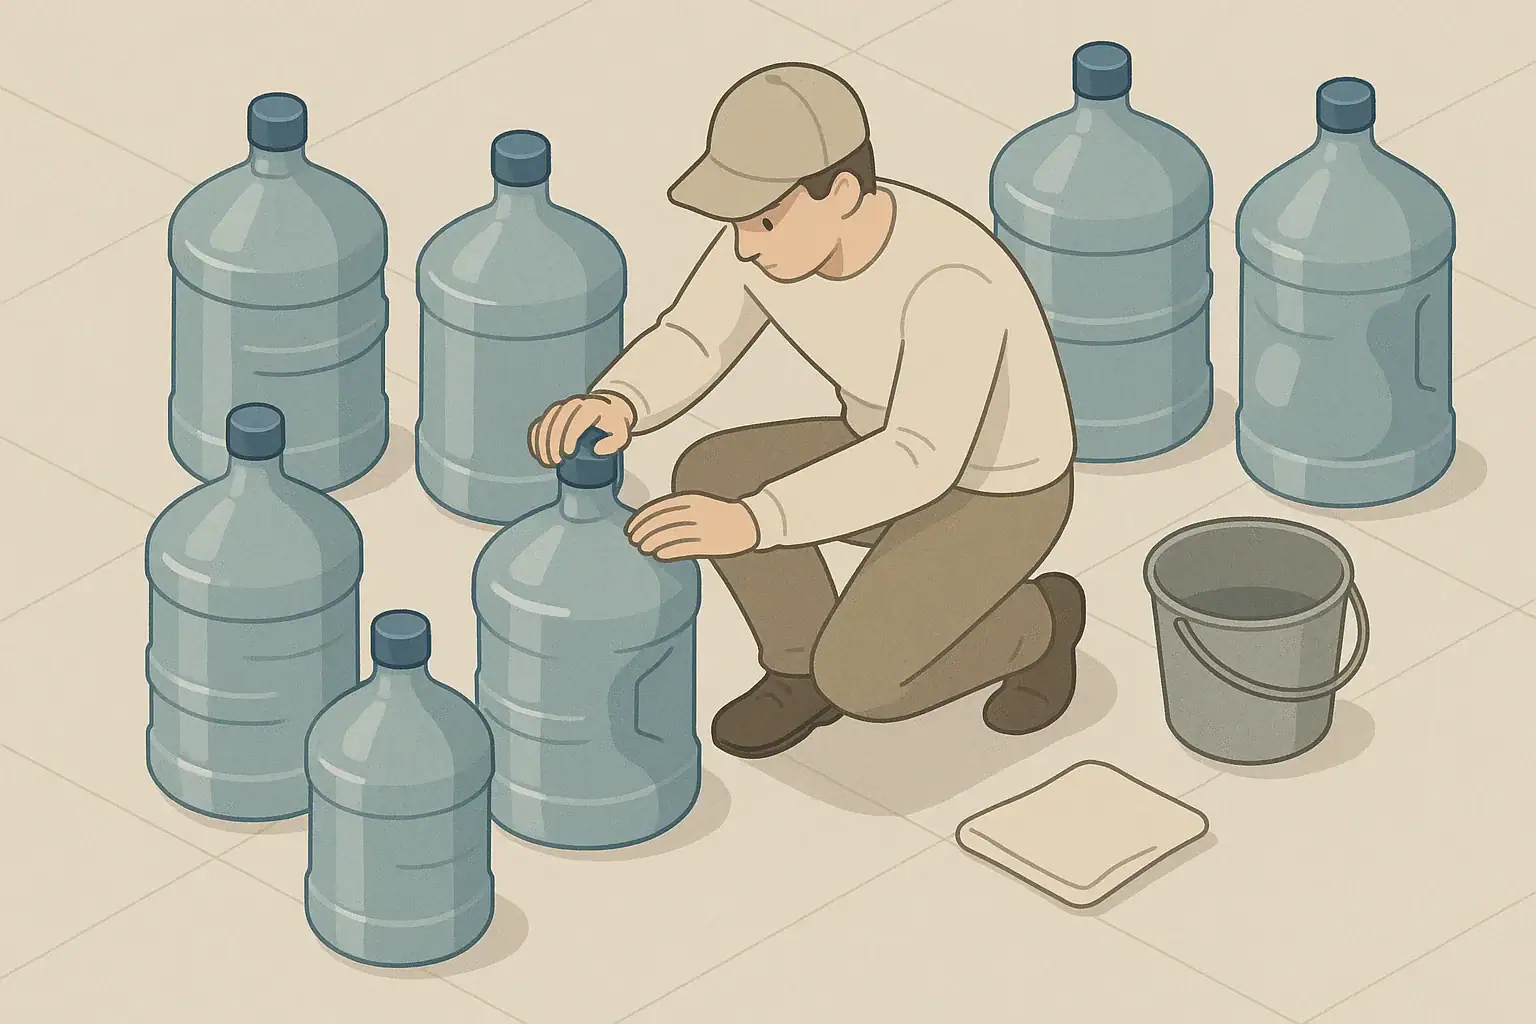
Why checking stored water containers matters
Emergency water is only useful if it is still safe and actually in the container when you need it. Over time, caps can loosen, seals can fail, and plastic jugs can bulge, crack, or slowly leak.
The main goal of a leak check is simple: confirm that each container is still sound, not leaking, not badly deformed, and that the cap and seal are doing their job. If anything looks wrong, you either fix it or replace it before there is a real emergency.
This guide walks you through a quick, practical inspection you can repeat every few months.
How often to inspect emergency water containers
For most households, a basic schedule works well:
- Every 3–6 months: Visual and touch inspection for leaks, damp spots, and bulging.
- At least once a year: More careful check of caps, seals, and container condition.
- Any time you move them: After transport, earthquakes, or heavy cleaning near the storage area.
Also follow any timing suggested in the manufacturer’s instructions for your specific container.
Step-by-step leak check
Do this in a spot where a small spill will not cause damage, such as a bathroom, laundry area, garage, or outside on a flat surface.
1. Prepare a simple inspection area
- Clear a small space where you can set each container down.
- Have a towel or paper towels ready.
- Keep a bucket or basin nearby in case you find a slow leak.
2. Check the outside for leaks and dampness
- Look at the floor or shelf under the container. Any dried water marks, warped cardboard, rust, or damp spots can signal a slow leak.
- Run your hand around the bottom edge. Feel for moisture, slimy buildup, or mineral crusts.
- Inspect seams and corners. Hairline cracks often start at molded seams, handles, or where the plastic flexes.
If you find active dripping or a wet area you cannot explain, treat the container as failing and plan to transfer or replace it.
3. Inspect the cap and seal area
- Look closely at the cap. Check for cross-threading, cracks, or missing pieces.
- Check for residue. White or colored crusts around the cap can mean slow evaporation or leakage.
- Gently tighten the cap. Turn it until it is snug, not forced. If it keeps spinning or never feels secure, the threads or seal may be worn.
Some containers have a removable inner seal or gasket. If the manufacturer allows it, you can remove the cap and briefly inspect that gasket for cracks, flattening, or missing sections. If you are not sure how the cap is designed, follow the manufacturer’s directions and avoid prying parts out.
4. Look for bulging, dents, and deformation
Plastic containers can change shape over time, especially if they are overfilled, stacked, or stored in hot areas like attics or cars.
Check for:
- Bulging sides or bottom that no longer sit flat.
- Swollen top or cap area that looks rounded instead of flat.
- Deep dents or creases that stay when you press them.
Mild warping is common in some plastics and does not always mean failure. Strong bulging, containers that rock instead of sitting flat, or plastic that feels thin and brittle are signs to replace the container.
5. Optional: quick upside-down leak test
If the container is small enough to handle safely and you are comfortable lifting it:
- Make sure the cap is fully tightened.
- Place the container in a tub, shower, or outside.
- Carefully tip it on its side or briefly upside down.
- Watch the cap and seams for any drips.
Do not do this with very large or heavy containers that you cannot control safely. For those, rely on visual checks and the floor inspection.
What to do if you find a problem
Loose or suspect caps
- Retighten the cap until snug, then recheck for dampness over the next day or two.
- If the cap never feels secure or the threads are damaged, replace the cap with the correct type from the manufacturer if possible.
- If you cannot get a proper replacement cap, treat the container as unreliable and plan to use or transfer the water soon.
Cracked or leaking containers
- Do not rely on patching for long-term emergency storage. Temporary tape or sealant may fail without warning.
- If the water is still clear and recently stored, you can use it for non-drinking purposes like cleaning or flushing toilets, as long as it has not been contaminated by chemicals or dirty surfaces.
- Transfer any usable water to a sound, food-safe container if you can do so cleanly.
- Safely discard containers that are cracked, brittle, or badly deformed.
Bulging jugs
Bulging can have several causes, including temperature changes, overfilling, or gas buildup if the water was not stored properly. When in doubt, be cautious.
- If a jug is mildly out of shape but stable, mark it for earlier rotation and keep a close eye on it.
- If a jug is strongly bulging, feels pressurized, or looks ready to pop, move it carefully to a sink or tub. Slowly loosen the cap away from your face and body to release pressure, then decide whether to discard or repurpose the water for non-drinking use.
- For any container that seems unsafe to handle, do not force the cap. Contact your local waste or recycling authority for advice on safe disposal.
Safe handling and basic water safety
Stored water that has been kept in a sound, food-safe container and protected from chemicals and fuel is often still usable for hygiene or cleaning even if you no longer trust the container for long-term storage. Drinking safety is a separate question from leaks.
For guidance on safe drinking water, including storage and emergency disinfection, you can review information from the U.S. Environmental Protection Agency on emergency drinking water and the CDC’s guidance on preparing an emergency water supply.
If you suspect chemical contamination, fuel exposure, or an unusual smell that you cannot identify, it is safer to avoid using the water for drinking or cooking. When local health departments or emergency managers issue instructions about water safety, always follow their guidance first.
Storing containers to prevent future leaks
A few simple habits can reduce the chance of leaks and bulging:
- Store in a cool, shaded area away from direct sun, heaters, and vehicles.
- Keep containers off bare concrete if possible, using a shelf, board, or mat to reduce temperature swings and abrasion.
- Avoid overfilling. Leave a little air space at the top for expansion.
- Do not stack containers unless the manufacturer says stacking is safe.
- Label containers with the fill date so you know which ones to rotate first.
- Keep chemicals, fuel, and cleaners separate from stored water to reduce contamination risk.
Frequently asked questions
How much bulging is too much in a water jug?
Any clear change in shape is worth watching, but strong bulging is a warning sign. If the jug rocks instead of sitting flat, the sides are noticeably rounded, or the cap area looks swollen, treat it as higher risk. Use or replace that water sooner, and do not rely on that container for long-term storage.
Is it safe to drink from a container that was slowly leaking?
A slow leak means the container has been open to the outside environment. Dust, insects, or other contaminants may have entered. If you are not sure how long it has been leaking or what it has been exposed to, it is safer to reserve that water for non-drinking uses and rely on other, better-protected supplies or follow official guidance on treatment.
Can I use tape or sealant to fix a cracked water container?
Tape or sealant may stop a drip for a short time, but it is not a dependable long-term fix for emergency storage. Cracks often spread, and repairs can fail without warning. For emergency readiness, it is better to replace the container and, if the water is still otherwise safe, transfer it carefully into a sound, food-safe container.
What should I do with old or damaged water containers?
Empty and rinse them, then follow your local recycling or trash rules. Some areas accept certain plastics for recycling; others require them to go in regular trash. If you are dealing with a container that seems pressurized or unsafe to open, contact your local waste authority for specific instructions.
- Simple checklists and realistic planning
- Water, power, lighting, and pantry basics
- Family plans (kids, pets, seniors) and seasonal prep
Affiliate disclosure
As an Amazon Associate, we earn from qualifying purchases. Some links on this site may be affiliate links. If you buy through these links, we may earn a small commission at no extra cost to you. This helps support our content. Learn more.