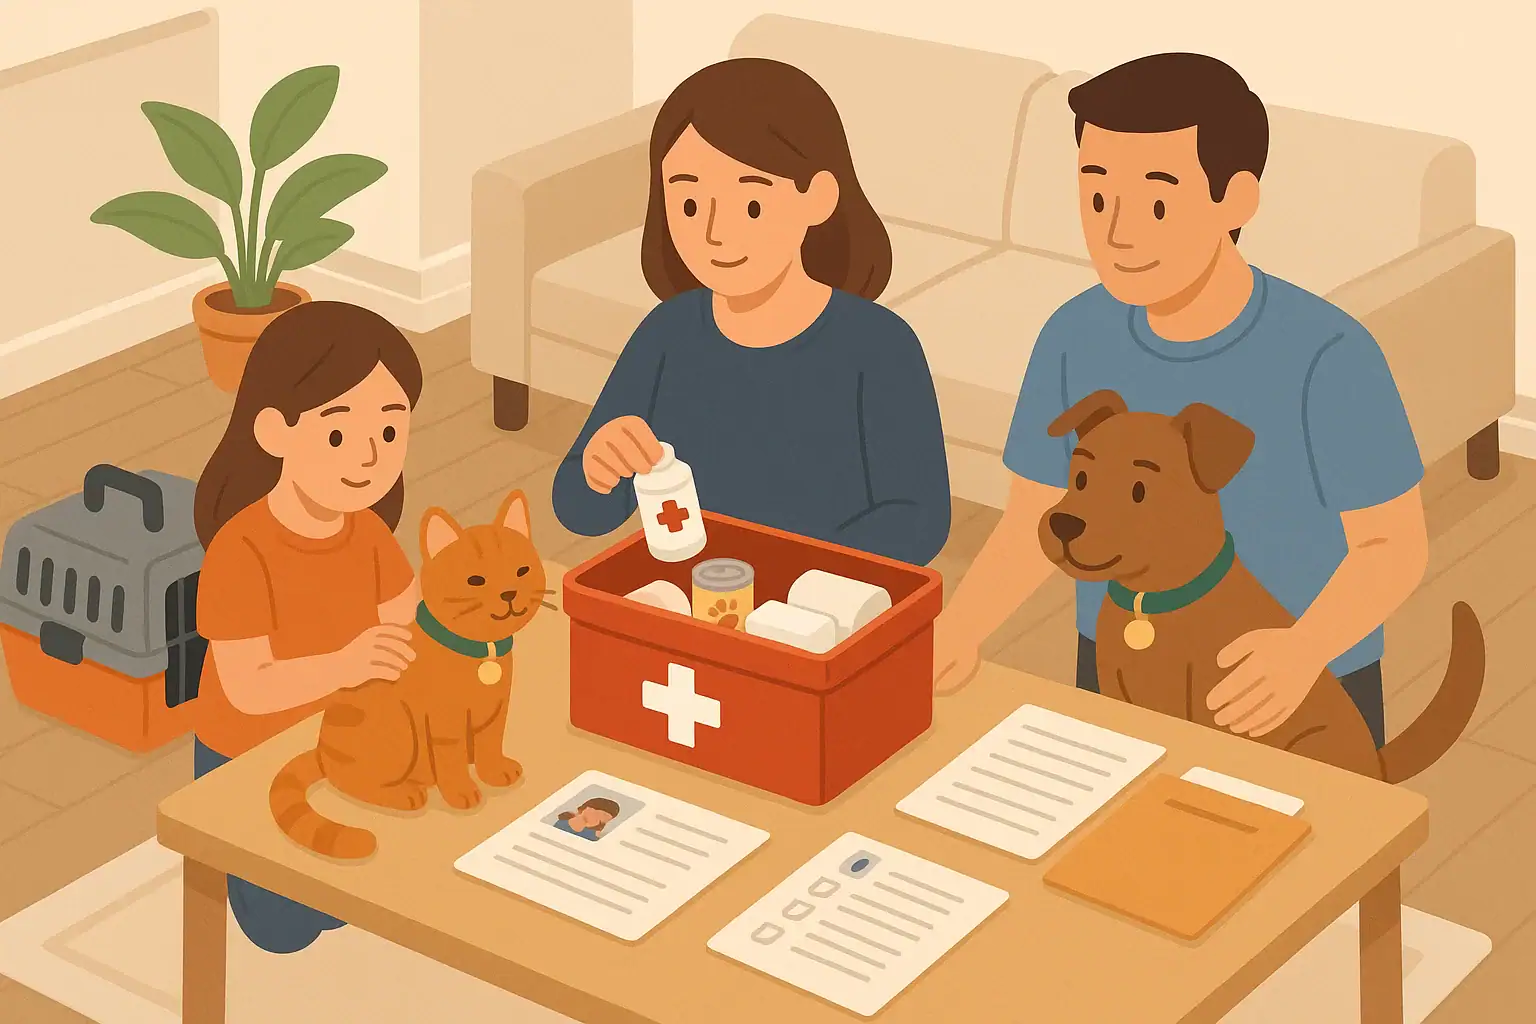
Why pet ID matters before an evacuation
In an evacuation, pets can slip leashes, bolt from carriers, or be separated in crowded shelters. The fastest way to get them back is a combination of a registered microchip and clear, up-to-date visible ID.
This checklist walks you through what to do before you ever have to leave: updating microchips, adding backup tags, and preparing simple paperwork you can grab with your go-bag.
Step 1: Confirm your pet is microchipped
If your pet is not microchipped, talk with your veterinarian about it during a regular visit. A microchip is a tiny device placed under the skin that stores an ID number. It is not a GPS tracker, but it lets shelters and clinics look up your contact information if your pet is found.
If you are not sure whether your pet has a microchip:
- Ask your veterinarian to scan for a chip at your next appointment.
- Keep a copy or photo of any microchip paperwork with your pet records.
The American Veterinary Medical Association explains how pet microchips work and what they can and cannot do.
Step 2: Make sure the microchip is registered and current
A microchip only helps if your contact details are in a registry and kept up to date.
Before evacuation season in your area (for example, wildfire or hurricane season):
- Find the microchip number. Look on your pet’s microchip paperwork, vet records, or ask your vet to scan your pet.
- Check the registry. Use the chip paperwork or ask your vet which registry to contact. Some registries let you look up and update information online.
- Update your contact info. Confirm your name, cell phone, backup phone, and email. Include a trusted out-of-area contact if the registry allows it.
- Add emergency notes if possible. Some registries let you add notes such as medical needs or behavior warnings.
If you are unsure which registry holds your pet’s chip, your veterinarian or local animal shelter may be able to help you look it up.
Step 3: Check collar tags and visible ID
Visible ID is often the fastest way for a neighbor or responder to reach you. Before an evacuation is on the horizon, do a quick tag check.
For each pet, confirm:
- Secure collar or harness: Fits snugly but not tightly (you can usually slide two fingers under it). Check for fraying or broken buckles.
- Readable ID tag: Not badly scratched or bent. Replace if it is hard to read.
- Current phone number: Use a cell number you are likely to have with you during an evacuation.
- Optional backup number: A trusted friend or family member outside your area, if space allows.
If your pet cannot safely wear a collar (for example, some cats or certain medical conditions), ask your veterinarian about safer options such as breakaway collars or other forms of visible ID.
Step 4: Add backup ID for carriers and gear
In a rushed evacuation, pets may be moved in and out of carriers, crates, or temporary enclosures. Labeling the gear itself adds another layer of ID.
Prepare the following:
- Carrier labels: On each carrier or crate, attach a tag or tape-on label with your name, cell number, and your pet’s name.
- Inside card: Place a small card inside the carrier with your contact info, your pet’s name, microchip number, and any urgent medical needs.
- Leash tags: Add a simple tag or write your phone number on a piece of tape wrapped around the leash handle.
- Photo on the carrier: Tape a clear printed photo of your pet to the carrier so staff can quickly match pet and paperwork.
Step 5: Prepare a simple pet ID packet for your go-bag
Keep a small, waterproof folder or zip bag with your evacuation supplies that holds key pet ID information. This makes it easier to prove ownership and get help if you are separated.
Include:
- Recent photos: Print a few clear photos of your pet from different angles and with you or your family. This helps show ownership and identify your pet.
- Microchip details: The microchip number and registry name, plus any login information you are comfortable storing.
- Vaccination and medical records: Copies or photos of key records from your veterinarian.
- List of medications: Names, doses, and timing, if your pet takes regular medicine.
- Contact list: Your vet’s phone number, local animal control or shelter number, and an out-of-area friend or relative who can help.
The U.S. Ready.gov guidance on pets in emergencies recommends keeping copies of important pet documents with your emergency kit.
Step 6: Plan for where ID will be checked
During an evacuation, you may encounter checkpoints, shelters, or veterinary clinics where you will need to show that a pet belongs to you.
Plan ahead by:
- Knowing local shelter policies: Check your local emergency management office or animal shelter website for their rules about pets in public shelters.
- Keeping ID on you: Carry your own photo ID and your pet’s ID packet in a small bag or document pouch that stays with you, not buried in a larger bin.
- Using consistent names: Make sure your pet’s name is the same on tags, vet records, and microchip registration to avoid confusion.
Quick pre-evacuation ID checklist
- My pet has a microchip, and I know the chip number.
- The microchip is registered, and my contact info is current.
- My pet’s collar or harness fits well and is in good condition.
- ID tags are readable and show a current cell number.
- Each carrier or crate has my name, phone number, and my pet’s name.
- I have recent printed photos of my pet (alone and with me).
- I keep microchip details and vet records in a small waterproof folder in our go-bag.
- I know where to find local guidance on pet-friendly shelters and evacuation routes.
Frequently asked questions
Do I still need a collar tag if my pet is microchipped?
Yes. A collar tag is often the fastest way for someone nearby to contact you without going to a clinic or shelter to scan a microchip. Microchips are a strong backup if the collar comes off or the tag is lost, but they do not replace visible ID.
How often should I update my pet’s microchip information?
Check and update your contact details any time you change your phone number, move, or change email. It is also helpful to review the information once a year, such as at your pet’s annual vet visit or at the start of your local evacuation season.
What if I cannot afford a microchip right now?
Use what you can control: a secure collar, clear ID tags, labeled carriers, and recent printed photos. Some communities and shelters offer low-cost or free microchip events; your local animal shelter or animal control office may know about options in your area.
Who should I follow for evacuation instructions with pets?
Always follow directions from your local emergency management agency, law enforcement, or other local authorities. National guidance, such as the Ready.gov pets in emergencies page, can help you plan ahead, but local officials will have the most accurate information about routes, shelters, and pet policies during an actual event.
- Simple checklists and realistic planning
- Water, power, lighting, and pantry basics
- Family plans (kids, pets, seniors) and seasonal prep
Affiliate disclosure
As an Amazon Associate, we earn from qualifying purchases. Some links on this site may be affiliate links. If you buy through these links, we may earn a small commission at no extra cost to you. This helps support our content. Learn more.