What a Shelter-in-Place Sealing Kit Is (and Is Not)
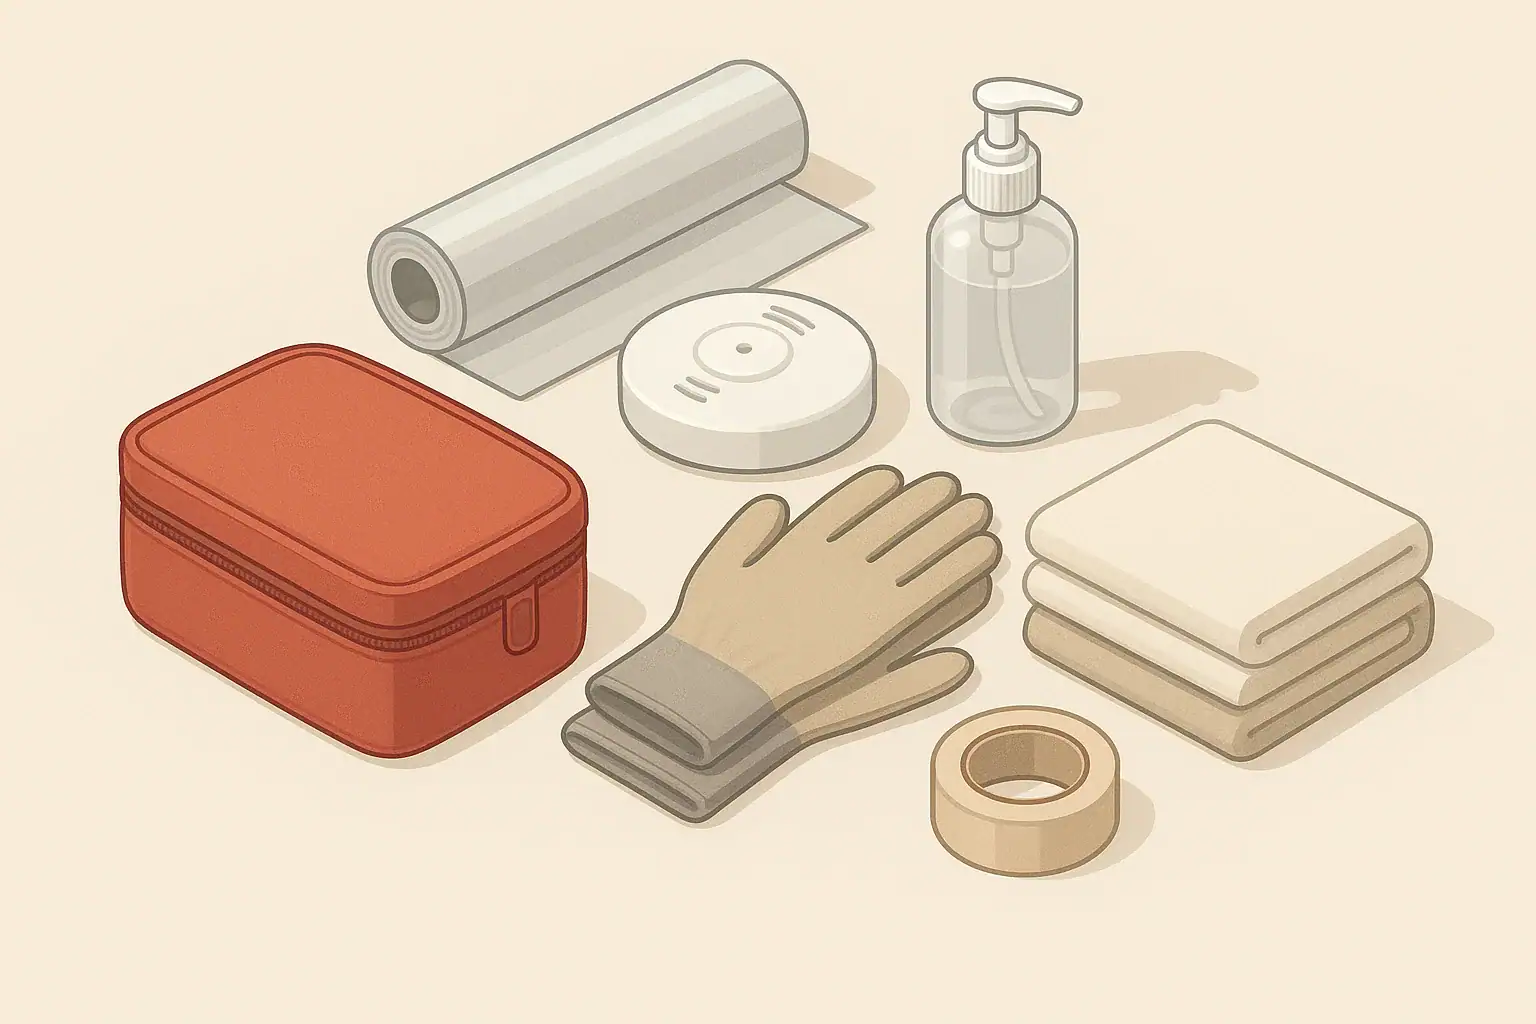
A shelter-in-place sealing kit is a small set of everyday items you can use to reduce outside air entering one room for a short period of time. It is meant for realistic events such as a nearby chemical spill, heavy smoke blowing through your neighborhood, or a strong odor from an industrial accident.
This type of kit is simple and low-cost. Most households can assemble one using items they already own, plus a few extras stored together in a labeled bin or bag.
Typical goals for a basic sealing kit are to:
- Slow the flow of outside air into a chosen room
- Buy time while you follow official guidance and updates
- Improve comfort when air quality is temporarily worse outdoors than indoors
It is important to understand limits. A sealing kit does not make a room airtight, does not guarantee safety from hazardous chemicals, and does not replace evacuation instructions from authorities. It is one tool among many in practical home readiness.
Core Components: Plastic, Tape, Towels, and Basic Tools
The key idea behind a shelter-in-place sealing kit is to cover obvious gaps where air can enter: windows, doors, vents, and other openings. You use flexible materials to block drafts and tape to hold them in place.
Plastic Sheeting
Plastic sheeting is the main material for covering larger openings such as windows and vents. Common options include:
- Lightweight plastic drop cloths from the paint section
- Cut-open large trash bags for smaller openings
- Clear plastic so you still get some light through windows
Look for plastic that is thick enough not to tear easily when taped and pulled slightly. Many households find it easiest to pre-cut pieces sized for each window in their chosen room and label them with painter’s tape so they can be installed quickly.
Tape Options
Tape holds your plastic and towels in place and can also seal small cracks on its own. For most homes, a mix of two types works well:
- Strong, sticky tape for longer-term holds on clean surfaces
- Low-residue painter’s tape for delicate surfaces, such as painted walls and trim you do not want to damage
Store at least one mostly-full roll of each type in your kit. Check them once or twice a year to make sure the adhesive has not dried out.
Towels and Soft Draft Stoppers
Towels, small blankets, or purpose-made draft stoppers help block airflow at the bottom of doors and around window sills. They are especially useful for:
- Stuffing gaps under interior doors
- Pressing against the sides of window frames before taping
- Adding weight and padding where plastic alone does not seal well
If you have pets or young children, expect some towels to be touched or moved. Keep spare cloths in the kit so you can replace them if needed.
Simple Tools and Extras
A few basic tools make sealing faster and less frustrating:
- Scissors or a utility knife (stored safely)
- Permanent marker for labeling pre-cut plastic pieces and windows
- Notepad and pen to note which gaps you sealed and when
- Lightweight gloves if you are handling rough surfaces
Keep these items together in a small box or bag so you are not searching for them during an urgent situation.
Example values for illustration.
| Item | Why it matters | Notes |
|---|---|---|
| Plastic sheeting | Covers windows and vents to slow outdoor air entry | Pre-cut pieces for each window in your chosen room |
| Strong tape | Secures plastic to walls, frames, and vents | Test on a hidden area to see if it peels paint |
| Painter’s tape | Helps avoid damage on delicate surfaces | Use at edges or where you will remove tape soon |
| Towels or draft stoppers | Blocks airflow under doors and along sills | Keep extras in case some get damp or dirty |
| Scissors or utility knife | Quickly cuts plastic to size | Store safely out of reach of children |
| Marker and labels | Makes it easy to match plastic pieces to openings | Label by window or vent name (for example, “north window”) |
| Small bin or bag | Keeps all sealing items in one known place | Store near your chosen shelter room |
Choosing and Preparing a Room to Seal
Before you ever unroll plastic or tear tape, choose which room you are most likely to seal. Deciding in advance reduces stress and helps you buy the right amount of material.
What Makes a Good Shelter Room?
Ideal shelter spaces differ between homes, apartments, and mobile housing, but some general features help in most situations:
- Few windows and doors to reduce the number of openings to cover
- Interior location away from obvious outdoor air sources, such as garages or loading bays
- Access to essential items like water, simple snacks, and a restroom if practical
- Enough space for everyone in your household to sit or lie down for a few hours
In many single-family homes this might be an interior bedroom or a den. In apartments it is often a bedroom or a hallway area that can be partially closed off with doors and towels.
Special Considerations for Renters
If you rent, you may want to avoid anything that can damage walls, frames, or finishes. Some simple approaches include:
- Relying more on painter’s tape and less on very aggressive tape
- Attaching plastic to window trim rather than painted walls where possible
- Using tension rods or removable hooks (installed ahead of time) to help hold plastic without heavy tape
It can be helpful to take photos of the room before and after any sealing practice, so you know how it should look when you remove your materials.
Room Prep Before You Ever Need It
A little preparation makes sealing faster later:
- Identify each window, door, and vent in your chosen room
- Measure or visually estimate the size of openings
- Pre-cut and label plastic pieces for each major opening
- Store pre-cut pieces and towels together with your tape and tools
Consider doing a short practice run when nothing urgent is happening. Gently tape up plastic on one window, look for obvious gaps, then remove it. This helps you discover awkward corners or surfaces that do not hold tape well.
How to Use a Sealing Kit During a Real Event
When there is a real event, such as a nearby chemical spill or a strong outdoor smoke episode, you are likely to receive official guidance through local alerts, news, or emergency notifications. Follow those instructions first. If they recommend staying inside and closing up your home, your sealing kit can support that step.
Step 1: Get Everyone into the Chosen Room
Bring household members, pets, and key items into the room before you begin sealing. It is easier to manage doors and gaps if people are not coming and going.
Helpful items to bring include:
- Water and basic snacks
- Any needed medications and comfort items
- Flashlights or other safe lighting if it may get dark
- Battery-powered or hand-crank radio if you have one
Step 2: Turn Off Systems that Pull in Outside Air
As long as it is safe to do so and does not conflict with official instructions, consider:
- Turning off central heating and cooling systems that draw outside air
- Switching off window air conditioners in the sealed room
- Turning off bathroom and kitchen exhaust fans that move air in and out
In some buildings, you may not control all ventilation. In that case, focus on sealing obvious drafts inside the room you can control.
Step 3: Seal Windows and Vents
Work from the most direct openings to less obvious ones:
- Place pre-cut plastic over windows, allowing overlap around the frame
- Use strong tape or painter’s tape (as appropriate) to seal edges
- Cover vent grilles in the room with plastic if air is actively flowing through them and it is safe to block them temporarily
You do not need perfection. The goal is to noticeably reduce drafts, not to achieve a laboratory-level seal.
Step 4: Seal Doors and Gaps
Next, reduce air movement at doors and other small openings:
- Roll or fold towels and push them firmly along the bottom of the door
- If needed, use tape to help hold towels in place so they do not slide
- Tape over keyholes or mail slots if they are drafty
Once you have sealed the primary door, minimize opening it. If someone must leave briefly, be ready to put towels back in place and smooth plastic afterward.
Step 5: Monitor Conditions Inside the Room
While you are sheltering:
- Keep track of time so you know how long you have been sealed in
- Listen for official updates, including any “all clear” messages
- Pay attention to indoor temperature and comfort, especially for children, older adults, or pets
If the room becomes very warm or stuffy, you may need to carefully adjust seals while still minimizing outdoor air, especially during longer events. Use your judgment and follow guidance from local authorities.
Limits, Safety Considerations, and When Not to Seal
A sealing kit is a practical tool, but it has clear limits. Understanding these helps you use it wisely.
It Does Not Replace Evacuation Orders
If officials tell you to leave an area, a sealed room is not a substitute. Evacuation orders consider larger risks, such as fire spread, long-lasting hazardous materials, or structural dangers. In those situations, focus on leaving safely and taking your go-bag, important documents, and any essential medications.
It Does Not Make a Room Airtight
Most homes and apartments are naturally leaky. Even with plastic, tape, and towels, air still moves through walls, ceilings, and hidden gaps. For most realistic home scenarios, the goal is to reduce drafts, not eliminate them completely.
Because the room is not airtight, normal breathing for a few hours is generally compatible with this type of temporary shelter. That said, avoid blocking every crack for very long periods without ventilation, especially in hot or crowded rooms.
Heat, Humidity, and Comfort
Sealing a room can trap heat and humidity, especially in warm climates or during summer events. Plan with comfort in mind:
- Choose the coolest suitable room available
- Have water and light clothing layers available
- Monitor how people feel, especially anyone sensitive to heat
If the room becomes uncomfortable, you may need to cautiously reduce some sealing or move to a better-ventilated area once it is safe.
Fire and Indoor Hazard Awareness
While you are sheltering in place:
- Do not block your only exit door so heavily that you cannot leave quickly in a fire
- Avoid using open flames such as candles; rely on flashlights or battery-powered lights instead
- Be cautious about using fuel-burning heaters or stoves indoors; these can create serious indoor hazards even without sealing
Smoke and carbon monoxide alarms should remain in use. Your sealing kit should not cover or disable them.
Adapting a Sealing Kit for Different Homes and Families
Every household is different. A studio apartment, a multi-story house, and a home with multiple generations under one roof will use the same basic materials in different ways.
Apartments and Condos
In multi-unit buildings, you may have limited control over building-wide ventilation. Some practical steps include:
- Choosing an interior room away from shared hallways, if possible
- Sealing the bottom of the front door with towels to reduce hallway air entering
- Covering bathroom or kitchen fans that are running outside of your control, if safe and practical
If management or building staff provide instructions, follow those and layer in your sealing kit where it does not conflict.
Single-Family Homes
Detached homes often have more rooms to choose from and more direct control over heating and cooling systems. You can:
- Pre-select one or two candidate rooms based on season (cooler room in summer, warmer in winter)
- Practice turning off or adjusting your central system to reduce outside air intake
- Store your sealing kit near your chosen room for quick access
In larger homes, you may decide to limit use to a smaller area to keep everyone close and reduce the number of openings to seal.
Households with Kids, Pets, or Seniors
When planning for family members with specific needs:
- Keep comfort items (favorite toys, blankets, books) in or near the shelter room
- Store extra pet supplies such as water bowls, leashes, and waste bags with the kit
- Have chairs, cushions, or mobility aids ready for anyone who cannot sit on the floor easily
A short practice session, framed calmly as a “quiet room drill,” can help children and others feel more familiar with the routine.
Example values for illustration.
| Need | Simple supplies | Safe use note | Disposal idea |
|---|---|---|---|
| Hand cleaning | Hand sanitizer, wet wipes | Use a small amount; let hands air dry | Seal used wipes in a small trash bag |
| Minor spills | Paper towels, extra cloth towel | Blot, do not scrub, to avoid spreading | Bag paper towels; wash cloth later |
| Trash control | Couple of small trash bags | Keep one bag open in a corner | Tie shut and remove when it is safe |
| Pet waste | Pet waste bags, extra litter if used | Designate a single spot away from sitting area | Double-bag waste and store near door |
| Odor control | Spare trash bag, absorbent material | Keep any strong-smelling items contained | Remove bag promptly after event |
| Basic surface cleaning | Mild, non-spray wipes | Avoid heavy fragrances in a closed room | Discard wipes in main trash bag |
Integrating a Sealing Kit into Your Overall Home Readiness
A shelter-in-place sealing kit is most useful when it fits into a broader, calm approach to short-term emergencies. It can sit alongside:
- Backup lighting such as flashlights and extra batteries
- Simple water storage or bottled water on hand
- A small pantry of shelf-stable foods you already eat
- Written contact information and a basic communication plan
Review your sealing kit when you check other supplies, such as when you change smoke alarm batteries or review seasonal plans for storms or heatwaves. Replace worn tape, add fresh towels if needed, and confirm that everyone in your household knows which room is the shelter space and where the kit is stored.
The goal is not perfection. A modest kit built from plastic, tape, towels, and a few tools can give you more control and a bit more comfort when outside air briefly becomes a problem.
Authoritative sources
Safety recommendations can change. Confirm critical details with current official guidance and local authorities.
- CDC: Carbon Monoxide Poisoning Basics
- US EPA: Emergency Disinfection of Drinking Water
- USDA FSIS: Keep Food Safe During Emergencies
Frequently asked questions
How long can I safely rely on a shelter-in-place sealing kit?
A sealing kit is intended for short-term use, typically a few hours, to reduce outdoor air entry while you await official guidance. It reduces but does not eliminate infiltration, so monitor indoor temperature and any symptoms; if conditions worsen or you are told to evacuate, leave promptly.
What are the essential items and minimum quantities for a basic shelter-in-place sealing kit?
At minimum, include enough plastic sheeting sized for each window, one roll of strong adhesive tape, one roll of low-residue painter’s tape, and several towels or draft stoppers. Also pack scissors or a utility knife, a marker for labeling pre-cut pieces, and store everything together near your chosen shelter room.
Should I turn off my central HVAC system when sealing a room?
If it is safe and does not conflict with official instructions, turn off heating or cooling systems that actively draw outside air to limit ingress. Portable air cleaners that recirculate indoor air can be useful if they do not pull in outdoor air, but follow the device manufacturer’s guidance.
Will sealing a room protect me from chemical vapors or wildfire smoke?
Sealing a room can reduce the entry of smoke and some vapors and improve short-term comfort, but it does not guarantee protection from hazardous chemicals or prolonged smoke exposure. Follow official advice closely and evacuate if instructed or if odors or health symptoms persist.
How can renters practice using a shelter-in-place sealing kit without damaging walls or windows?
Do practice runs using painter’s tape or removable hooks and attach plastic to trim rather than painted surfaces where possible. Pre-cut and label pieces, test tape on a hidden area before regular use, and remove materials gently after drills to avoid surface damage.
- Simple checklists and realistic planning
- Water, power, lighting, and pantry basics
- Family plans (kids, pets, seniors) and seasonal prep
Affiliate disclosure
As an Amazon Associate, we earn from qualifying purchases. Some links on this site may be affiliate links. If you buy through these links, we may earn a small commission at no extra cost to you. This helps support our content. Learn more.